Posts in The Kitchen

For the next few weeks we are shutting down He Speaks In The Silence in order to do some much needed rearranging and redecorating. While a team of talented artists color and create a fresh new design, I will be doing my own version of this update— with words.

Join us in October for our relaunch. On our first day back I’ll be explaining what’s ahead and how you can step a little closer into our community of listeners.

From my heart,

Diane

P.S. Why don’t you click on the subscribe button on the right of the page so that

  hespeaksinthesilence.com will be delivered to your inbox the moment we restart and every time we post? 

CILANTRO + LIME WHIPPED CAULIFLOWER

  Some weeks I know exactly what new recipe I want to share with you.

Other weeks, I stand in my kitchen the day before a new post is due and wonder what in the world I should make for dinner… not to mention what I should share with all of you!

This past week was the latter. I gazed into my fridge and saw an odd mixture of items and my need to go grocery shopping.

I began to pull out the ingredients that needed to be used up, said a prayer (literally) and got to creating.

Sometimes this process works wonders…

Other times it fails miserably.

This dish was deemed “blog worthy”  by my husband (our way of rating food these days) and thoroughly enjoyed with dinner.

A few details about this cauliflower concoction:

  • This dish tastes a lot like mashed potatoes
  • You can omit the cilantro and lime and add any other herbs or spices
  • Cauliflower is an excellent source of vitamin C, fiber and folate (one of the B vitamins that helps prevent birth defects)

ENJOY!

Elizabeth

What great meals have you come up with the last few items in your fridge? Sometimes those are the best ones!

[print_this]

Cilantro + Lime Whipped Cauliflower

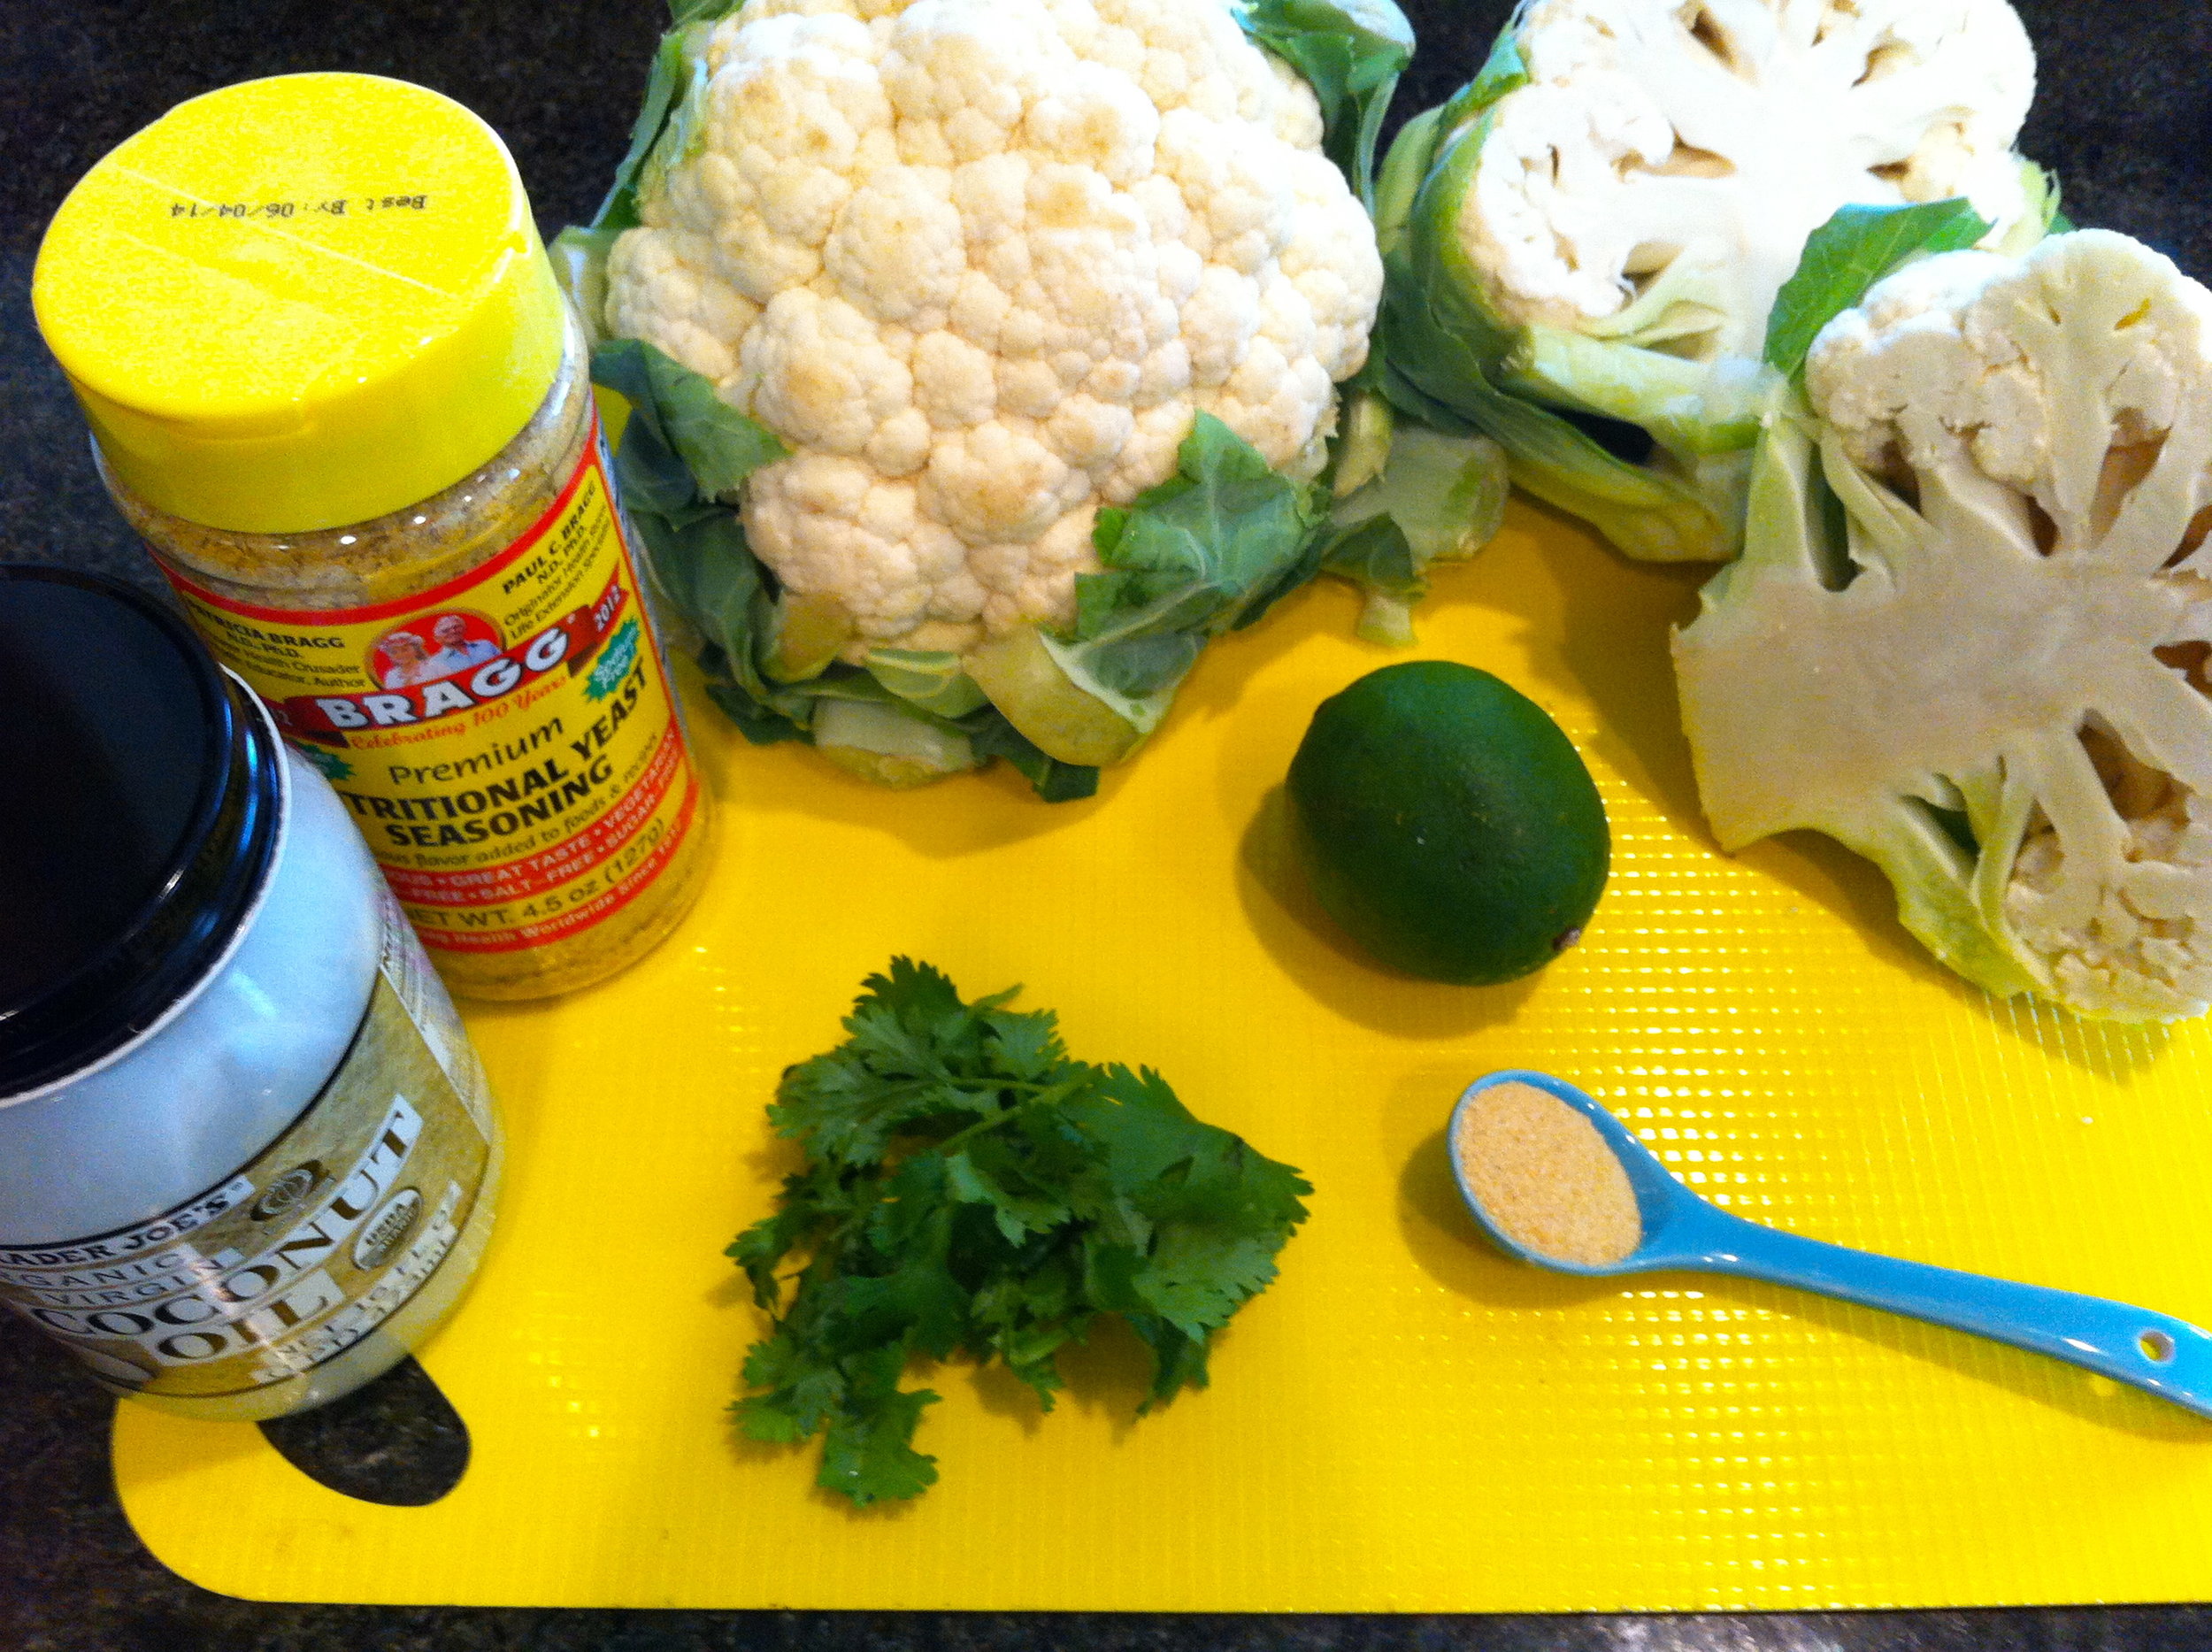
Ingredients 2 heads of cauliflower Juice from 1 lime 2 T nutritional yeast 2 T coconut oil 1 tsp garlic powder ¼ t salt pepper a few dashes of cayenne pepper (optional) ¼ C chopped cilantro

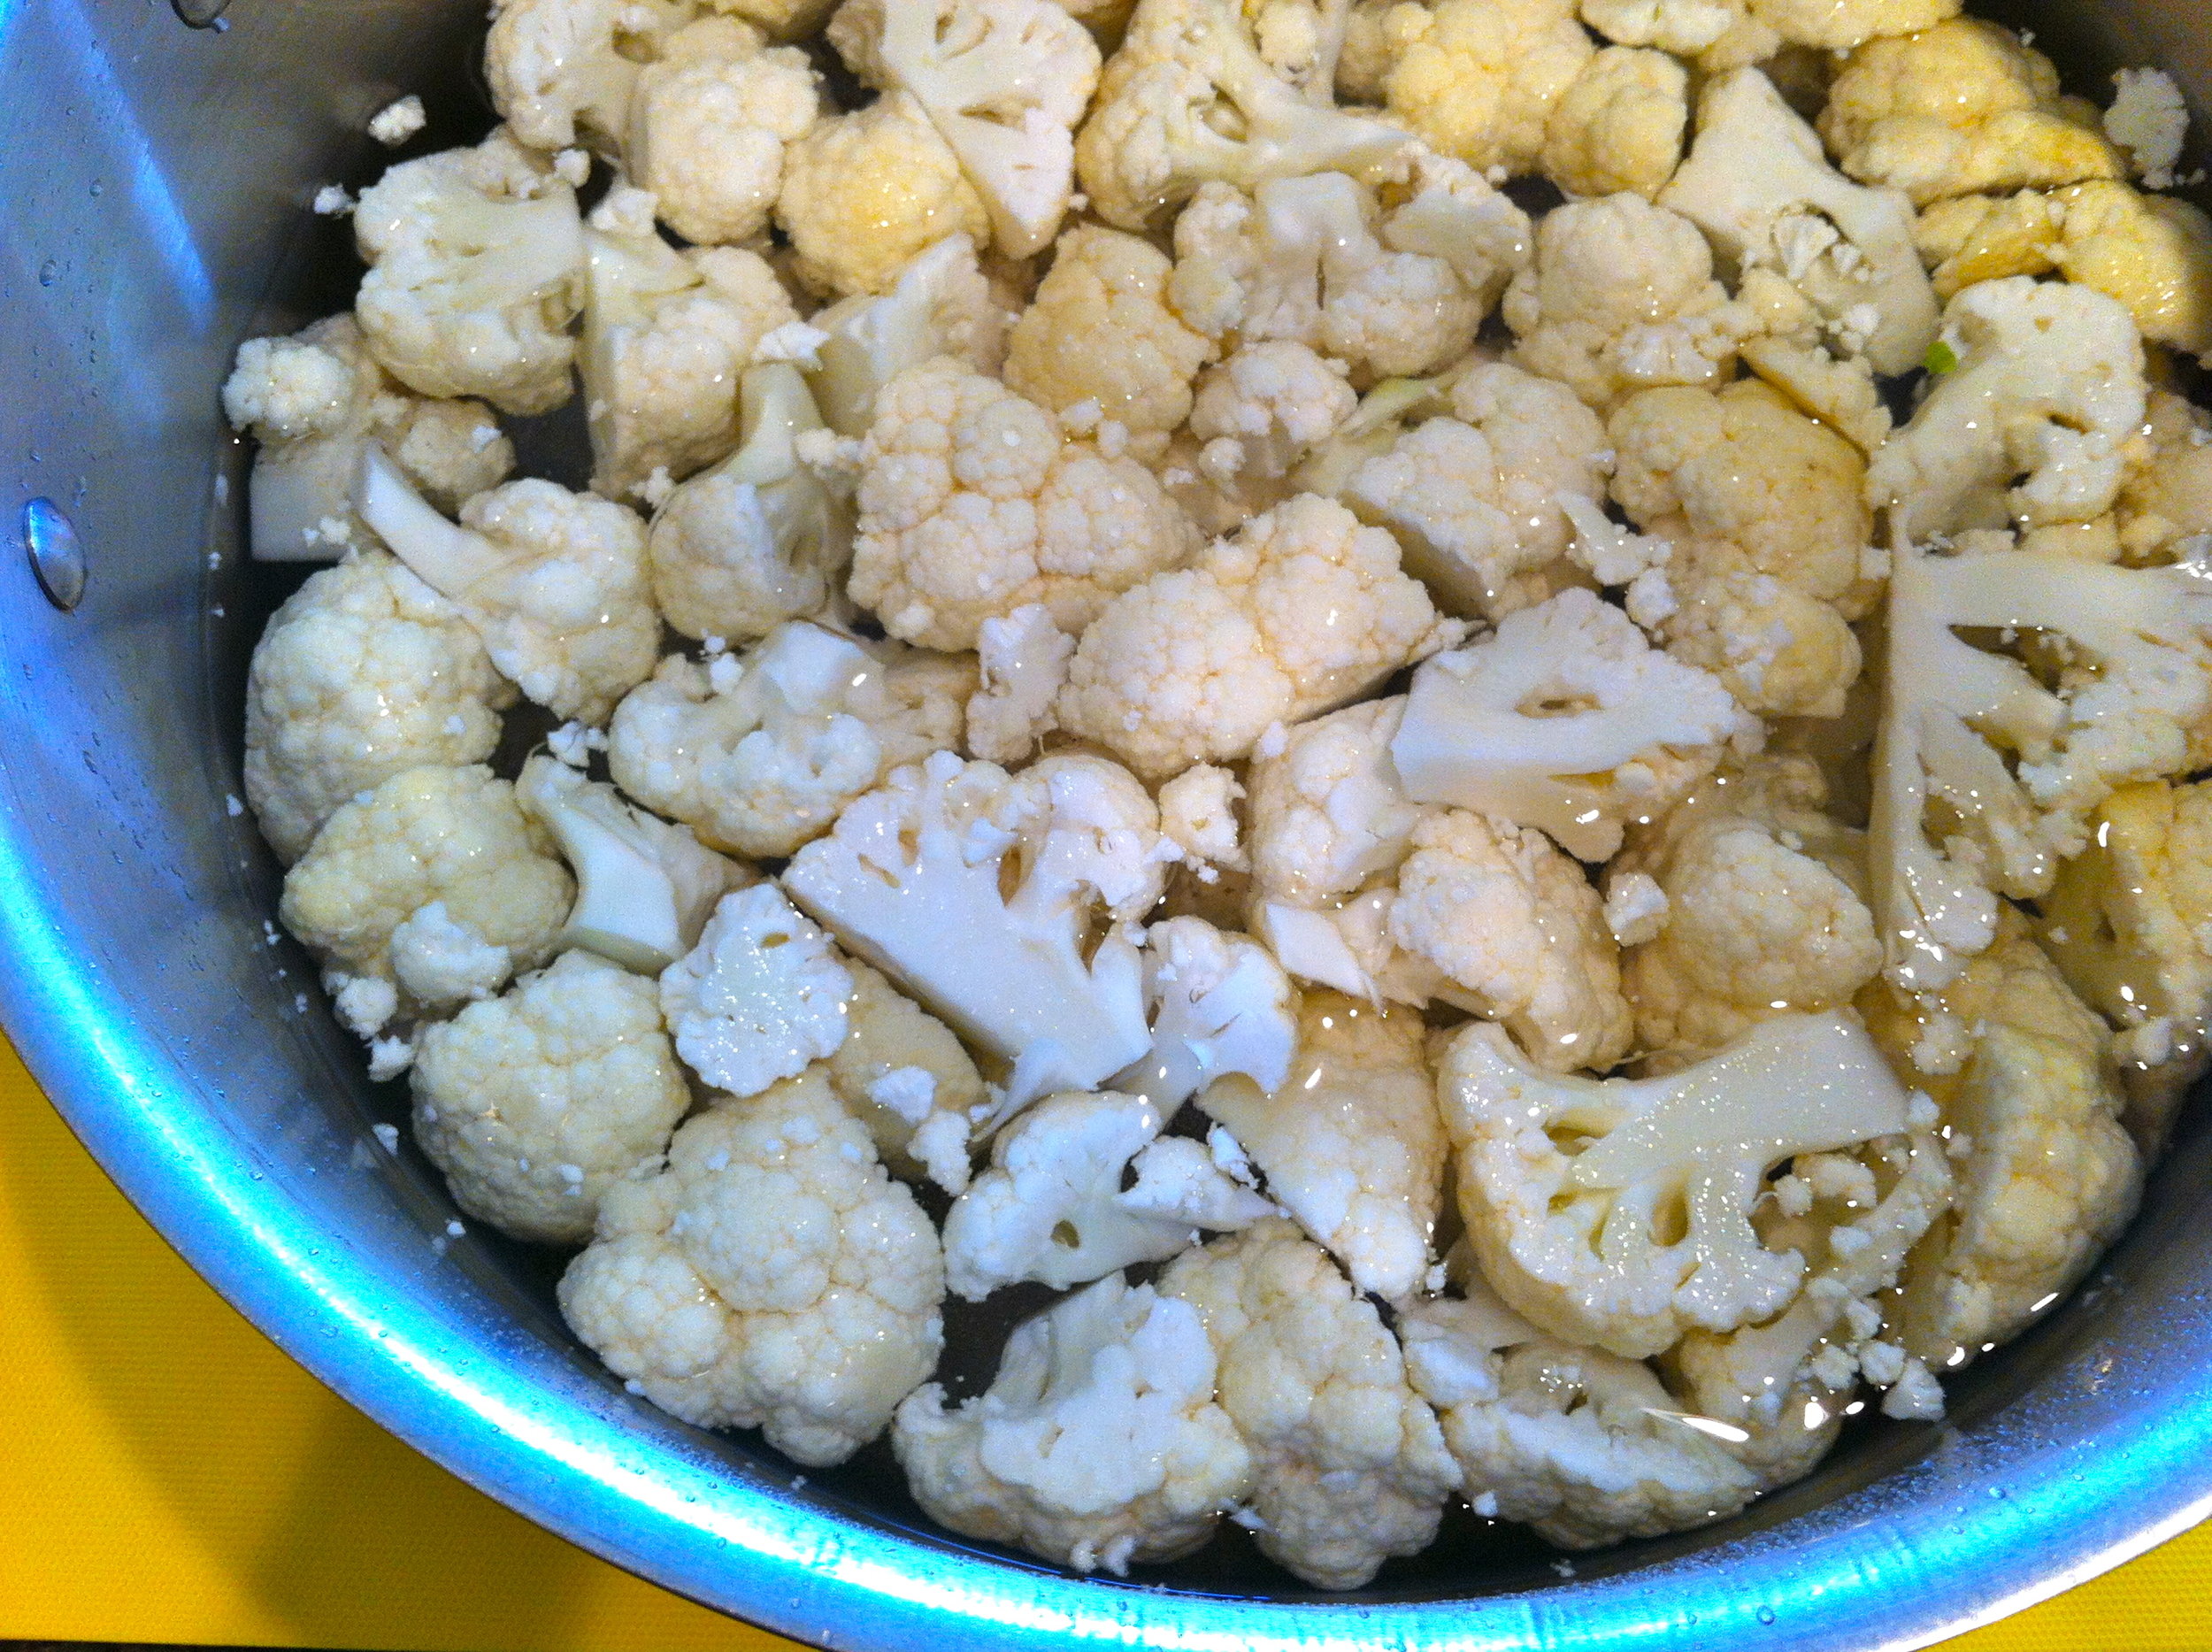
Directions Chop cauliflower into pieces and place in a large pot. Fill about half way with water and add a few pinches of salt. Bring water to a boil and boil for about 10 min or until all the cauliflower is very soft.

While the cauliflower is boiling, add coconut oil, nutritional yeast, salt, garlic powder, cayenne pepper and limejuice to a food processor or blender.

Strain cauliflower and give it a good shake to get rid of any excess liquid.

Add cauliflower to the blender and blend until smooth. Give it a taste and add more salt and pepper if necessary. Then add cilantro and blend for just a few seconds until combined.

[/print_this]


Cilantro + Lime Whipped Cauliflower


INGREDIENTS:

  • 2 heads of cauliflower
  • Juice from 1 lime
  • 2 T nutritional yeast
  • 2 T coconut oil
  • 1 tsp garlic powder
  • ¼ t salt
  • pepper
  • a few dashes of cayenne pepper (optional)
  • ¼ C chopped cilantro

TO MAKE:

Chop cauliflower into pieces and place in a large pot. Fill about half way with water and add a few pinches of salt. Bring water to a boil and boil for about 10 min or until all the cauliflower is very soft.

While the cauliflower is boiling, add coconut oil, nutritional yeast, salt, garlic powder, cayenne pepper and limejuice to a food processor or blender.


Strain cauliflower and give it a good shake to get rid of any excess liquid.


Add cauliflower to the blender and blend until smooth. Give it a taste and add more salt and pepper if necessary. Then add cilantro and blend for just a few seconds until combined.

TO SERVE:


It can be served right after blending.

Or it can be placed in a casserole pan and baked at 375 for about 20 min or until the top gets golden brown.

It can easily be made ahead of time and baked when you are ready to serve it.

ENJOY!

VITAMIX: by michele fordice

  At Christmas time I was gifted the money to buy something I had been wanting to purchase for a long time but just didn't have the chunk of change to make the splurge. What, you might ask? A Vitamix blender. I know, I know, who would dream of buying a blender?! Well, it is much more then just a blender. It can pulverize anything and everything you put inside of it and will literally last you the rest of your life. Our whole family is kind of obsessed with it and we use it a minimum of 3-4 times a day.

I've been wanting to shout it from the roof tops and tell everyone I know to go buy one... however a commercial grade blender is not exactly in everyone's monthly budget.

When I heard how my dear friend, Michele, saved up to by a Vitamix for her family I begged her to share it on the blog.

ENJOY!

Elizabeth

VITAMIX: by michele fordice


On most days I have about 5 new ideas.

To be honest, very few of my genius ideas actually come to fruition.  Some just weren’t good to begin with.  But most of the time, I just don’t follow through and implement.  I am a constant visionary.  I currently have two entrepreneurial ideas circling my prayer life right now.  And who knows where they’ll go.  My biggest problem -- when I start one project, 5 others seem to appear in the process.  It goes a little something like this:

“Hey, babe!  Let’s paint our room!” (That’s code for, “Jay, will YOU please paint our room?”).

That quickly leads to:

“Honey, should we paint the study too?”

Which, of course, leads to:

“Gee, let’s sell our couch and get a new one. Oh, and we need some new pillows here….”

And so it begins.  Sound familiar?

That’s why I shouldn’t have been surprised when our entire house was thrown in upheaval the second Elizabeth made a small, extremely generous offer.  Preparing for a family trip, Elizabeth offered to let me borrow her Vitamix.  I was beyond thrilled…and a bit surprised.  I mean, really?  Not only is Elizabeth gorgeous and sweet hearted, but she’s kind.  Who lets a neighbor borrow a crazy expensive kitchen appliance?

I had heard a ton of things about this little miracle machine.  But, I needed to see first-hand what all the ridiculous chatter was about. (And my own mediocre blender had just gone belly up.)  A week passed and the only problem I was facing was the fact that the Mossers were on their way home and my kale in my garden wasn’t keeping up with the demands of our smoothie obsession…

…Oh, and that meant my new favorite toy was going to have to be returned.  Visions of us living without the most amazing smoothies and homemade peanut butter and pesto and anything else I could think to blend turned to nightmares.  How was I going to make my post workout green drink or hide kale in the boy’s afternoon smoothies (and not have chunks floating around)?  There was no way we had money budgeted to splurge on an expensive kitchen appliance.

(Elliot finishing my smoothie after drinking his)

And so, my visionary brain kicked in.  And this time I had the nightmares of life without a Vitamix to motivate me.

So, with my husband’s encouragement, I started a “FUN fund.”  I took a long look at our house and began a list of all the things we really didn’t need.  I purged my kitchen, bedrooms, garage and anything that wasn’t functional in our house and decided it was time they needed to find a new home to dwell.  Two months later, thanks to Craigslist, I had sold $800 worth items.

From our “FUN fund,” we were able to buy our beloved Vitamix and put an end to my nightmares of life without kale smoothies.  And, in true Michele fashion, we added a new couch and several new pillows to the mix.  Oh yeah, and a little paint for the bedroom and a bedspread.  (I told you, my ideas always multiply.)  It was like Christmas in July. 

If you are anything like me, the decision to buy something expensive, like a Vitamix, isn’t easy.  Money is tight.  I want to stick to my budget.  I want to honor the Lord with my resources.  But, like you, my heart is also to feed my boys GOOD tasting, GOOD for you foods on a budget.  Foods that we call “GO” foods, not “slow” foods that are going to bring us down.  I saw a Vitamix as a way to help me accomplish that, whipping up smoothies, sauces, peanut butter, jams…and I can’t wait to try some winter squash soup this fall!  And my summer purge helped me make it happen.

(homemade peach and strawberry jam)

Eating healthy and providing a diverse cuisine doesn’t ALWAYS have to be spendy.  It just might take some creativity.  Bringing value to our home and marriage is a personal priority to me.  To show my husband respect and that I appreciate his hard work.  To not spend money flippantly on items that don’t provide a function or purpose in our home.

How do you bring value to your kitchen or create space for a “FUN fund”?  Buying in bulk with a friend and splitting the goods.  Use coupons.  Have a side business.  Do meal swaps with groups of like minded foodies.  Make homemade baby food.  Purchase portions of cows, pigs, etc.  Buy into a co op.  Preserve summer’s fruits and veggies.

The ideas are endless.

Will you please share your creative ideas?  We can learn so much from one another to be more industrious, creative and frugal!

Michele

A FEW NOTES ON WHERE TO PURCHASE A VITAMIX:

  • Costco carries them for a discounted price whenever they are having a live demo. Click here to see demo schedules.
  • Bed Bath and Beyond also carries them and often has 20% coupons.
  • They can also be found on Craigslist!
BROOK'S MILKSHAKE

  I will just be honest...

My husband can't cook.

Aside from a bowl of oatmeal and some scrambled eggs, Brook is not known for his culinary skills.

His dishwashing skills on the other hand are superb and he is always impressed with my cooking.

Smart man.

A few days ago he surprised us all with whipping up the best milkshake/smoothie concoction I have ever tasted!

Tastes like a milkshake, fuels you like a protein drink, and made with real ingredients. Perfection.

Now Brook can make oatmeal, scrambled eggs AND milkshakes.

ENJOY!

Elizabeth

BROOK'S MILKSHAKE

INGREDIENTS:

serves 2

1 C unsweetened vanilla almond milk

2 T natural peanut butter or almond butter

2 pitted Medjool dates

1 frozen banana

handful of ice

TO MAKE:

Throw it all in a blender and blend until smooth!

TO SERVE:

It is great by itself or top with graham crackers and chocolate chips just for fun!

ENJOY!

FRESH BERRY COBBLER

Every summer my mom made us go berry picking.

I grew to dread it over the years, as I would anticipate hours upon hours in the hot sun (it was probably more like 45 minutes total), endless pokes from thorn covered bushes and the pink stained hands that remained for days after the job was done.

Aren’t there laws against child labor?

John Mark always tried to make it a competition to see who could pick the most berries the fastest. Somehow he always won… Rebekah would compete with everything in her and give John Mark a good race…

I spent most of my time eating the berries I picked…

And Matthew played NERF guns the whole time…

Not much has changed.

My mom would then spend days making homemade jam and stocking the freezer full of berries so we had enough to keep us satisfied with cobblers until the next summer.

After all those summers berry picking (and promising I would never do that to my children), where did I find myself this past week? Yep, berry picking. And making Duke help me.

I could eat fresh berries by the bucket and you can’t beat the price when you pick them yourself! Now I actually enjoy the whole ordeal and plan to follow the same summer tradition.

Duke and Scarlet can blame their “Amma”.

This week’s recipe is my Great Grandma Stewart's recipe and we have all been making it for years! It is so easy and always tastes amazing! It may not be the healthiest due to all the sugar but you need a reward for all that berry picking, right?

ENJOY!

Elizabeth

PS: Here are a few local farms that are really easy to swing by and pick the berries dripping off the vines!

Smith’s Berry Barn

Rowell Bro’s

Lolich’s

Sauvie Island Farms

GRANDMA'S BERRY COBBLER

 INGREDIENTS:

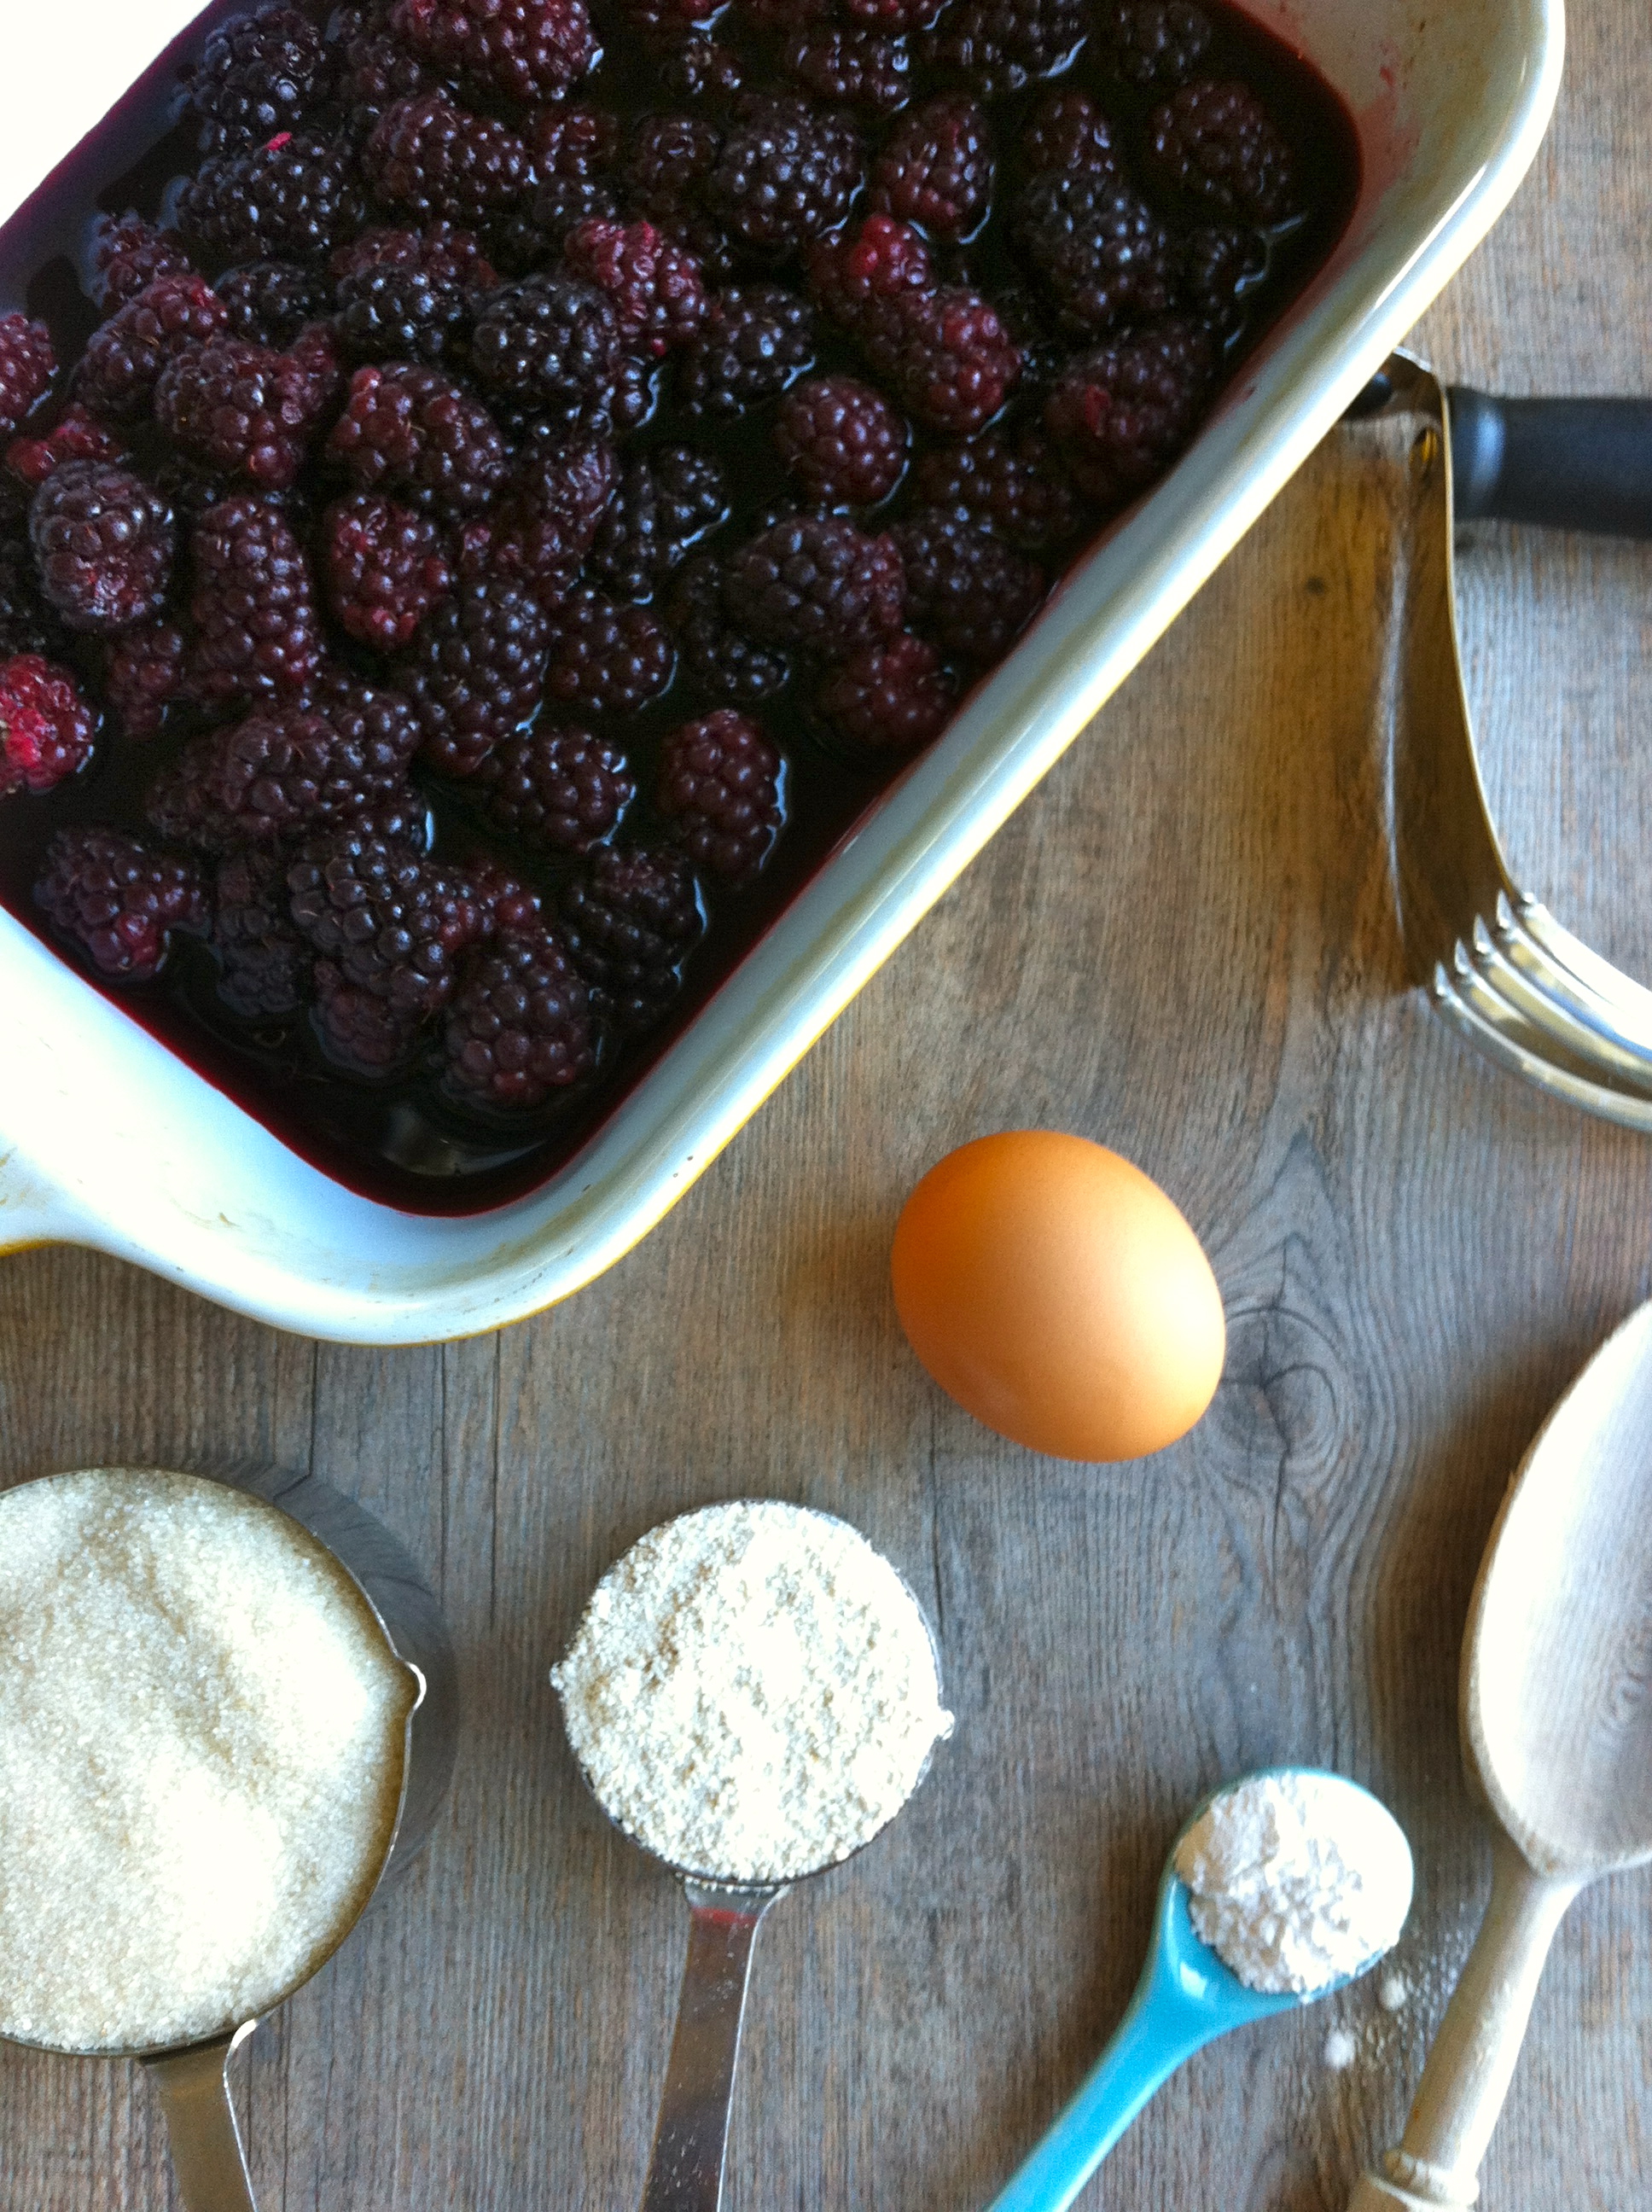
  • 1 C flour (I use whole wheat or oat flour)
  • 1 C cane sugar
  • 1 t baking powder
  • 1 egg
  • 5 - 6 C berries – fresh or frozen (peaches and rhubarb work great too!)
  • 1/8 C cane sugar (sweeten to taste)
TO MAKE:

Preheat oven to 350F. In a medium baking pan, combine berries and sugar. If you are using frozen berries, defrost them most of the way first. In a medium bowl, mix together flour, sugar, and baking powder. Add the egg and use a pastry knife or fork to combine all together.

Spread topping mixture over the berries and bake for about 45 minutes. The top should be golden brown and crispy.

TO SERVE:

It is delicious by itself but even better with vanilla ice cream!

ENJOY!

INSPIRATION

  "I am not a runner."

I cannot tell you how many times I have heard that.

I cannot tell you how many times I have said that.

Yet somehow over the years running has become a huge passion of mine (right up there with cooking) and now I want everyone to love it as much as I do! Someday I will share my story with you, but today I want to share a story that is encouraging, inspiring and simply amazing.

Many of you know Jodi Stilp who wrote for us when we did a series called "Not Your Own" and whole bunch of us ran the Helvetia Half Marathon.

Well, Jodi and two of her fellow running friends have started a blog and I wanted to pass on Tanya's Story to you.

Click here to read her inspiring story!

ENJOY!

Elizabeth


THE BIG RED BARN

  We live in a pretty incredible city.

I have a list a mile long of new resturaunts I want to try and places I want to visit and we finally checked two off the list!

Did you know that Portland is home to Bob's Red Mill and Dave's Killer Bread?

Did you know they each have their own store and that they are right across the street from each other?

Can you tell I'm excited about this???

We took a little family trip to Milwaulkie last week to check out the amazingness and it did not disapoint. I highly recommend you pay them both a visit!

BOB'S RED MILL

(Duke is in the left corner... extremely excited)

You may start to feel like you have taken a wrong turn as you drive through a random business park but the big red barn will ensure you that you have indeed come to the right place.

Bob's Red Mill has a restaurant and whole grain store attached to their mill. They give daily mill tours and the store is open to the public Monday - Saturday.

Their resturant has a breakfast and lunch menu full of healthy options for all dietary needs. The breakfast was delicious! Brook had the eggs and potatoes, Duke devoured the vegan french toast, I tried the 5 grain hot cereal and Scarlet took a nap.

Brook and Duke went to a grassy area to play some football while I (with sleeping Scarlet) drooling over all the fun things the store had to offer. I wanted to buy one of everything and may have gotten a bit carried away in the bulk section (their prices for the indiviual bags of flours, grains and mixes were not that great but they do have a great bulk section with a bit better pricing).

DAVE'S KILLER BREAD:

We then ventured across the street to Dave's Healthy Bread Store.

HEAVEN on earth.

They have 4 sections in the store:

Day Olds

Fresh

Imperfect

Frozen

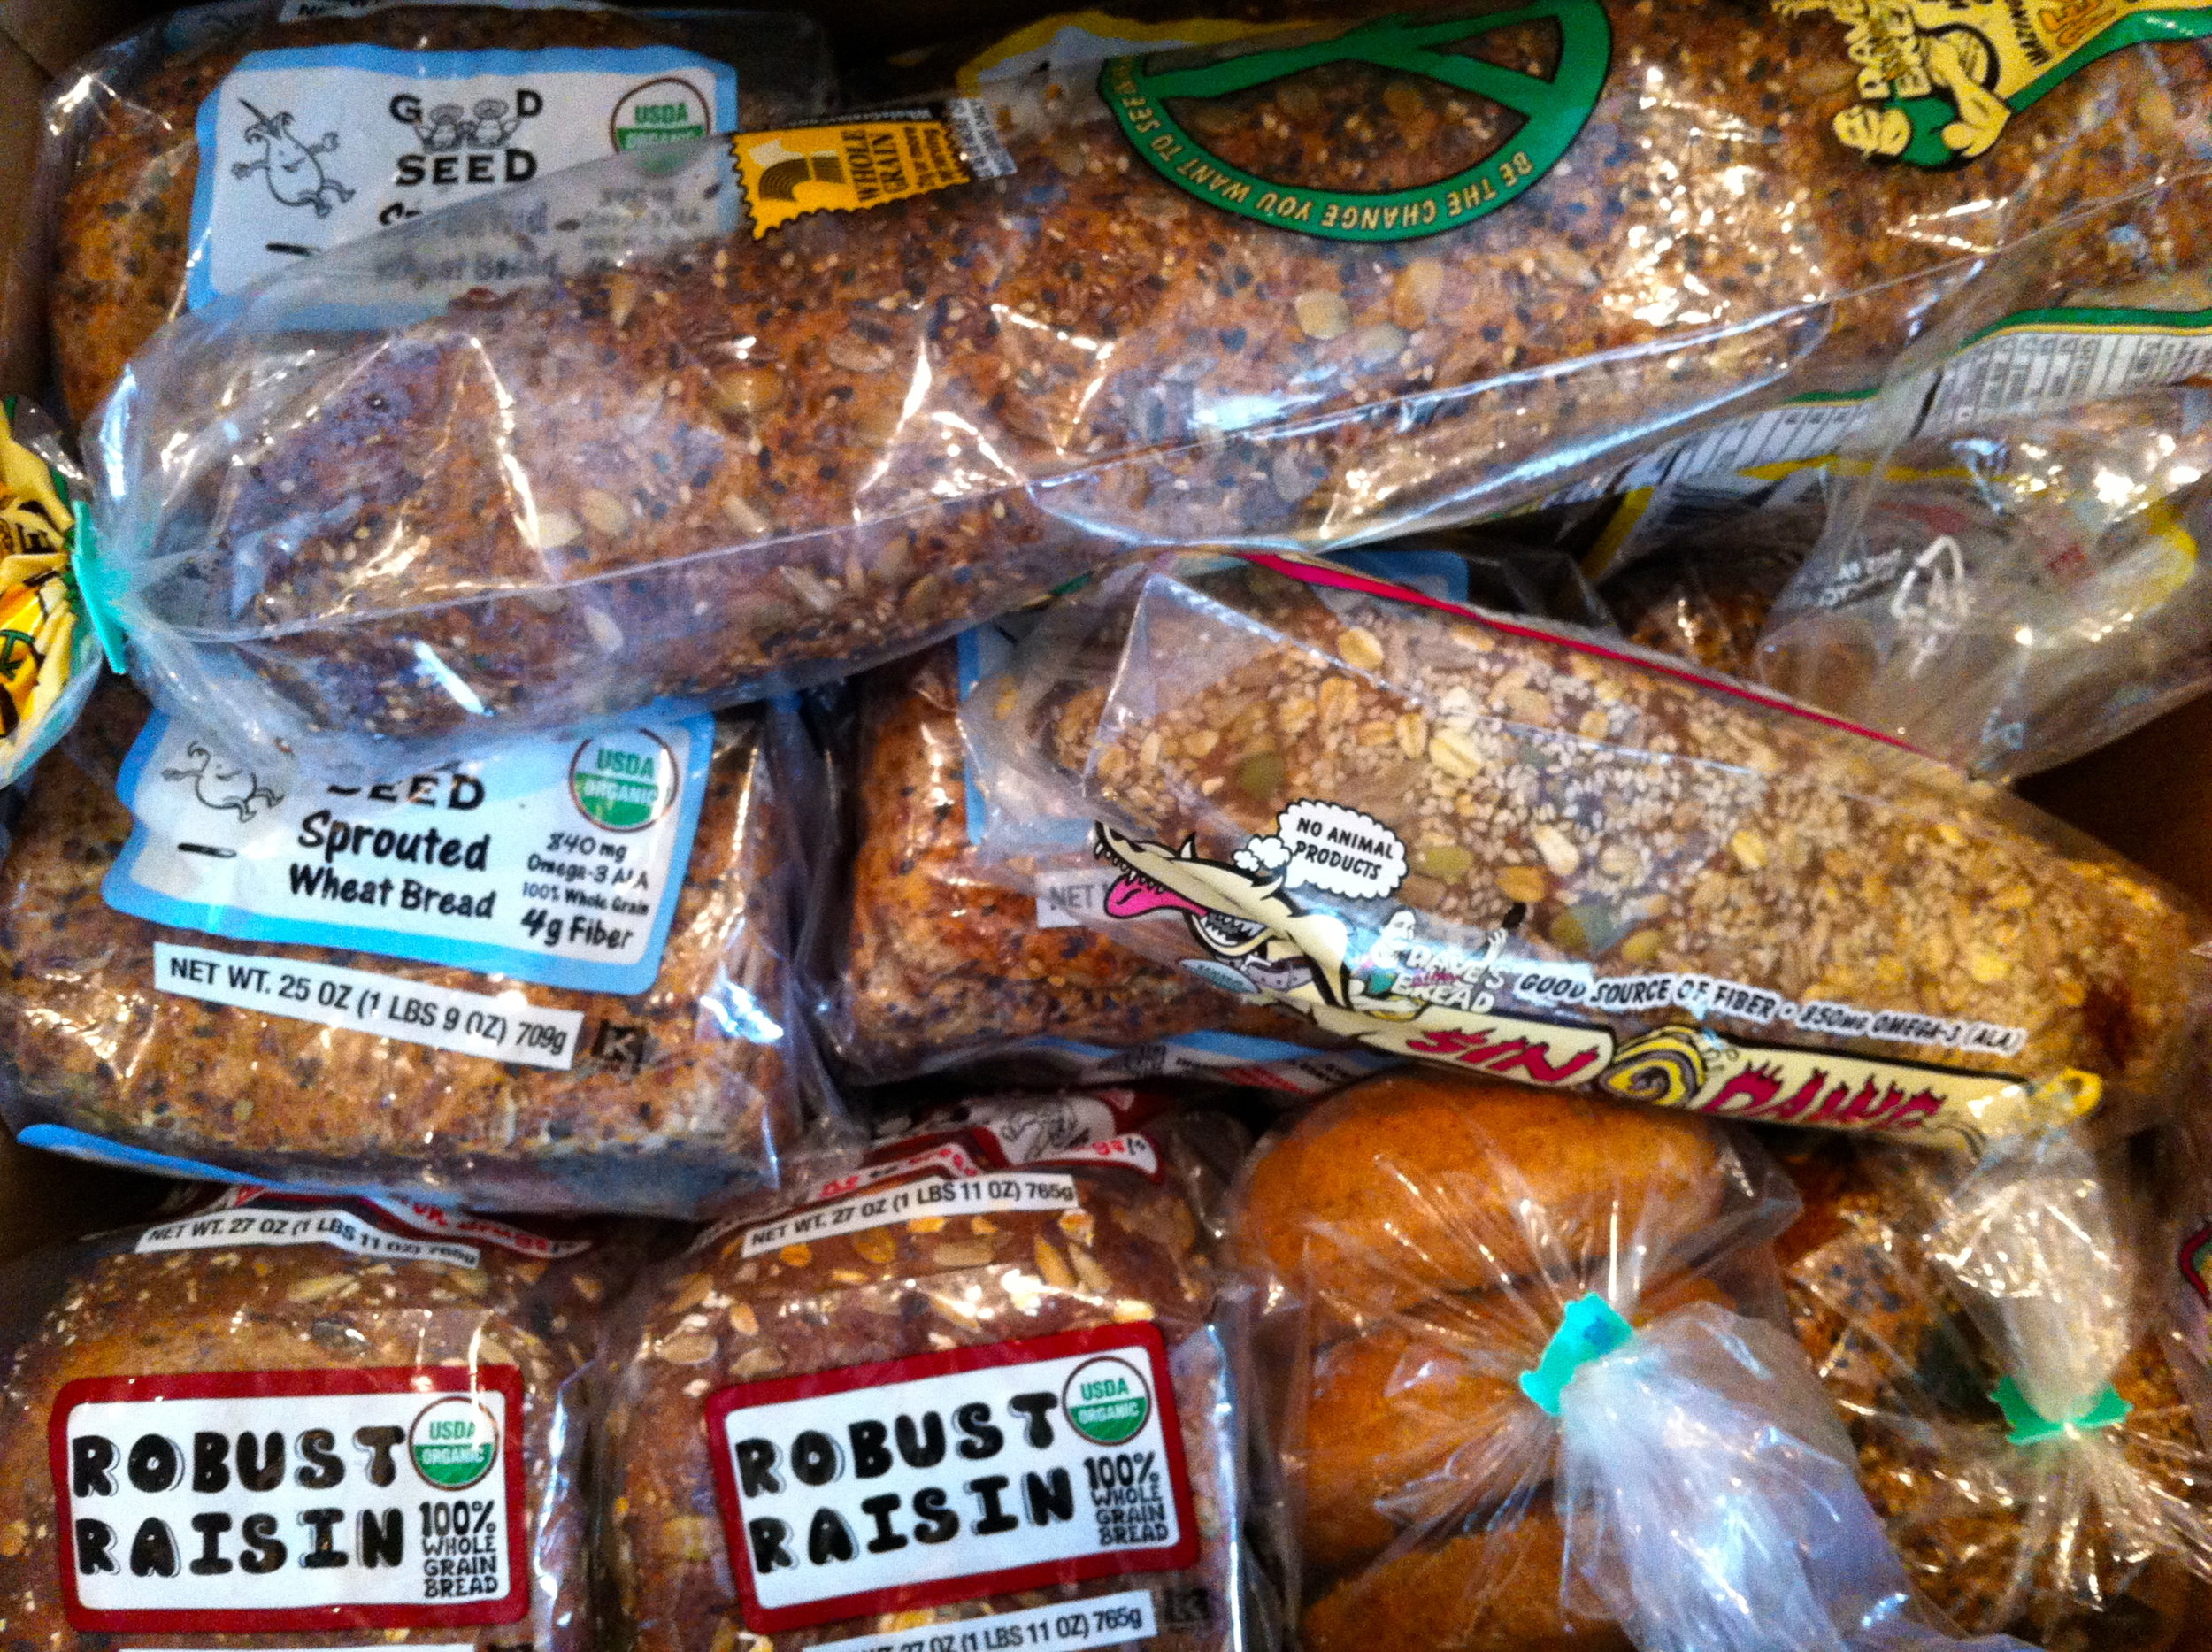
They are all discounted but the best deal are the frozen loaves. They average about $3 a loaf (they are normally $5-$6 each in most stores) but if you buy 12 or more loaves they are about $2 a loaf.

Brook and Duke sampled bread and participated in a taste test for some new recipes they are working on developing.

I deliberated over which 12 loaves to buy.

And Scarlet kept sleeping.

They have every kind you could think of and I love them all! If you are like me and don't do too great with wheat, their Sprouted Wheat Bread is so good and a little easier to digest.

We may have gotten a bit carried away...

Overall it was a wonderful adventure and I would highly recommend you take a trip to the big red barn!

ENJOY!

Elizabeth

What are some of your favorite Bob's Red Mill and Dave's Killer Bread products and how do you use them?

ROASTED CAULIFLOWER AND ASPARAGUS BOWLS

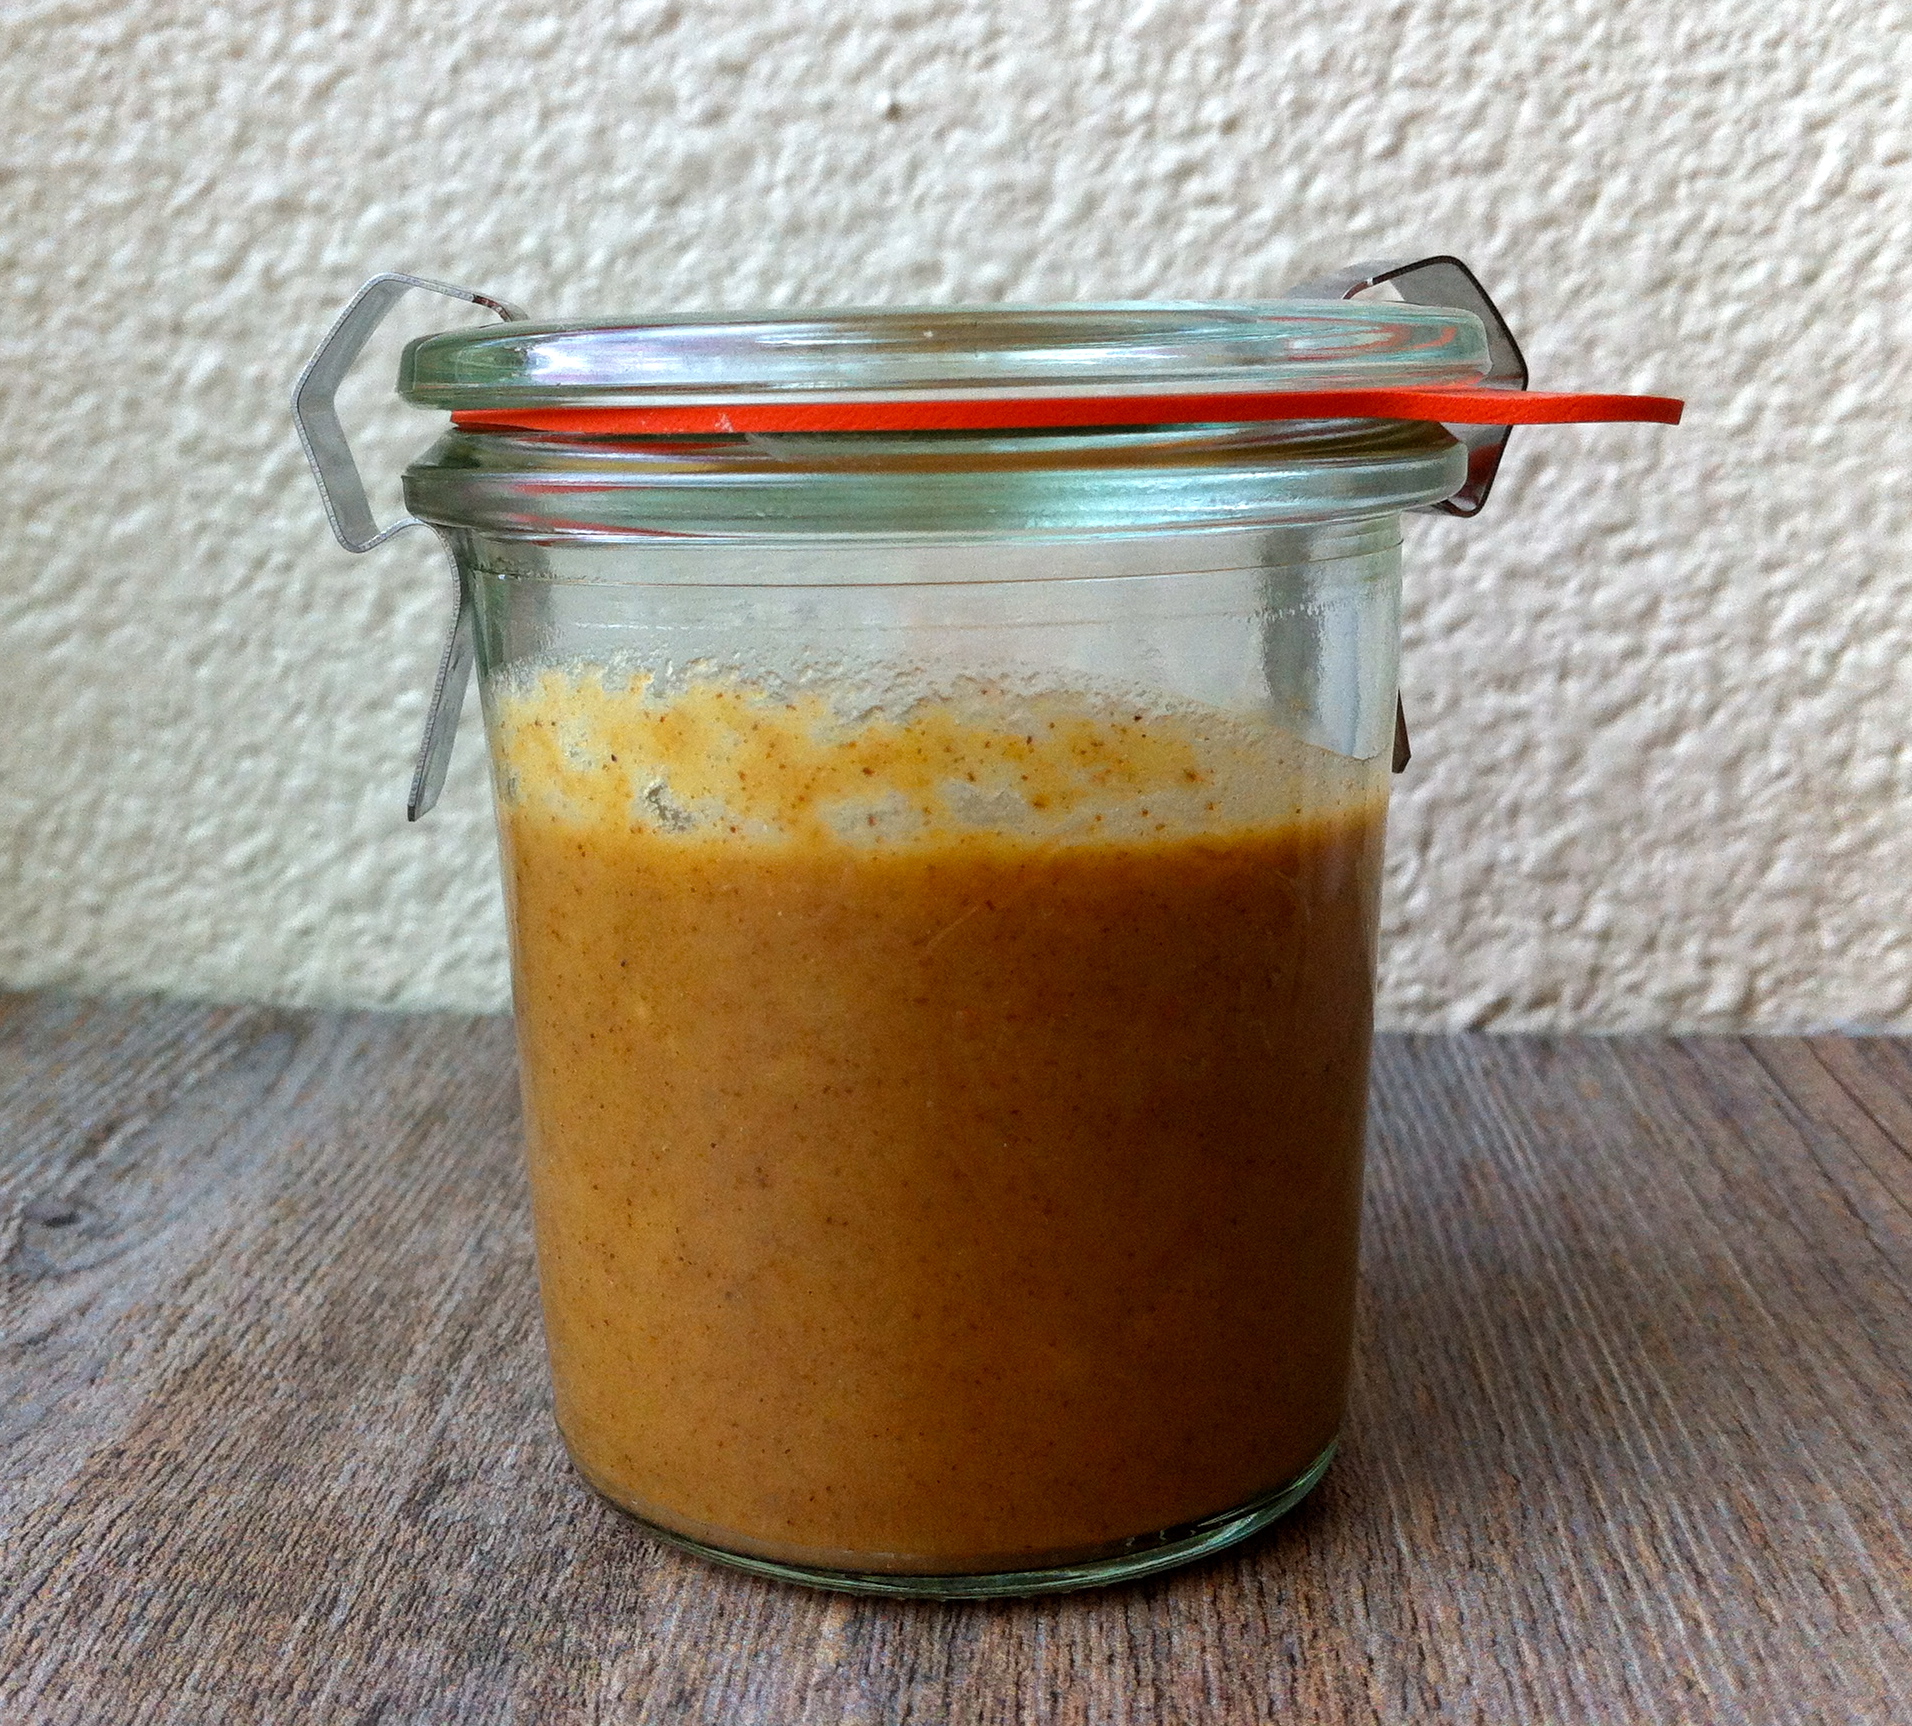
If you were to look inside my fridge, more often then not, you would find a little jar of sauce.

Not just any sauce.

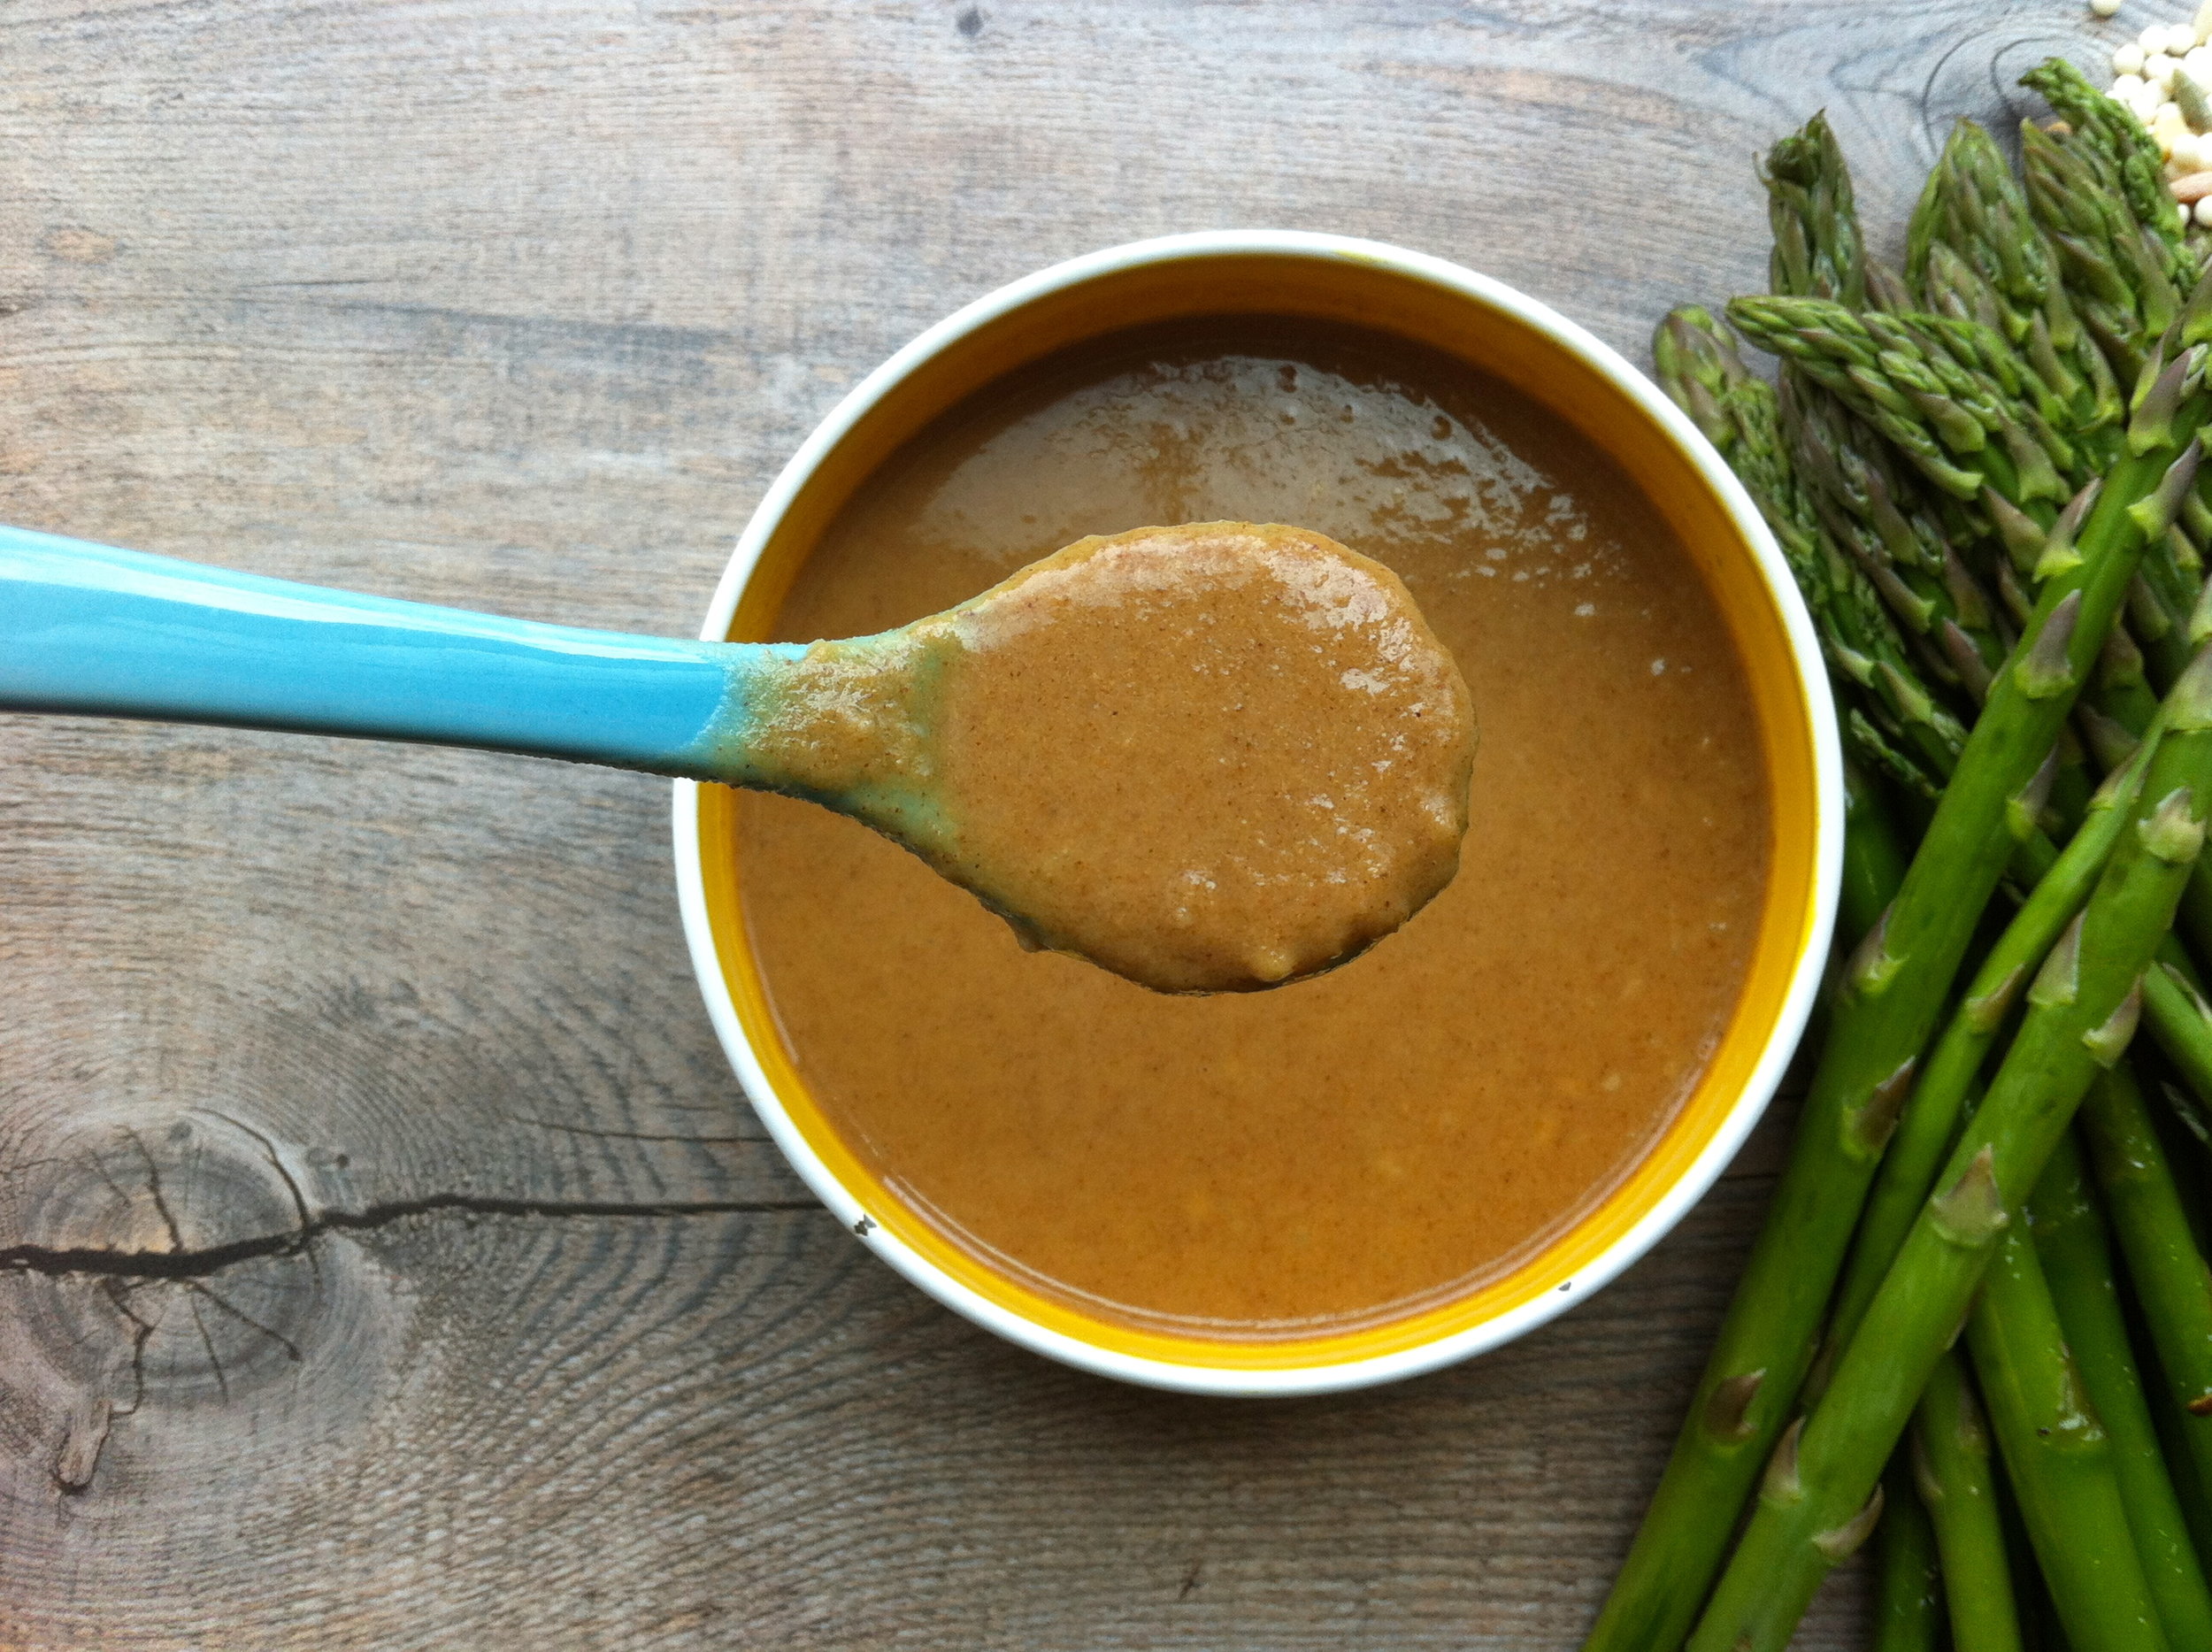
Magic sauce.

A few days after Scarlet was born, my mom came over to make us some dinner and the meal she made has become a staple in our house. The sauce for the roasted veggies comes from one of my favorite food blogs and the dinner concept from my mom's sheer genious.

Thank you Mom.

As I've mentioned before, eating all real foods takes some planning, preperation and time and I'm always looking for easy items I can keep on hand to throw together a quick meal... especially when you can get good leftovers out of it!

A few things about this meal:

  • If you are a meat eater and worry that a meal of veggies won't fill you up... I promise this will.
  • You can use any veggies you like with the sauce. Although it does taste amazing with the cauliflower!
  • I sometimes add garbonzo beans or lentils to the meal for added protein.
  • I always double or triple the sauce and keep it on hand for another meal. Thus, the little magic jar.
  • If your 3 year old says "I will like vegetables when I get older mama." then you might be out of luck with this one. Yes, I'm speaking from experience.

ENJOY!

Elizabeth

ROASTED CAULIFLOWER AND ASPARAGUS BOWLS

INGREDIENTS:

  • 1 head of cauliflower - cut into bit sized pieces
  • 1 bunch of asparagus
  • 1 package of the 5 Grain Blend from Trader Joe's (it is a mix of couscous, orzo, beans and red quinoa) or any grain
  • Vegetable broth

THE SAUCE:

I follow these intructions and mix together:

  • 2 T almond butter
  • 1 T braggs amino acids
  • 1 t lemon juice
  • 3 T water
  • 1 T maple syrup
  • 1 t minced ginger
  • 1 t minced garlic
  • 2 T chopped cashews or almonds

TO MAKE:

Preheat oven to 400 degrees.

Follow the instructions for cooking the 5 Grain Mix and get it going on the stove. I use vegetable broth and coconut oil.

Side note: I usually make the whole package because it works great for leftovers and Duke LOVES it. Seriously great, kid-friendly, mix! I usually mix in some avocado and sometimes I can even hide some broccoli in it. Sometimes.

Mix together the ingredients for the sauce in a small bowl.

In a medium sized bowl, toss the cauliflower with about half the sauce and place on a baking sheet. Roast for about 15 minutes.

While the cauliflower starts cooking, toss the asparagus with the remaining sauce.

After about 15 minutes, stir the cauliflower and add the asparagus to the baking sheet and roast for another 10 minutes.

TO SERVE:

Layer everything in a bowl!

If you like spicy, it tastes great with a bit of Sreracha on top.

ENJOY!

PINTEREST: by echo zielinski

  In a world full of cookbooks, blogs, magazines, apps and websites filled with new recipes... it can be overwhelming to keep track of all your favorites or to choose what sounds good.

My good friend Echo is a wife and a mama who creates beauty everywhere she goes. Her house is full of the perfect little touches to make it feel like home. Her two little girls are full of personality and each have their own unique style. And Echo herself is simply beautiful in every way.

She also loves to cook! I asked her to share a bit with us about where she finds inspirations and I'm sure you too will be inspired!

ENJOY!

Elizabeth

PINTEREST: by echo zielinski

I am sure most of you have heard of or are currently using (or like me, addicted to) Pinterest! If you are one of the few that have not jumped on the pinterest bandwagon, you are missing out! I know I know, there are so many social media outlets to try and keep up with it’s exhausting, but really, this one can really make your life easier and will leave you feeling more then a little bit inspired!

In short, Pinterest is an online inspiration board where you can “pin” a photo from any website you want along with a description. When you go to your pinterest page you will be able to quickly access all the inspiring things you have found.

I use pinterest as inspiration for decorating my home, planning parties and showers, remembering cute things I find for my two little girls, but most of all, pinterest has changed the way I find what it is I am going to cook.

I have countless recipe books that sit and collect dust and I have done my fair share of googling recipes. Both ways typically leave me uninspired and with a headache. I need a photo, a beautiful picture of the food that makes me drool and leaves me wanting to take a bite of its deliciousness right now!

This is where pinterest is really great! Literally, pictures pictures everywhere!

(here is a photo of what my pinterest page looks like)

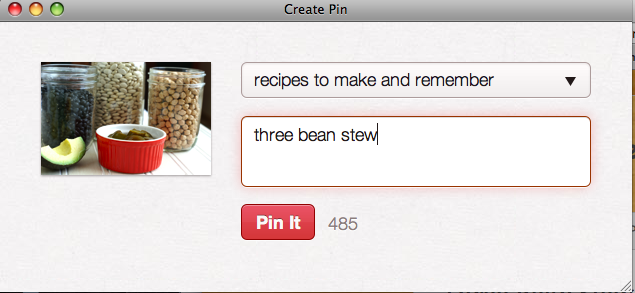
There are a couple of ways to use Pinterest. One way is when you do find something on the Internet that you want to make, pin it (there are directions on pinterest as to how to get the “pin it” button on your bookmark tab which will make this possible)

I am going to show you how to pin a recipe from Tastespotting.com. This is a great website to find delicious recipes. Simply search for something you have in mind, or browse through the pages and you are sure to find many things deemed pin worthy. Lets say the 3 bean stew in the photo above looks like something you or your family would enjoy! Simply click on it, hit “pin it” from your bookmark page, click on the appropriate photo to go along with the recipe.

click on the photo of 3 bean stew

Then you choose whichever board you want to pin the recipe to, add a description, press pin it and boom! You have an amazing recipe saved to your virtual recipe book to access whenever your heart desires! (I personally love to pull up recipes later on my iPhone, yes ladies; there IS an app for that!)

Success! Who doesn’t love that word…

Another way to use pinterest is to re-pin your friends’ recipes that they pin or re-pin ones that you find when you click on the everything page. Confused yet? Don’t worry; it’s not as hard as it sounds!

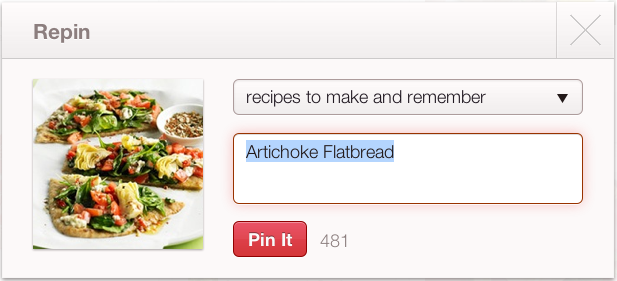
 Above is my pinterest home page. It is where I can see all the pins my friends have made! As you can see, the lovely Sarah Nelson just pinned a recipe for Artichoke flatbread, Sounds good huh? Well, what are we waiting for, lets re-pin it!

You just run your cursor over the photo and when the re-pin button appears, you click it! and Pin it!

Lastly, you can click on the button that says everything on your homepage and it will take you to a general feed of what other people all over the world are pinning! Your recipes will not be limited to just the sites you know of and what your friends may pin. Nope, you have a whole world of pins at your fingertips!

I really hope these photos and steps have encouraged you to take the pinterest plunge and that you feel a bit more inspired today to cook something new!

Or if you are one of the many people who never make what you pin, hopefully this is a reminder that behind the photos lies an actual recipe that could be on your dinner table tonight!

And if you’re feeling real ambitious, you can re-decorate your home or sew a new skirt while you’re at it J

Most of all have fun and enjoy!

Lots of love and Happy Pinning,

Echo

You can find me on pinterest at http://pinterest.com/echoz/


TERIYAKI SALMON BOWLS + GRILLED VEGGIES

  To me, Whole Foods is a little slice of heaven on earth.

Some women like to window shop and drool over beautiful clothes…

I prefer to peruse the isles of Whole Foods.

(Ok, I love clothes too but window-shopping is not really my thing… I like shopping to buy better)

Anyway… I love to stroll down the isles and dream of new meals to create and flavors to try.

Beyond just shopping there, they have some of the best lunch and dinner meals around. If you have not gone to their Marketplace for a meal, you really need to!

They have EVERYTHING. Mexican, Italian, Indian, Sushi… you name it, they have it and everything is delicious! I know that most of the store is pretty spendy (my husband calls it “Whole Paycheck”) but their meals are really quite reasonably priced.

One of my favorite things to eat there lately is their Teriyaki Salmon Bowls. I pretty much want one all day, everyday so it was time to attempt to make them at home.

Now if I can just convince my husband that he wants these everyday too…

ENJOY!

Elizabeth

GLUTEN FREE TERIYAKI SAUCE

INGREDIENTS:

1/4 C Bragg’s amino acids

3/4 C water

1 tsp minced ginger

2 tsp minced garlic

2 T brown sugar

1 T cornstarch

Couple of dashes of cayenne pepper

TO MAKE:

Heat in a saucepan over medium heat until it boils. Then reduce to a simmer until it thickens. Stir frequently.


GRILLED SALMON AND VEGGIE BOWLS

Adjust quantities according to how many you are serving

INGREDIENTS:

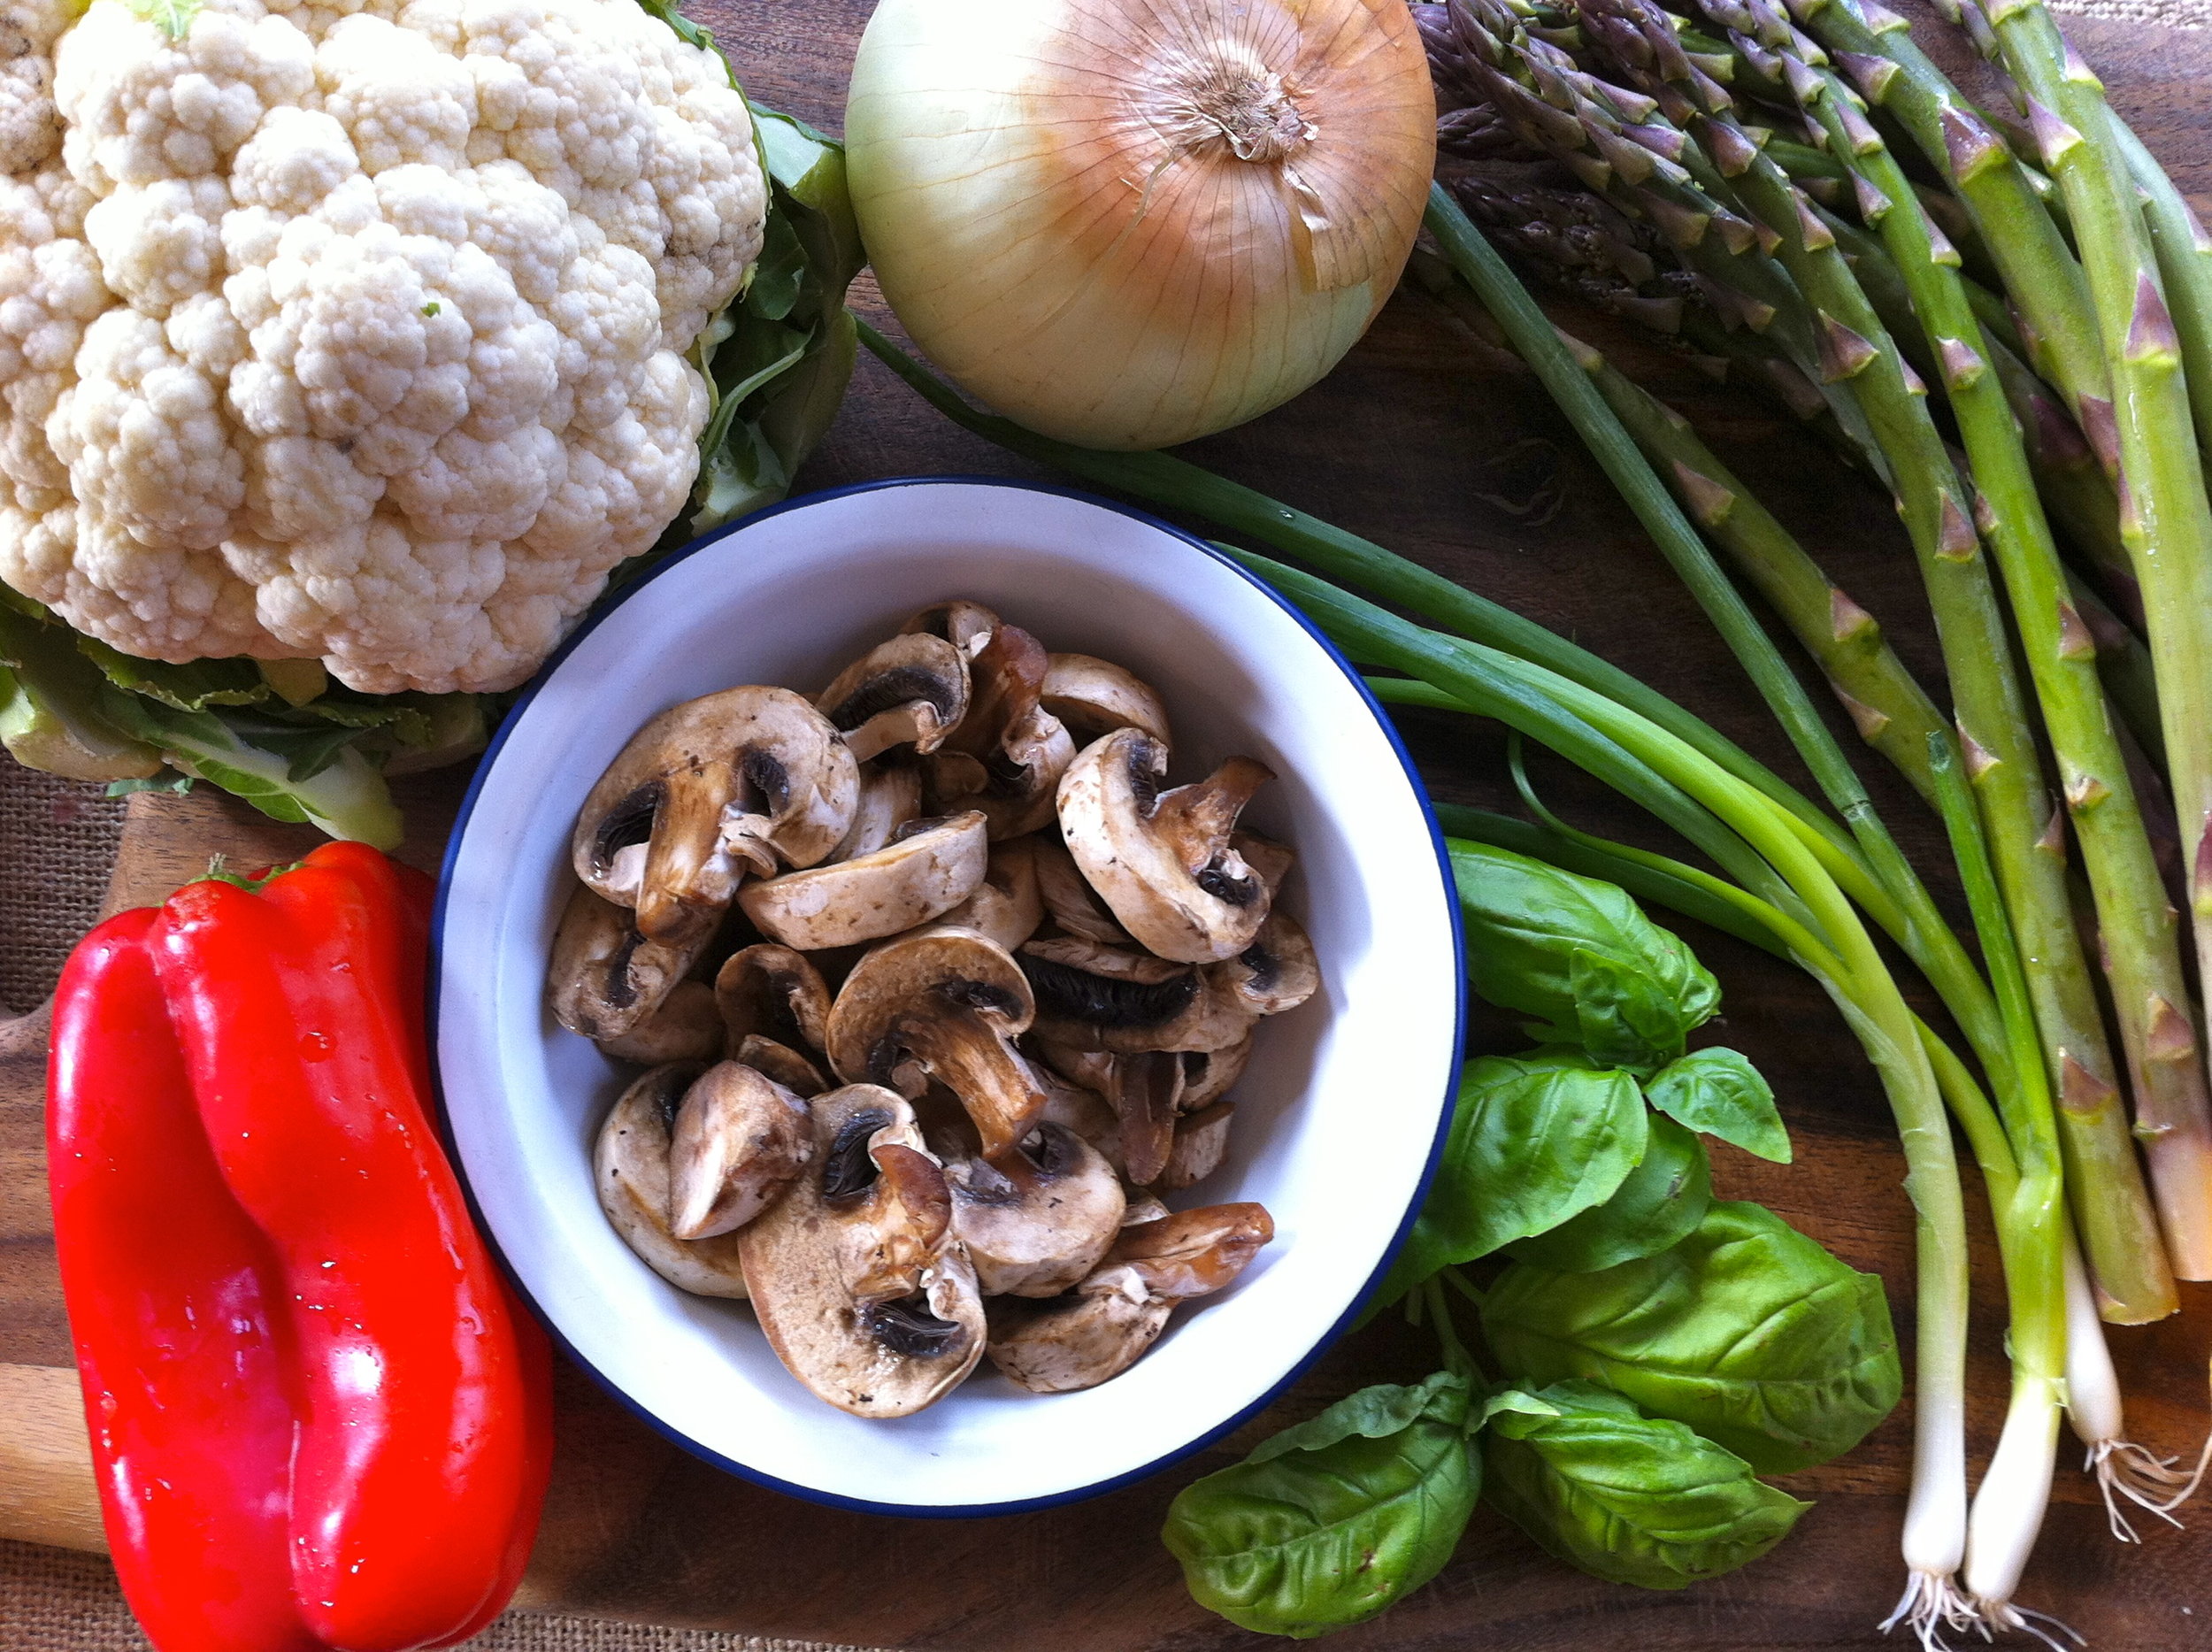
Chopped:

Bell Pepper

Cauliflower

Asparagus

Onion

Mushrooms

*any veggies work!


Thinly sliced salmon

Lemon juice

Olive oil

Minced garlic

Sea salt

Pepper


Cooked brown rice

TO MAKE:

Fire up the grill!

Place all chopped veggies in a large bowl and toss with olive oil, salt, pepper, and a scoop of minced garlic.

Cook them on the grill on a high heat until they brown up but still a bit crispy. We cook ours on a grill pan we got at Target and it works perfectly for any veggies

For the salmon, we usually buy the frozen Alaskan Salmon Fillets from Costco and those are really easy to slice in thin pieces. Toss them in a bowl with olive oil, lemon juice and dash of sea salt. Place them on the grill and watch them closely because they won’t take long to cook.

TO SERVE:

Layer brown rice, veggies, and salmon and drizzle the teriyaki sauce on top. Garnish with fresh basil and green onions for added flavor.

ENJOY!


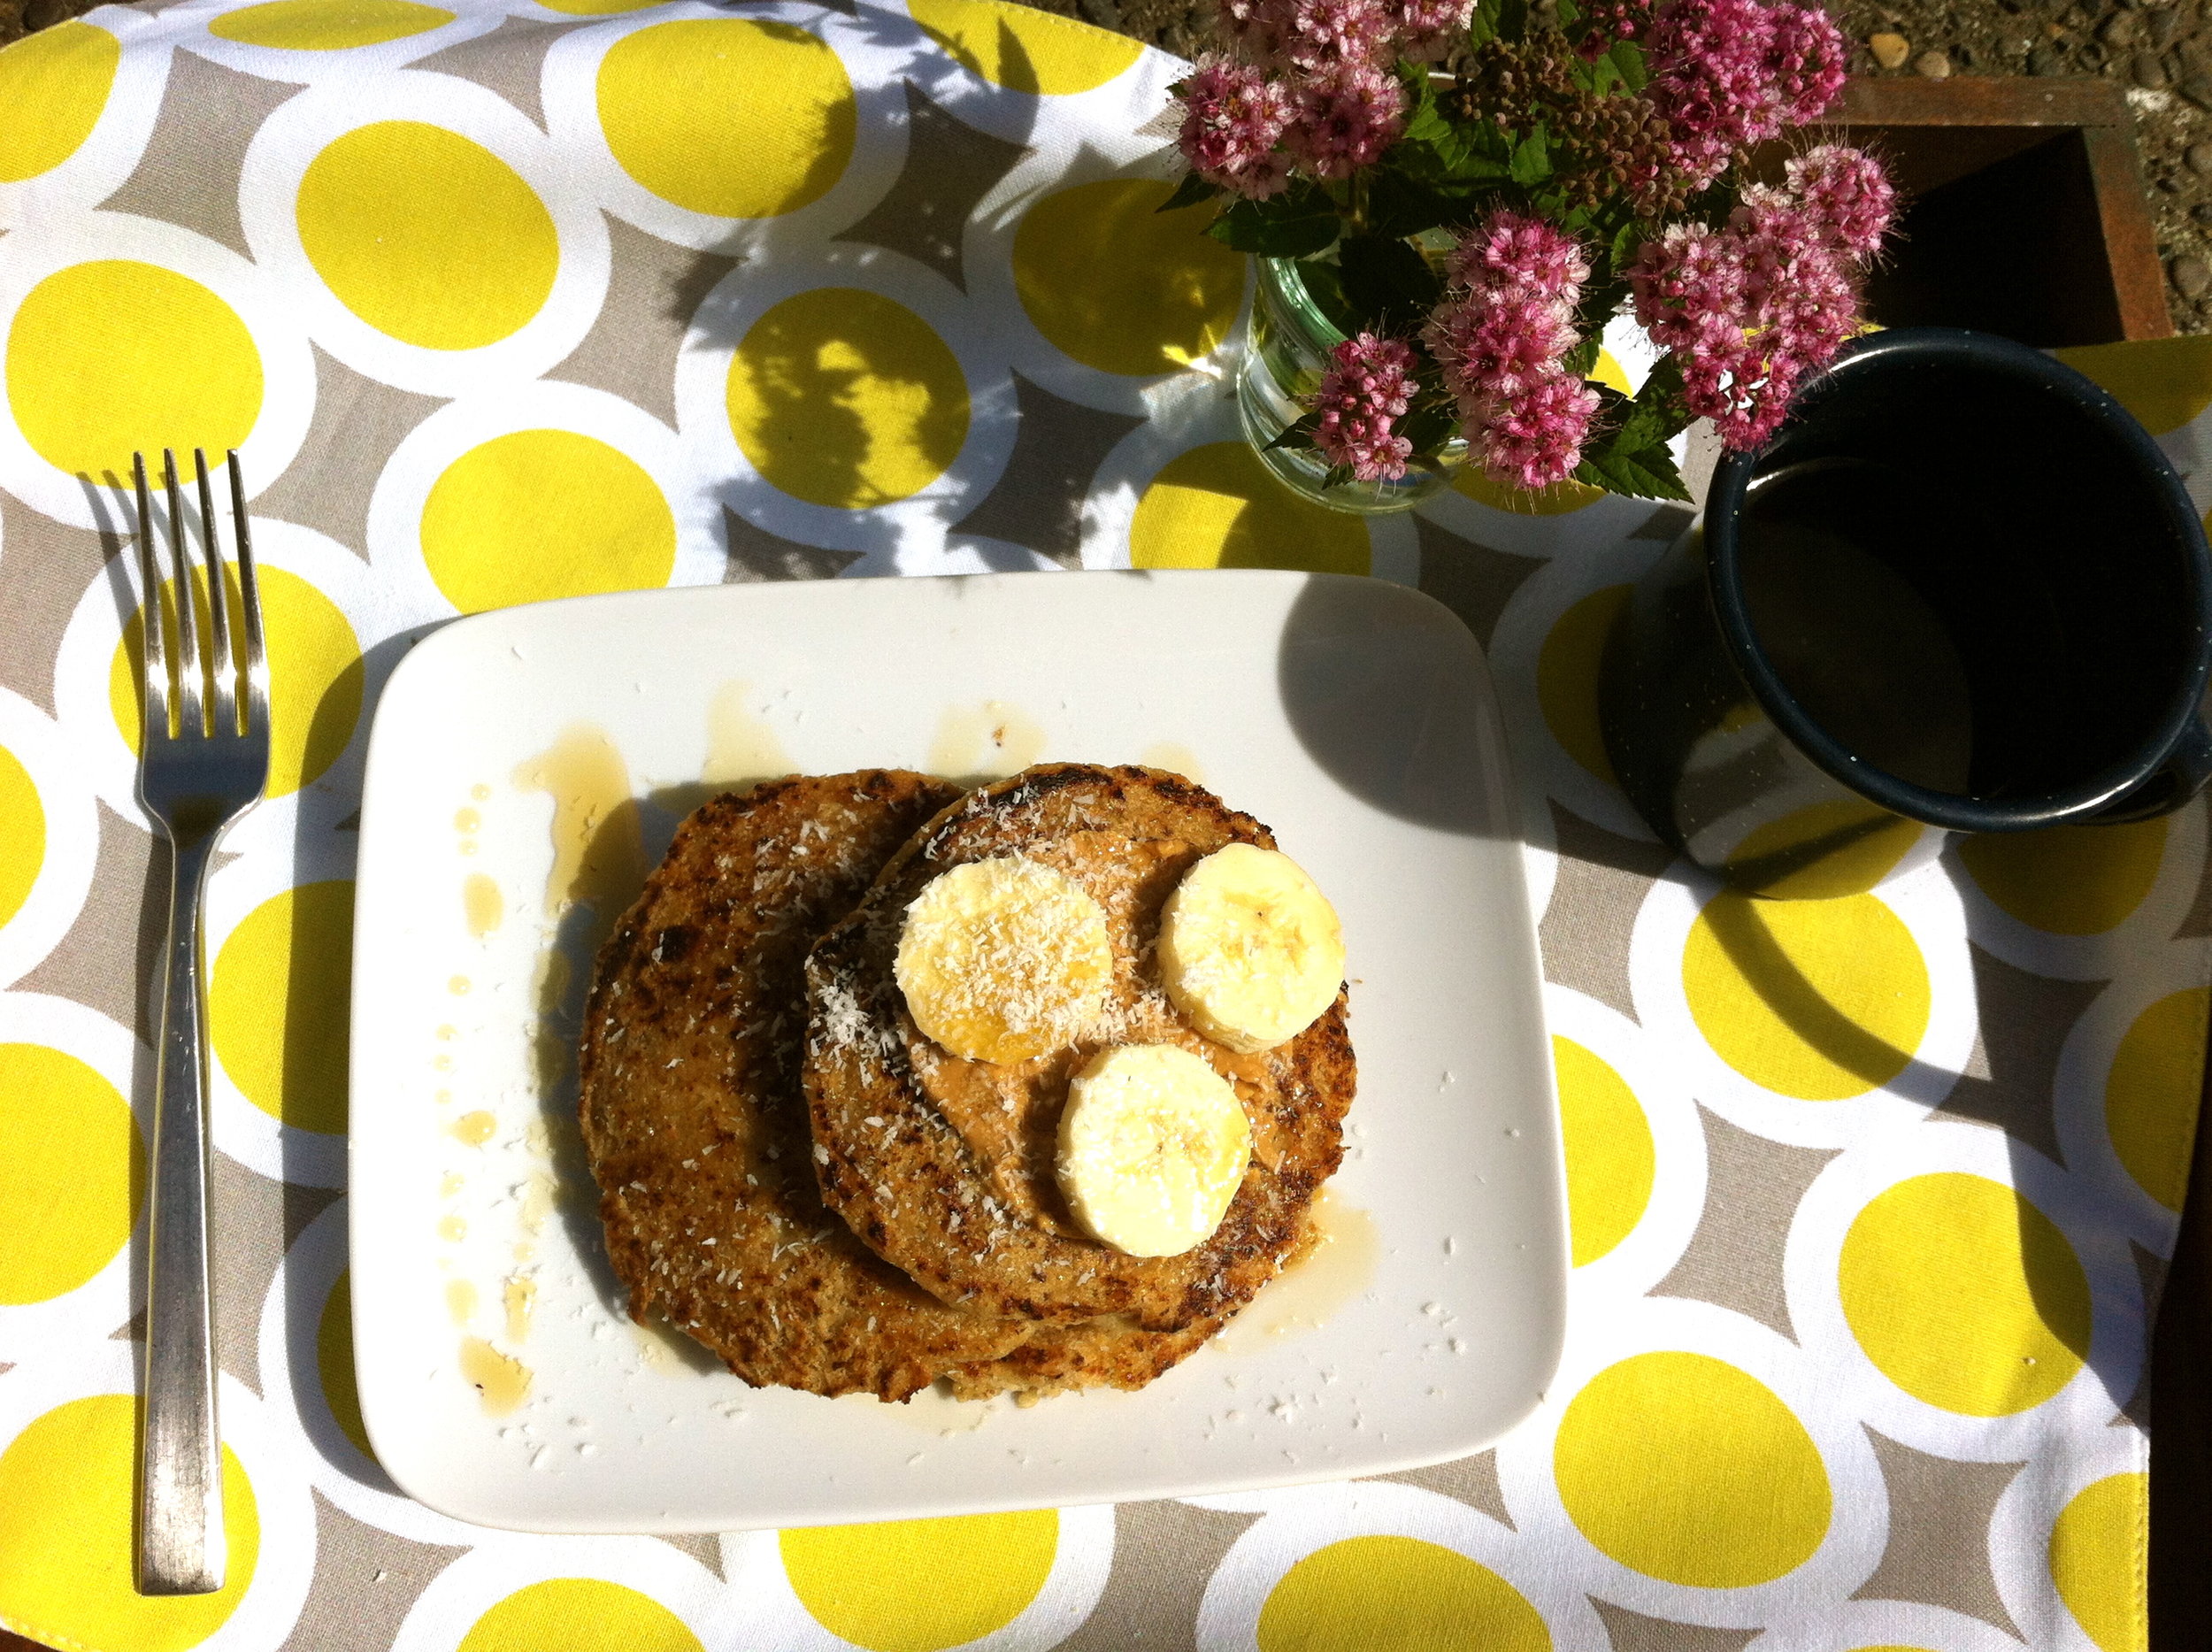
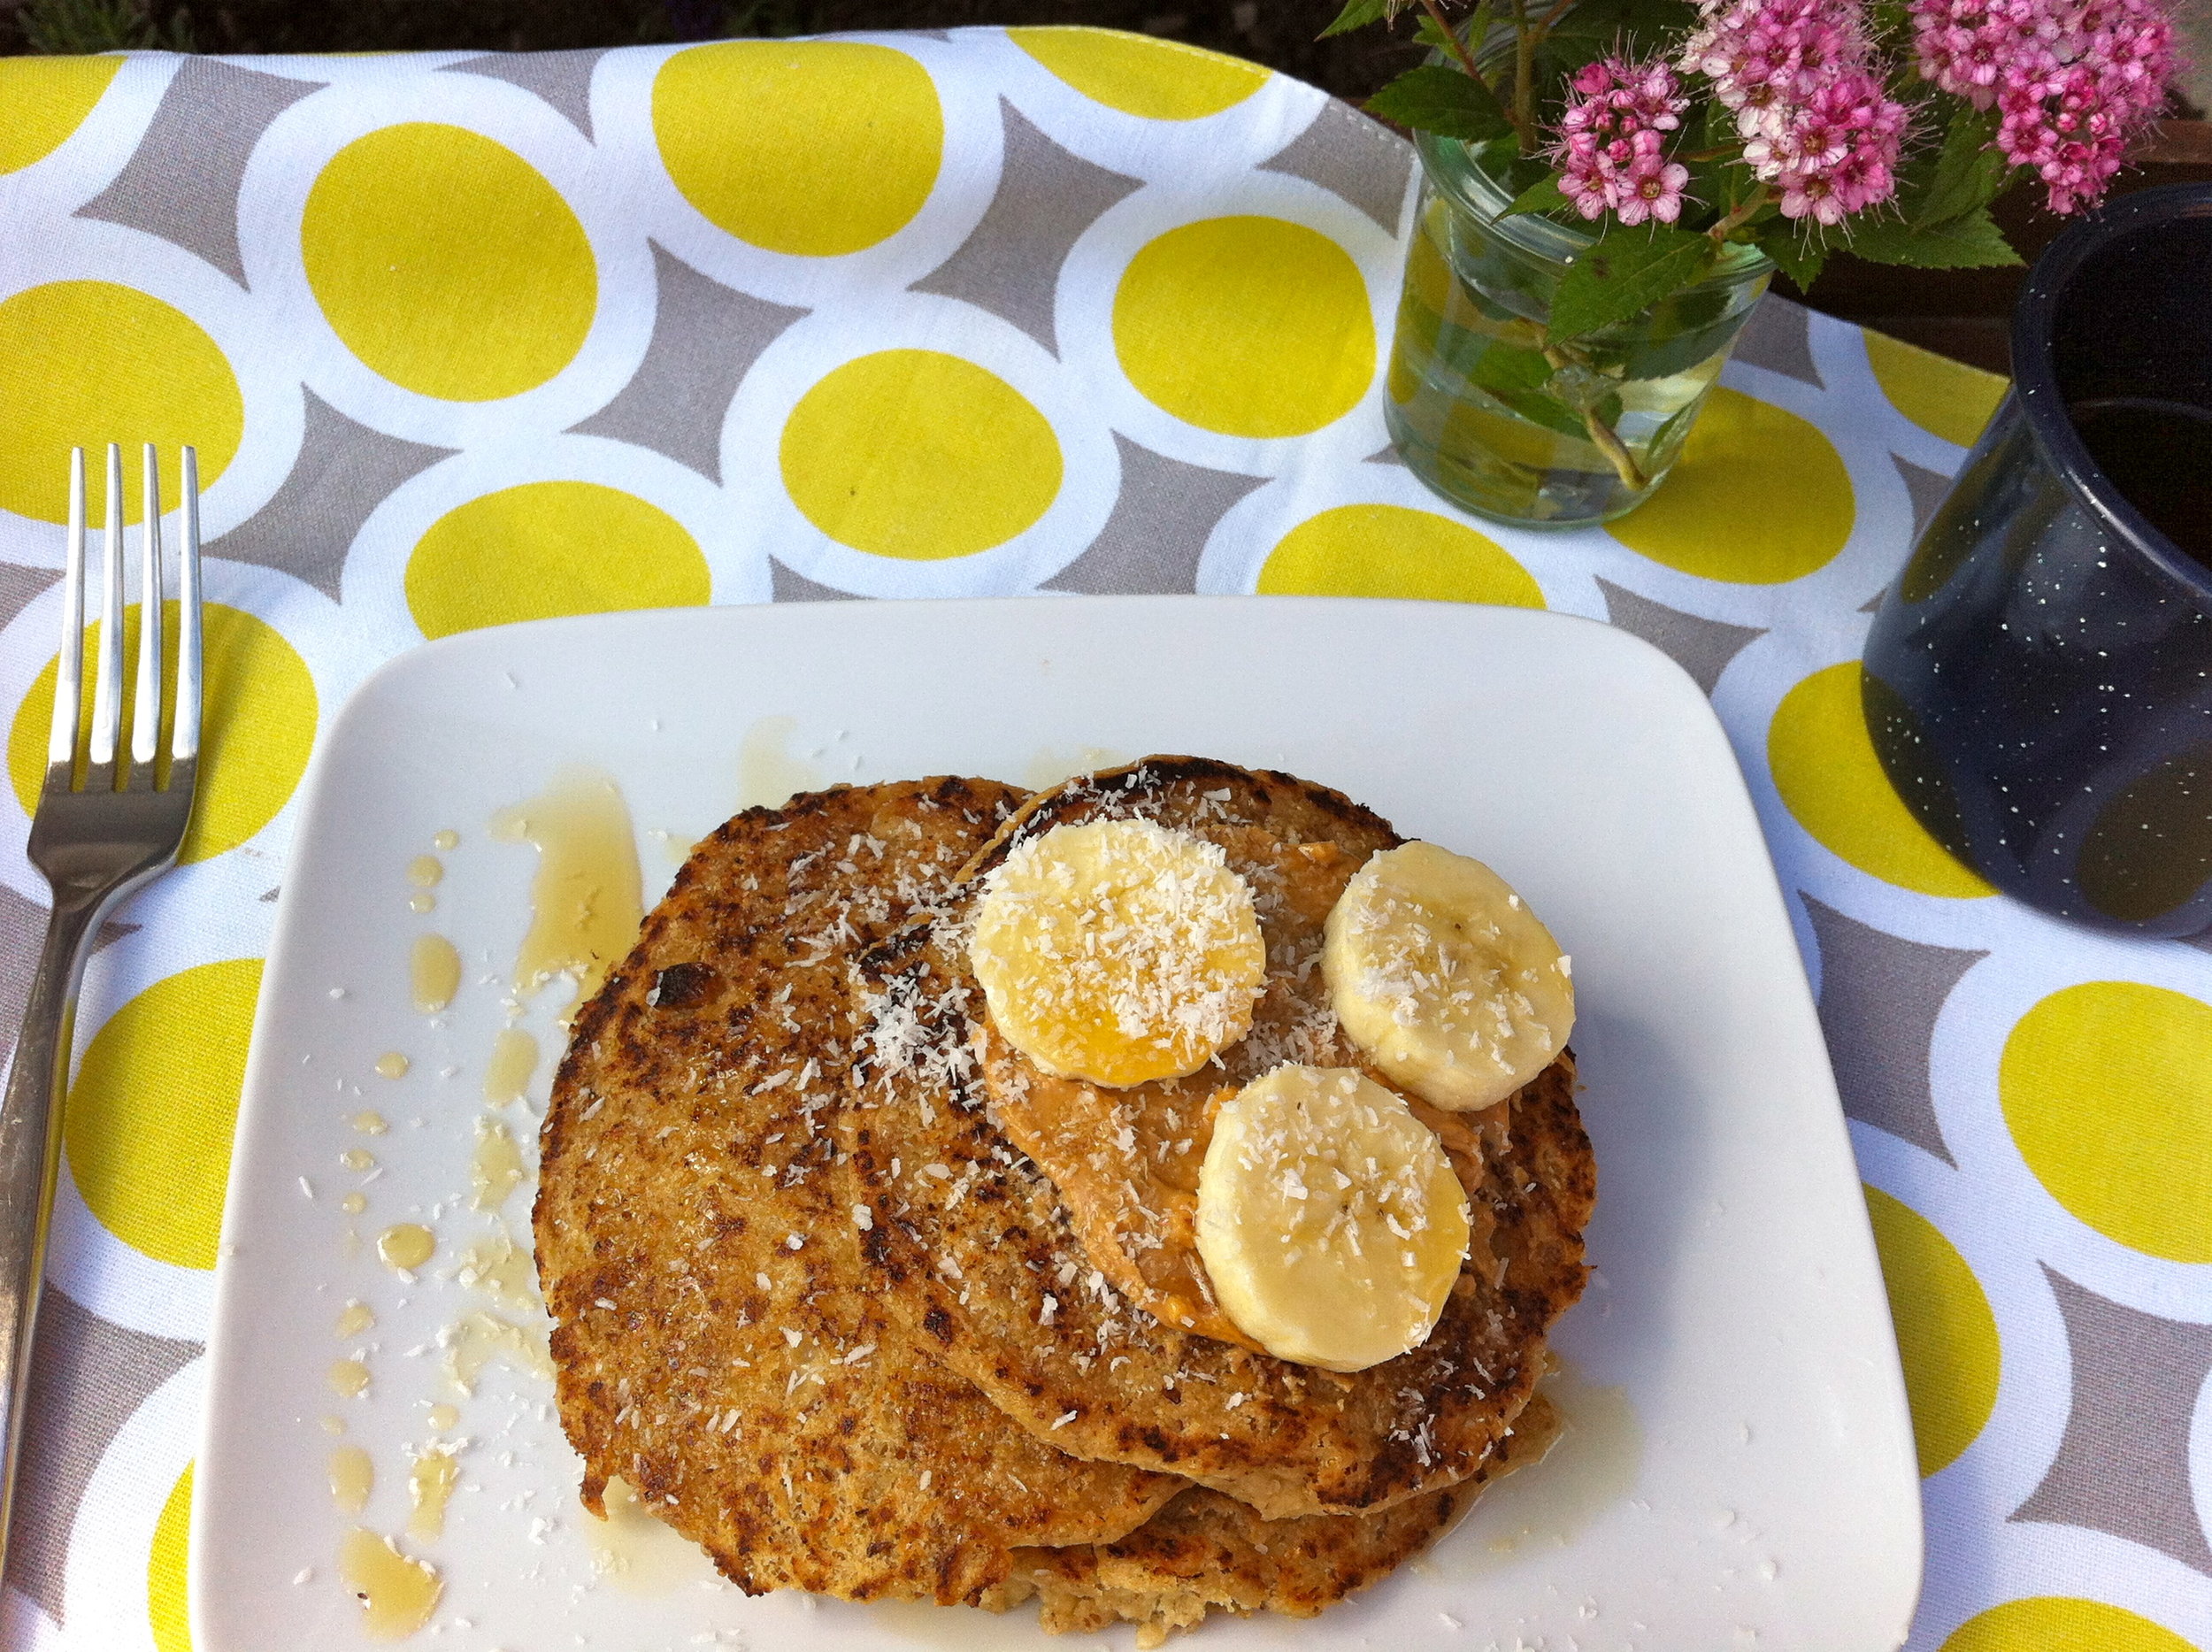
DAY OFF PANCAKES

It’s funny how traditions form.

It seems the ones we try to start on purpose never stick and the ones that stick we don’t start on purpose.

Well “day off” pancakes have stuck at our house.

As I’ve mentioned before, we are oatmeal fans around here and we usually keep breakfast simple with a bowl of oatmeal and a green drink.

But when Brook’s day off comes around every Friday we are always in the mood for something fun. Sometimes we go out to breakfast but most weeks we make these pancakes.

They are quickly devoured by Duke (as he attempts to convince me that his two month old sister “needs” some too) and slowly savored by Brook and I.

We all know that feeling when we go out to breakfast and feel like we need a nap after grease filled eggs and hash browns and heavy “carb cakes” (aka pancakes) but I promise these won’t give you that sleepy sensation.

However…. I can’t promise that you won’t eat way to many in one sitting.

Not that I would know from experience or anything.

ENJOY!

Elizabeth

DAY OFF PANCAKES

makes: 8 medium pancakes

vegan, wheat free, dairy free


INGREDIENTS:

  • 2 C oat flour (or 1 1/2 C whole wheat flour)
  • 3 T cane sugar
  • 1 1/2 t baking powder
  • 1/4 t salt
  • 1 1/2 C almond milk (I use unsweetened vanilla)
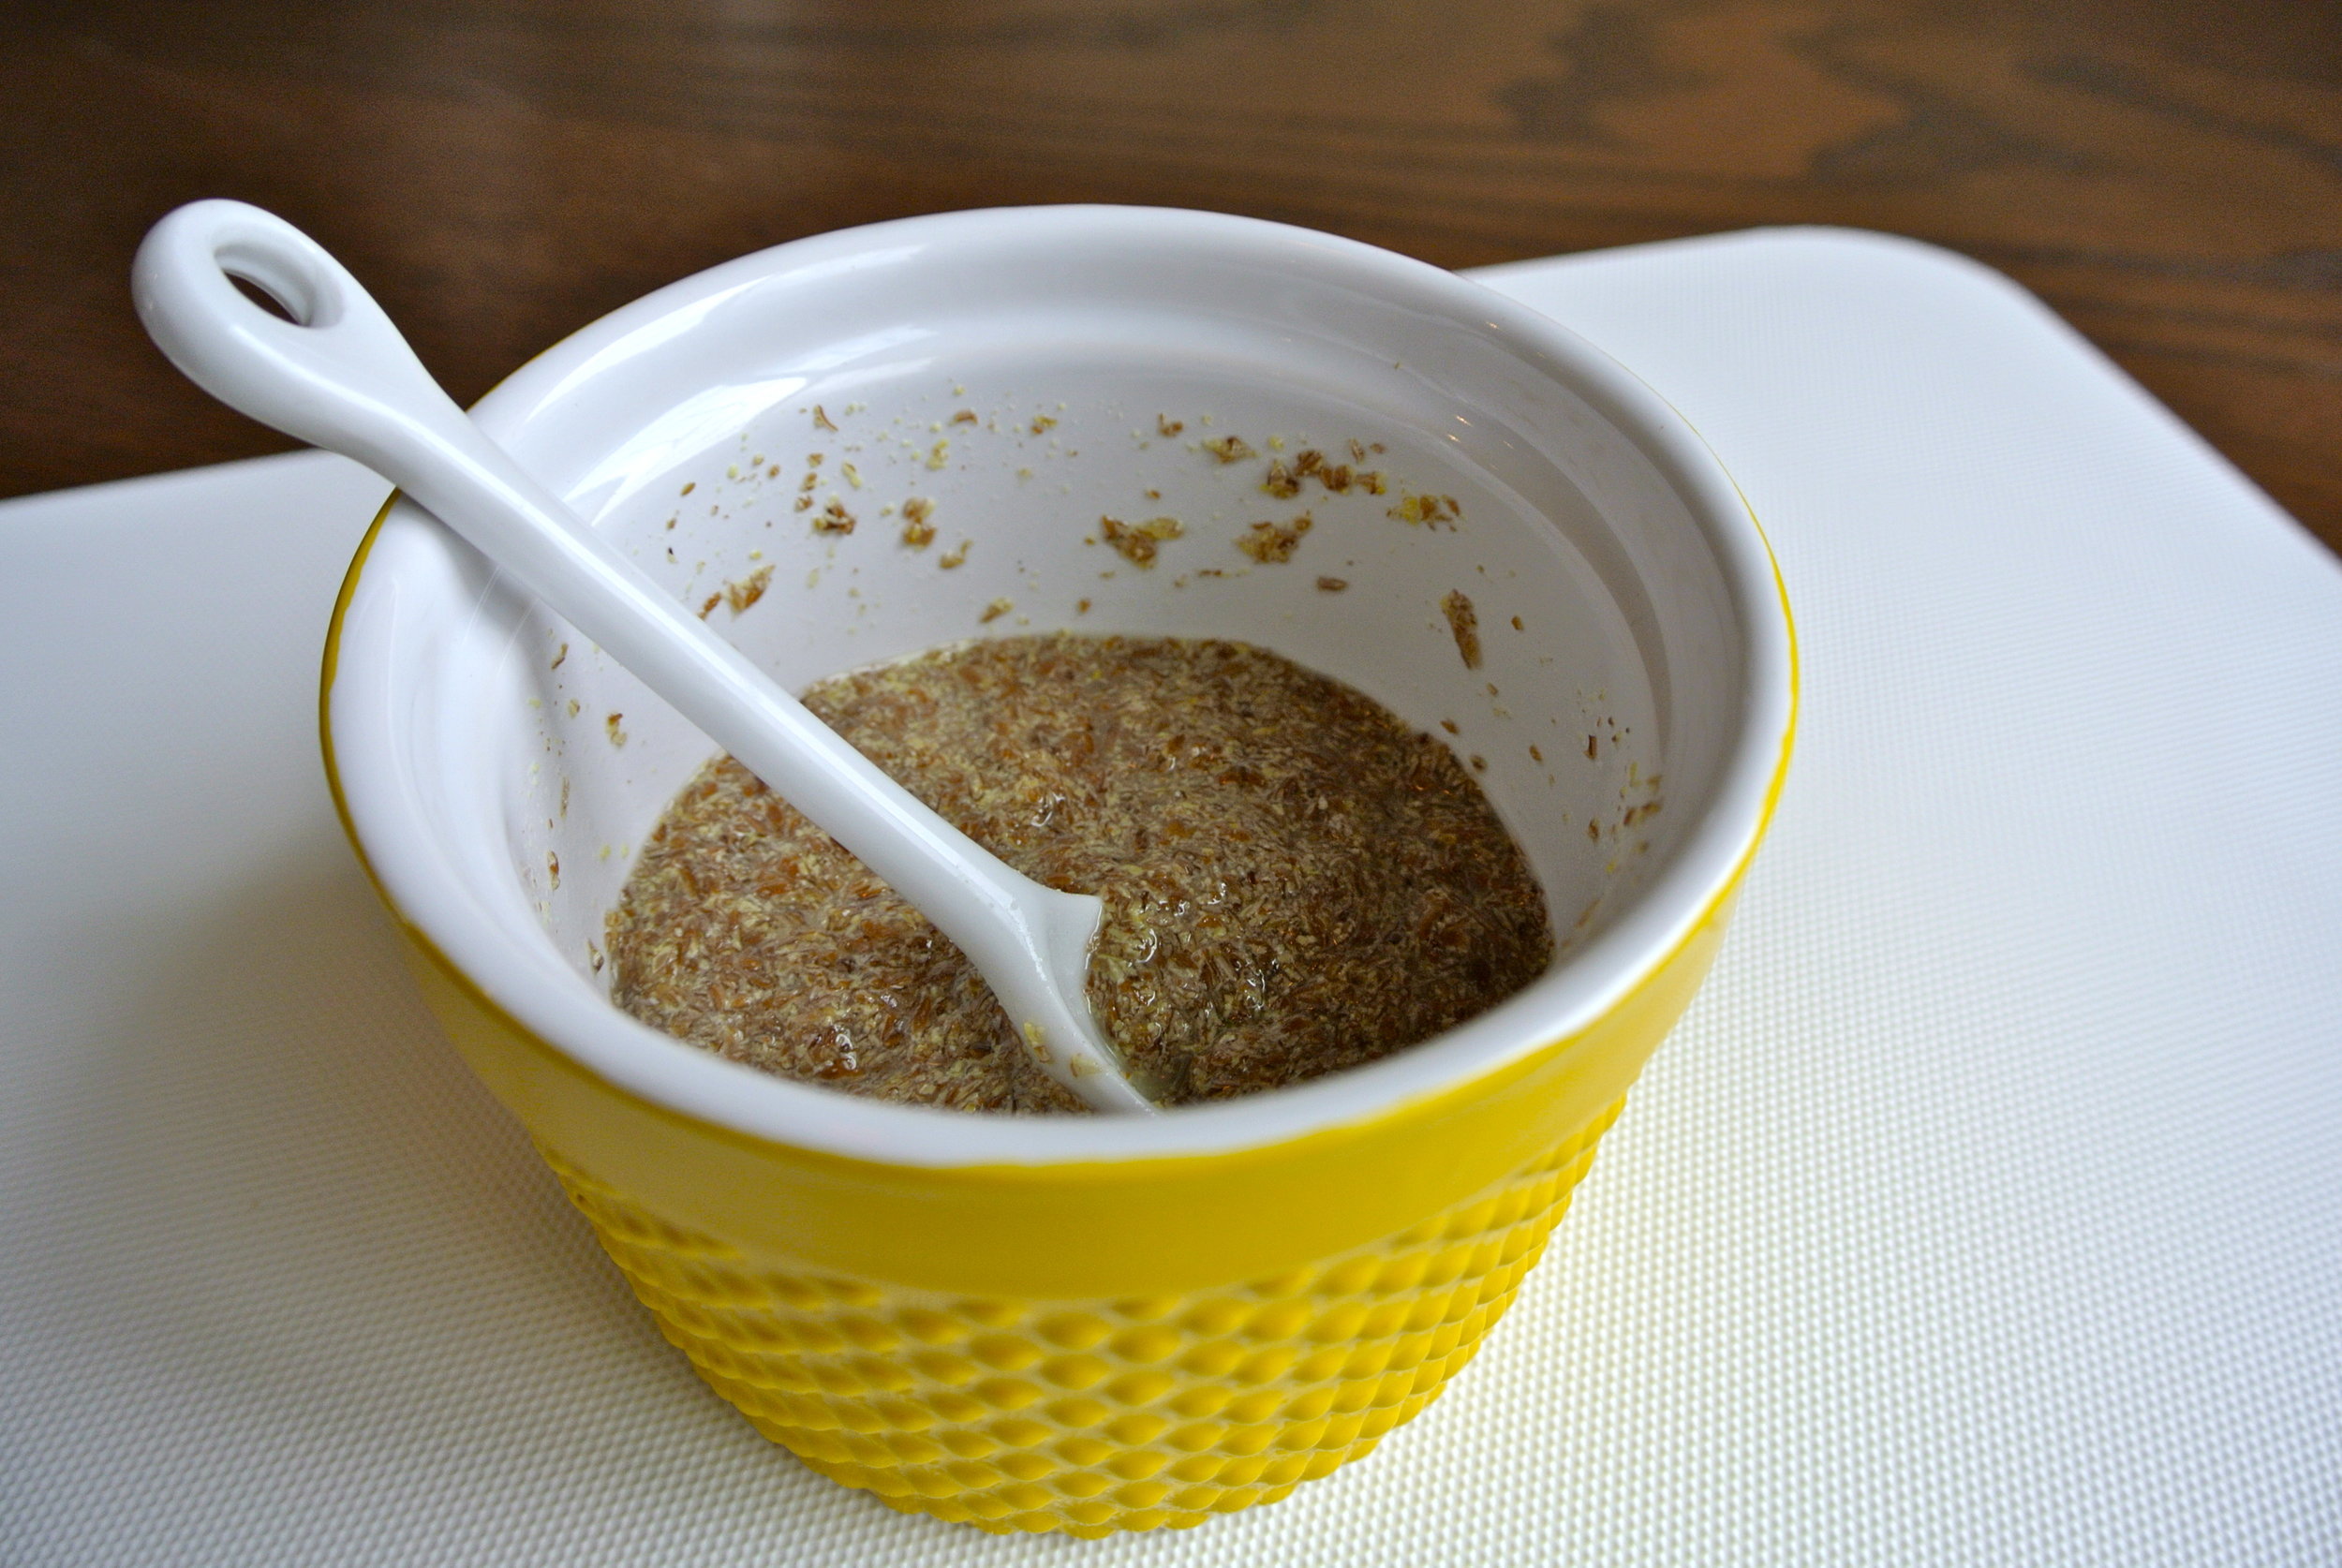
  • 2 T ground flax seed - mixed with 6 T warm water
  • 3 T coconut oil (melted a bit to make mixing easier)
  • 1 T vanilla

TO MAKE:

Combine ground flax seed and water and let it sit for a few minutes. It will turn into a thick paste.

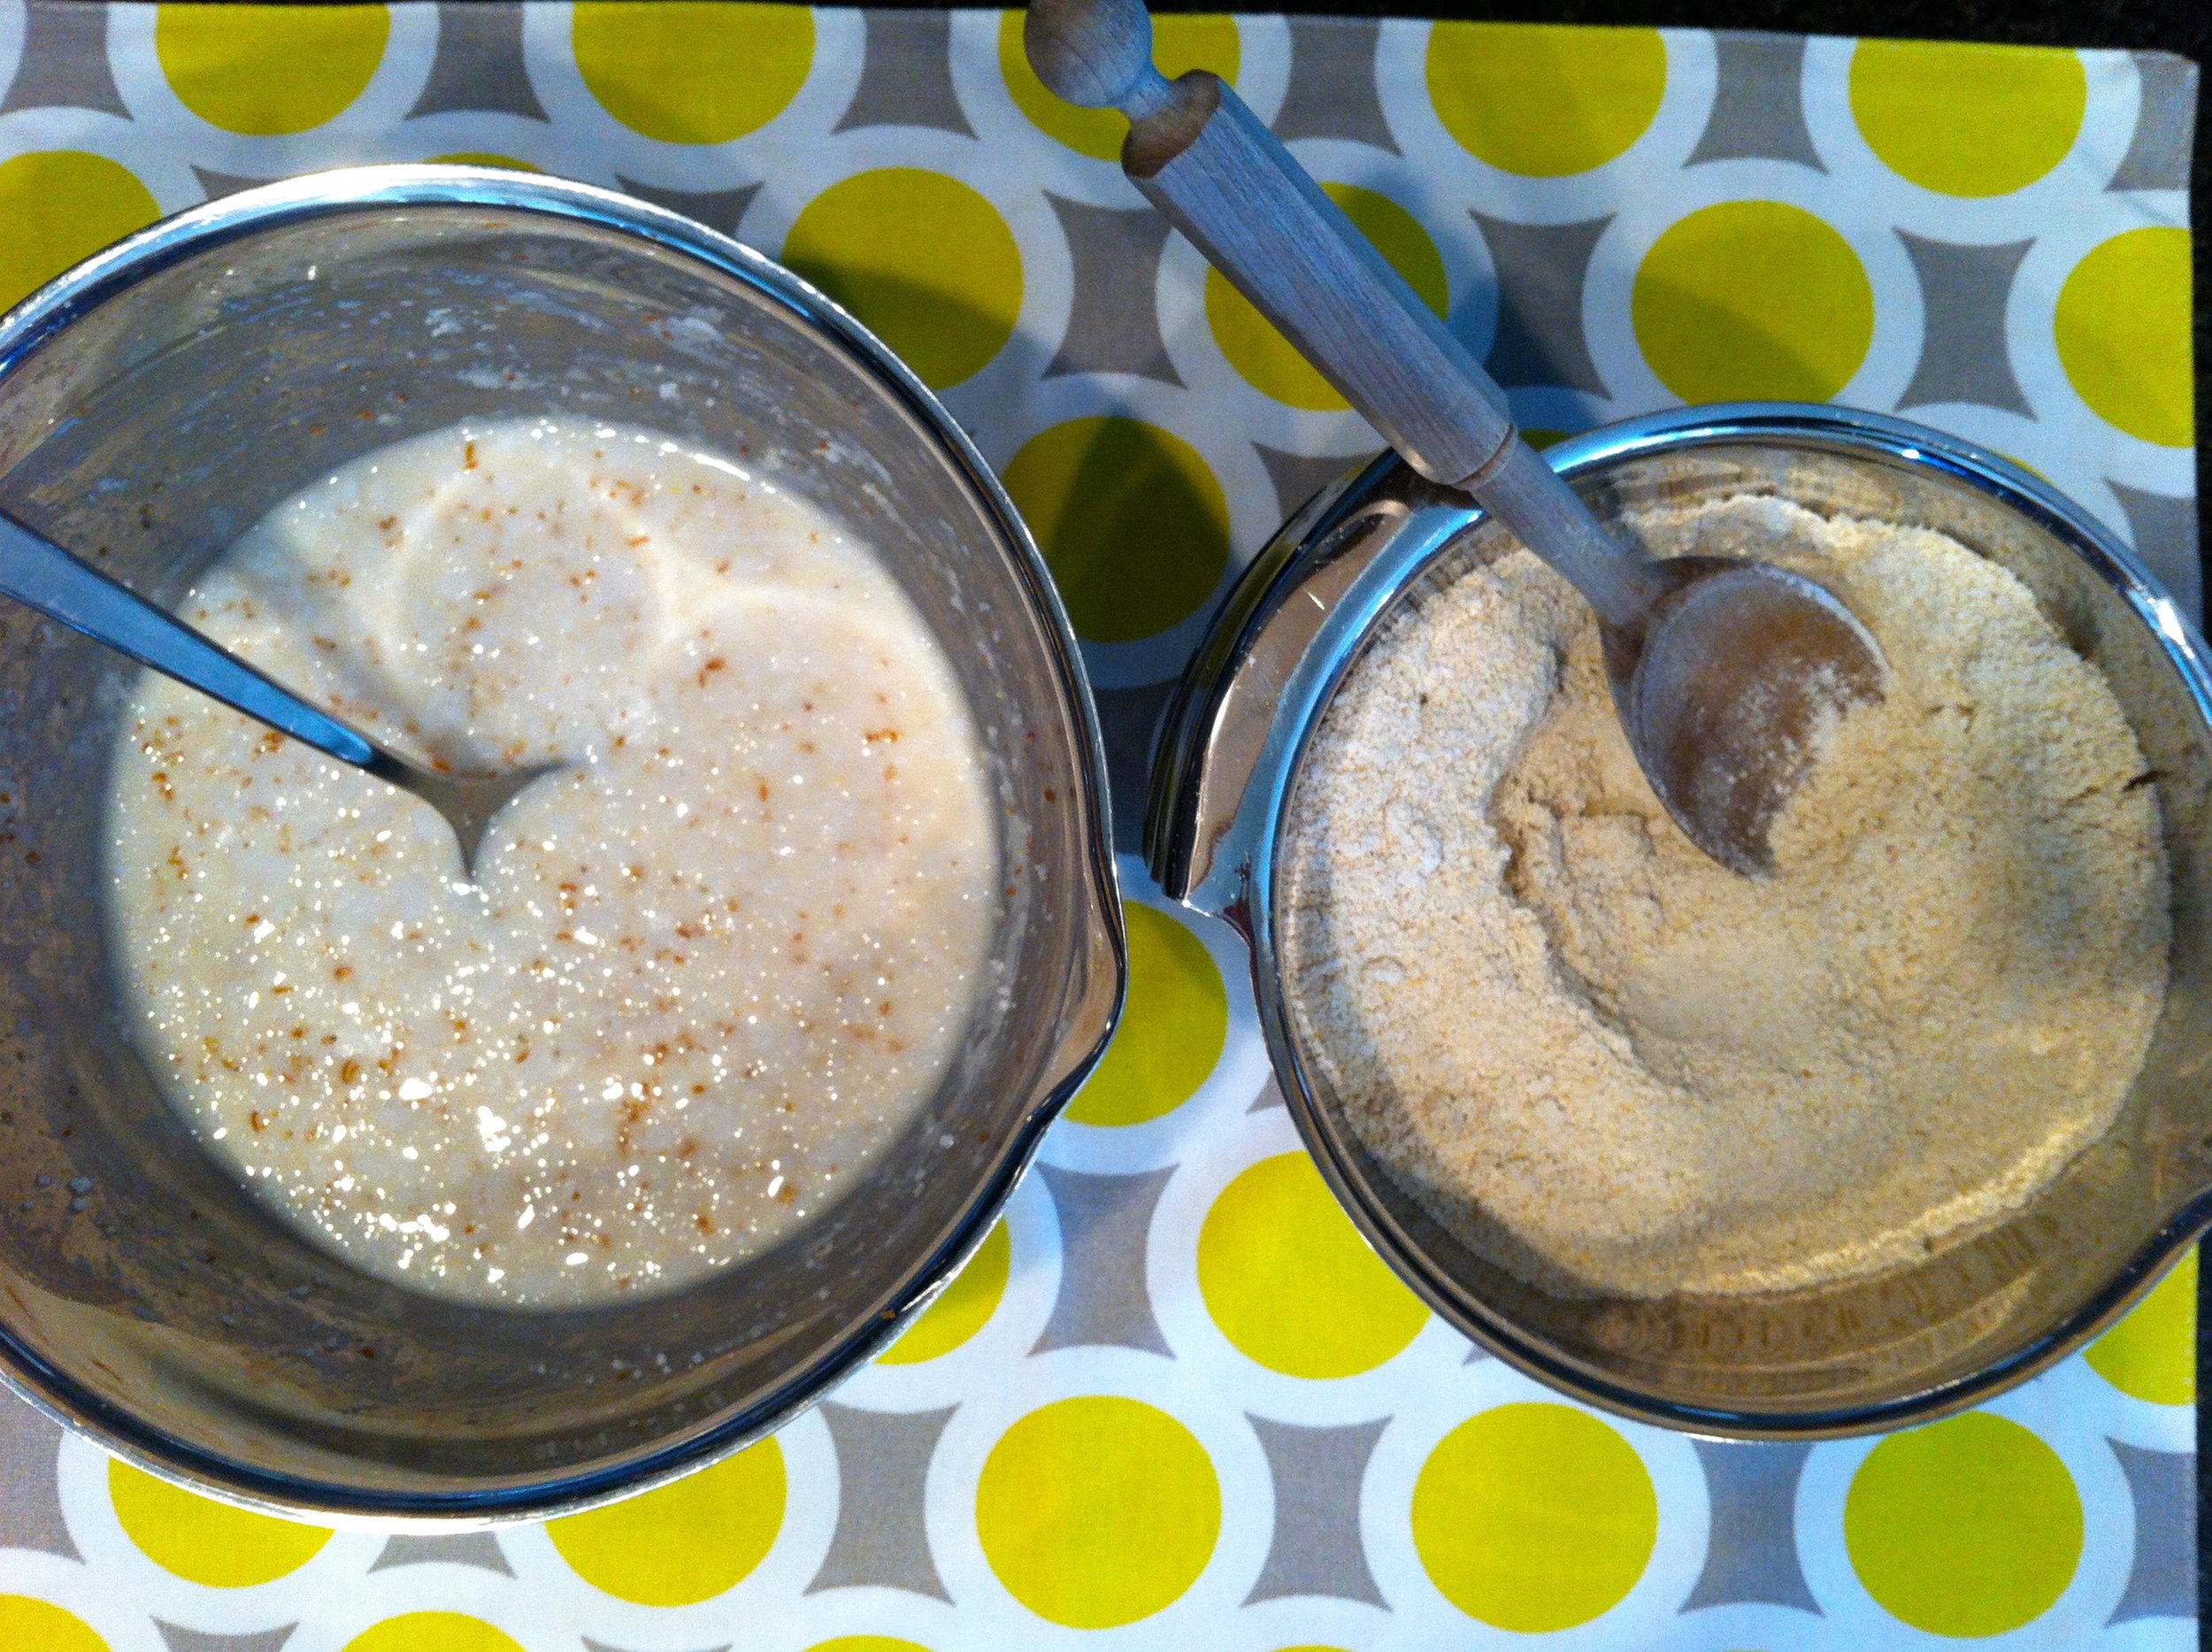
Combine dry ingredients and set aside.

Combine almond milk, coconut oil, vanilla and flax seed mixture. Add dry ingredients mixture and stir until combined.

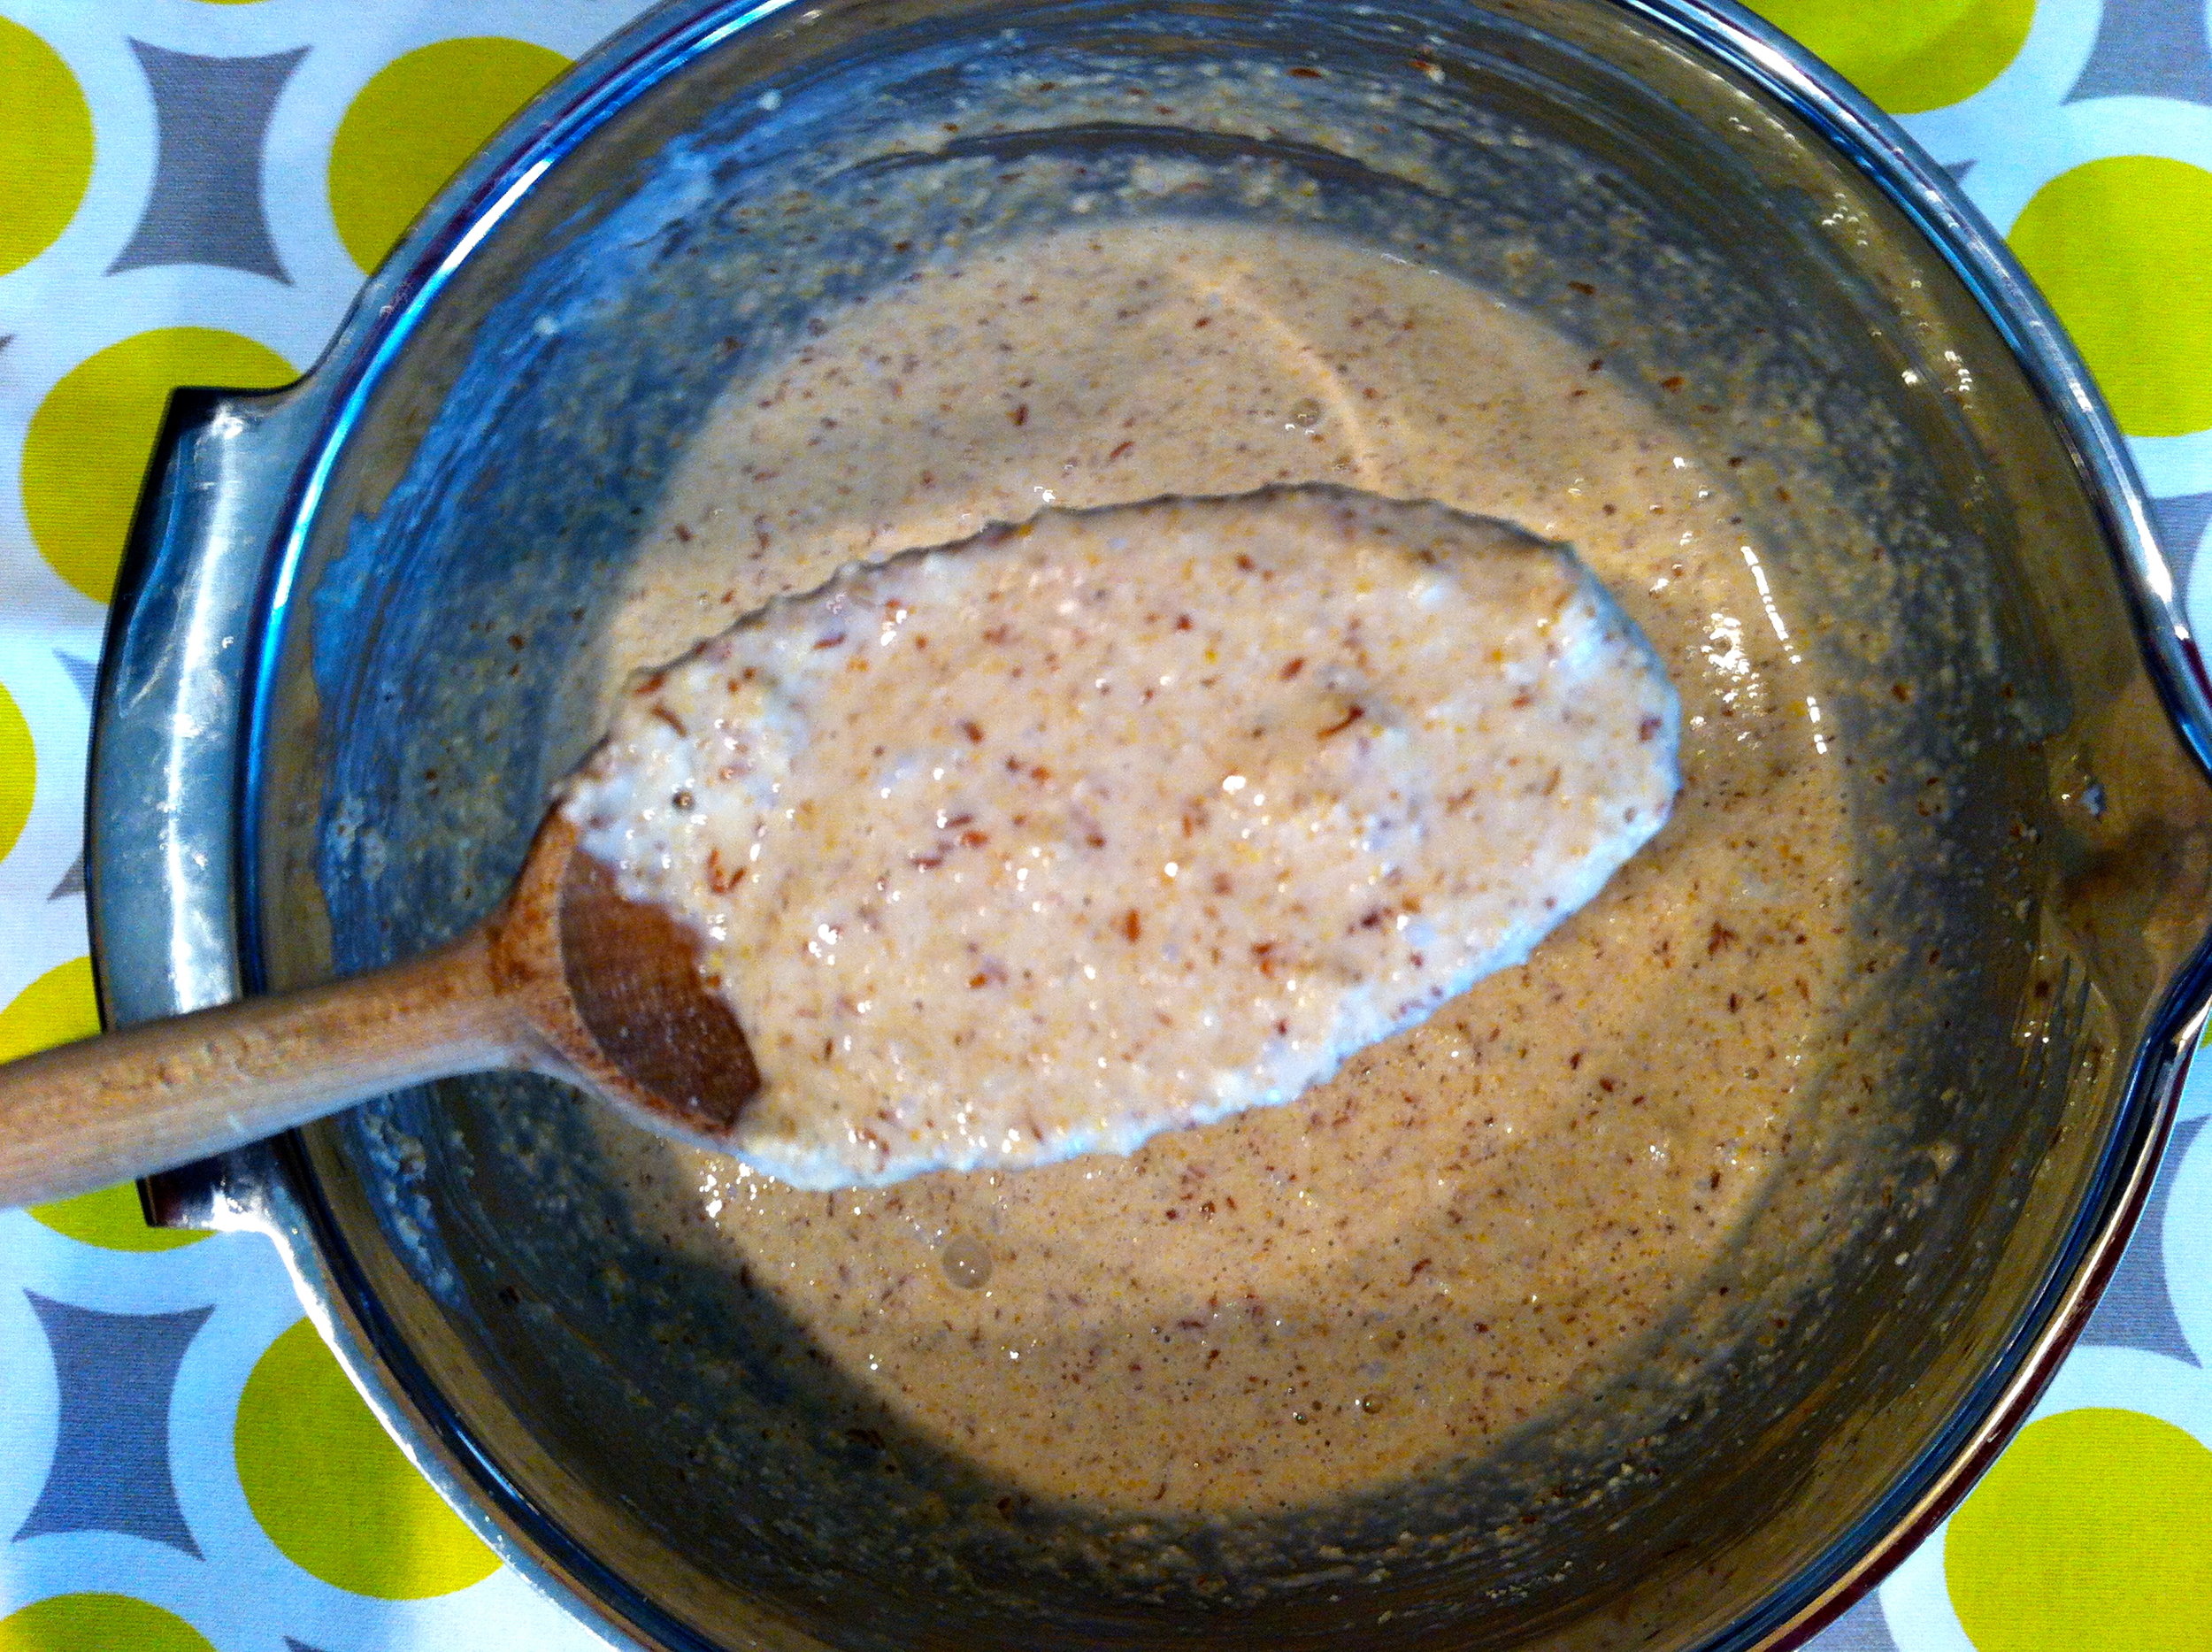
Grease a non-stick pan or electric skillet (I use olive oil spray) and cook on medium heat. When they start to get bubbles on top, flip them over.

Note: due to the lack of gluten in them they can be tricky to flip… but no matter how they look, they will taste delicious!

TO SERVE:

The possibilities are endless!

Here are some ways we enjoy them:

  • Earth Balance Butter
  • Real Maple Syrup
  • Natural Peanut Butter
  • Bananas
  • Shredded coconut
  • Fresh Fruit
GIRLS LIKE TOOLS TOO: by leslie manning

Over the years my kitchen drawers have mysteriously filled themselves with gadgets, tools, spatulas and a few things I have no idea how to use.

A minimalist at heart, I'm always trying to narrow my kitchen down to items that get frequent use. So when Leslie had the idea to share her favorite/most used items, I said "YES PLEASE"!

Now I need to have a garage sale. And go shopping.

ENJOY!

Elizabeth

PS: Will you share with all of us your favorite kitchen tools?

GIRLS LIKE TOOLS TOO: by leslie manning

Some girls have shoes and some girls have purses. Me? I have kitchen tools. This foodie, while at any stuff mart store, can be found in the kitchen section. My studio, aka my kitchen, is where I feel most creative. Here is a list of my fave kitchen tools beyond my beloved baking stone, handy food scale, classic cast iron pan and good kitchen knife. The following tools work hard to make my list and must be affordable. In fact, nothing is over $20 and only one is even close.

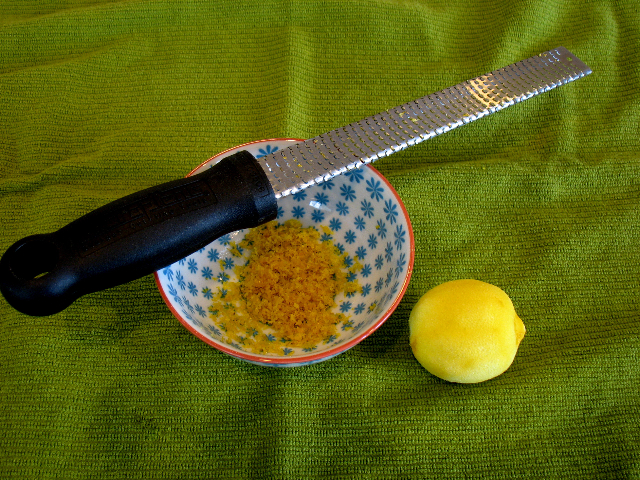
Microplane Zester Grater (40020)

This tool has changed my citrus life. I mostly use it for grating lemon and orange zest. I use zest in my baking, pasta salads, and over granola. I used to cut my hands up badly before I bought one. You can also use it for hard cheese. It’s super easy to clean and hasn’t dulled in the decade I’ve had it. (Amazon.com $12.95. Just so you know, 456 people gave this tool FIVE STARS, you will too!)

Mini Silicone Spatulas 

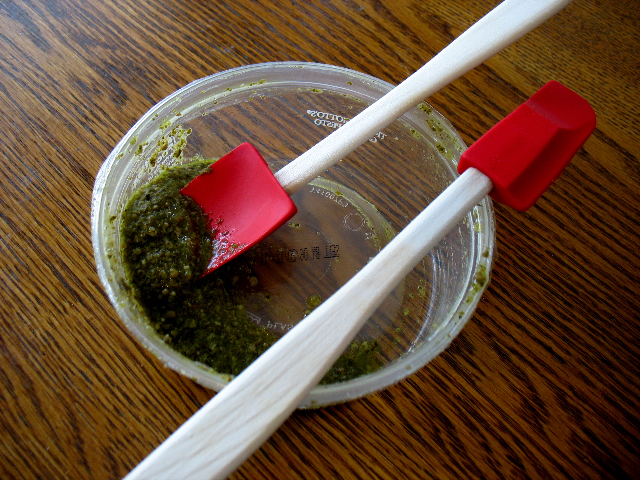
These tools get as much attention as my children. I use them several times a day. You can scrape jelly and peanut butter jars, yogurt containers, and get the last drop of maple syrup out of a measuring spoon. For the person in your life who has everything, you can even personalize them! (Amazon.com $6.22, not personalized or Williams Sonoma $14, personalized)

Mini Mesh Strainer 

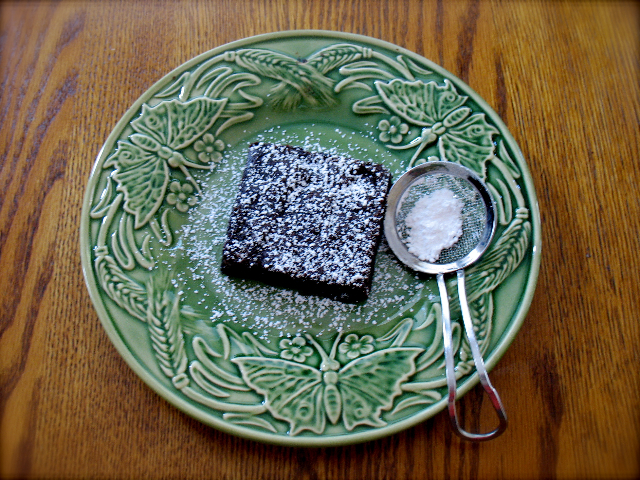
This tool makes sugar fairy dust possible. It also makes me a gourmet cook in under ten seconds. What else can make these promises? I sprinkle fairy dust (or powdered sugar) over brownies, lemon bars, pancakes, waffles, and pretty much every moving food target. I also love this for sprinkling cocoa powder or cinnamon over whipped cream in lattes and cocoa. (New Seasons Market, $2.99)

Herb Snips

These are sometimes called herb scissors or herb shears. This is the number one tool I have that friends say, “That is SO cool! Where did you get that?” These make my herb life much easier. They have five blades, are razor sharp and chop herbs at hypersonic speeds. (The WEBstaurant, $6)

Oxo Good Grips Julienne Peeler

I snapped up the best dealio on this in the clearance area at Marshalls, about $3. My best use for it? Zucchini! (Quick recipe break: Make “noodles” out of the zucchini using this tool, add some sun-dried or fresh tomatoes, and toss with pesto.) For those who eat cheese, sprinkle some parmesan on top, amazingly easy! Who doesn’t love healthy and easy? (Amazon.com $8.99 or Bed, Bath & Beyond $9.99-use a 20% coupon and it’s cheaper than Amazon.)

Bamboo Toast Tongs 

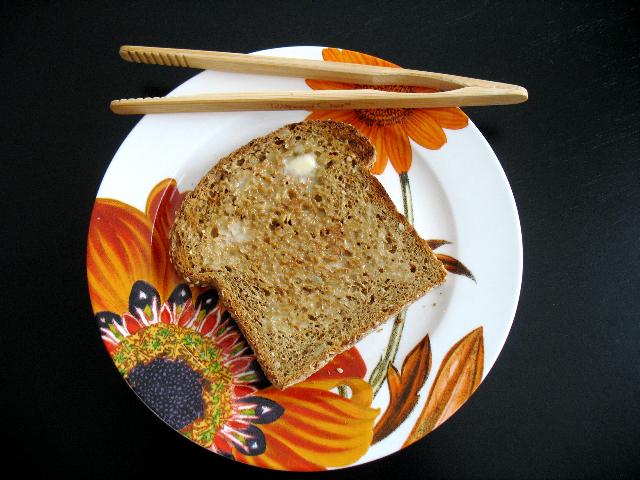
Nobody wants to burn their fingers. May I make a confession? When a piece of toast or bagel gets stuck down in my toaster, I grab my bamboo tongs and reach down into the toaster abyss as if I’m playing the game Operation and try to get the small broken piece out without it buzzing and turning red like the game. Okay, my toaster doesn’t really buzz. Especially when you unplug it first. (Amazon.com, $3.46)

 Mini Serving Spatula 

I love this spatula! I have had it for years. It scoops brownies out of difficult pans and is just the right size for your cookies on a cookie sheet. The following is a true story. Not being of sound mind and body, I brought this spatula to a potluck as a serving utensil. When I went to pick it up after the potluck, the unthinkable happened. It. Was. Missing. I guess I was a bit...let’s call it “frenzied”...because everyone thought I had lost my daughter. Oops! No, just the spatula. My spatula. It had fallen on the ground. Found her!  I mean, found it! (The Pampered Chef, $5.50) 

Silpat Non-Stick Baking Mat

Another item I use almost every day. Think of it as a green alternative to parchment paper which is usually used once and thrown away. Bonus: it’s easy to clean too. I reheat pizza on it, bake cookies, scones, and toast nuts on it. I use a perforated cookie sheet underneath it for even baking. (Amazon.com, $19.83)


Thanks for letting me share my fave kitchen toys. If you have another use for one of the tools I mentioned, or if you have a favorite tool that I didn’t mention, we definitely want to hear from you. Happy creating!

Leslie

CASHEW "CHEESE"

When I use to think of almonds, cashews, peanuts, etc; words like trail mix, high fat, and severe allergic reactions came to mind.

Never did I imagine the endless possibilities they contain or the nutritional benefits they hold.

Sauces, creams, crusts, desserts, flours, bars... the list goes on and on and on again.

Cashews are currently my favorite to use for creams and sauces and I shared my favorite Cashew Pesto with you a few weeks ago.

Today's recipe is a basic cashew cream that can be used in place of cheese in just about anything. I actually prefer it to cheese any day!

Here are a few ideas:

  • on pizza instead of cheese (see recipe below)
  • in tacos
  • drizzled over veggies
  • in enchiladas instead of cheese
  • as a dipping sauce for veggies
  • as a sauce for pasta
  • whatever else sounds good!

You can also add whatever you like to this recipe to fit your tastes and what you are serving it with.

Add ins:

  • For tacos: add some cilantro and lime juice
  • For pizza: add fresh basil
  • For pasta: add garlic cloves or garlic powder
  • For something spicy: add a few dashes of cayenne pepper

ENJOY!

Elizabeth

BASIC CASHEW CREAM

INGREDIENTS:

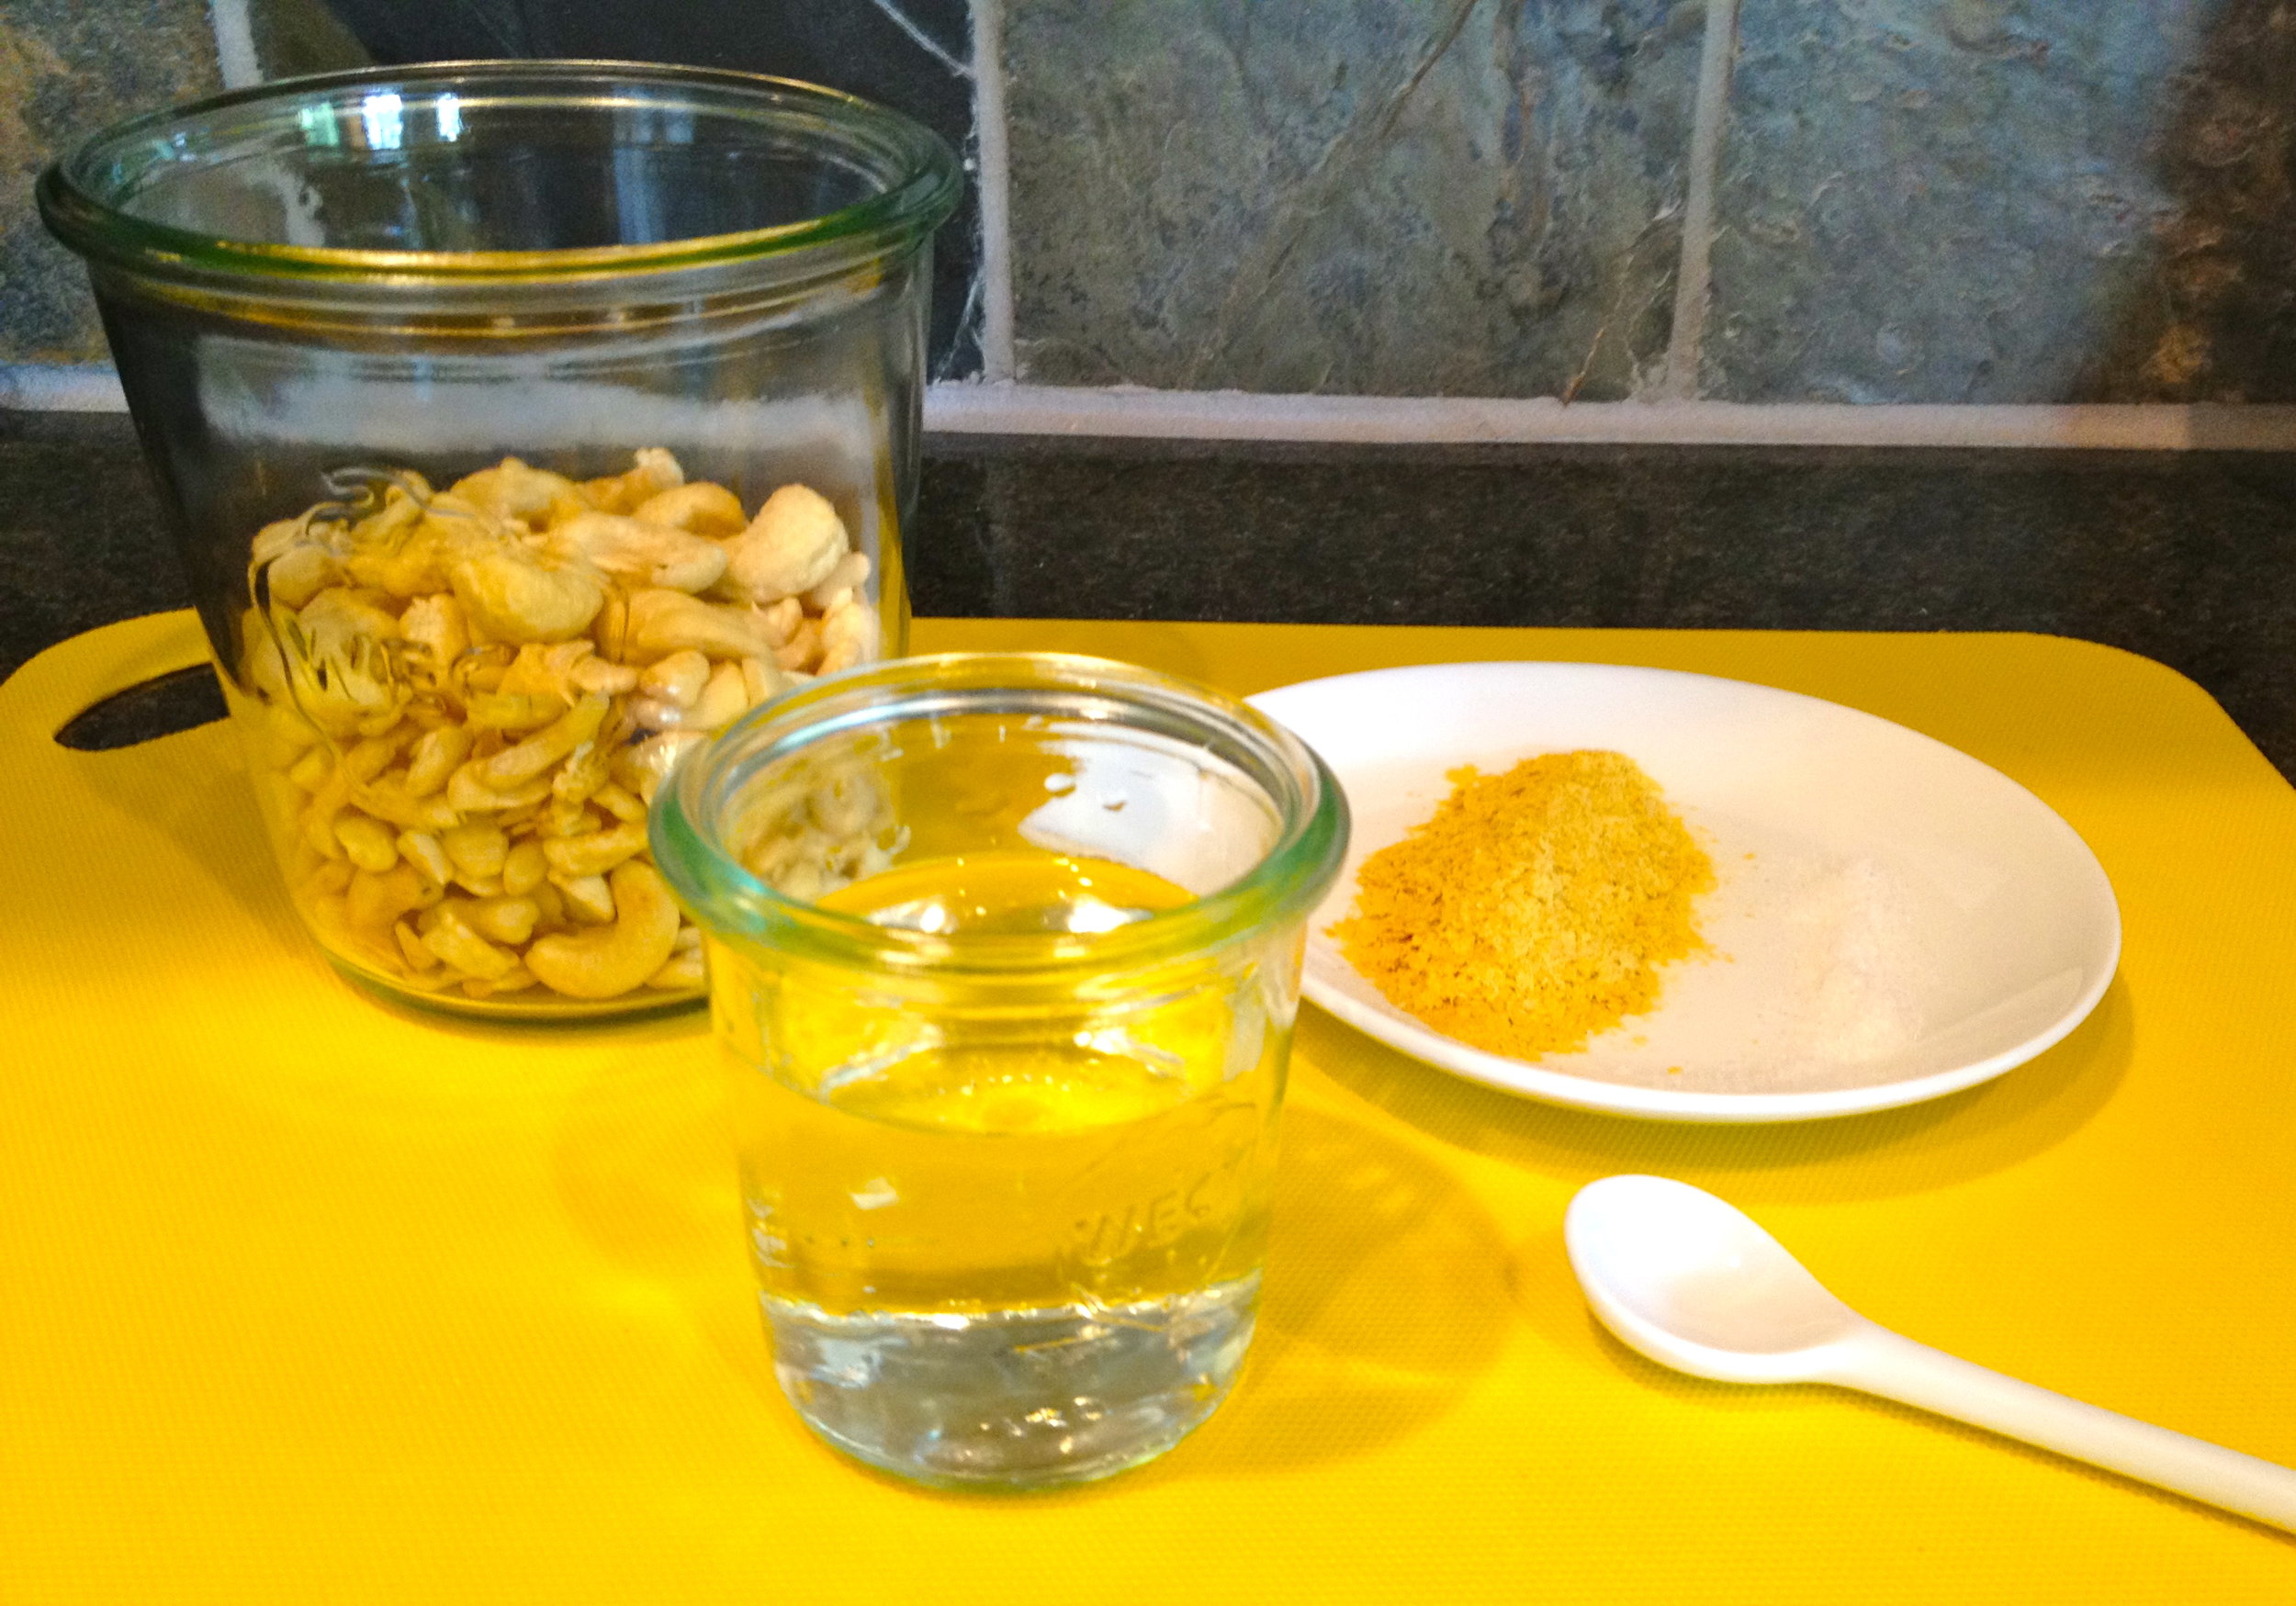
1 C raw cashews

1/2 C + 1 T water

1 T nutritional yeast (if you have never used this before, it can be found in the bulk section at Winco, Whole Foods and New Seasons. It has a cheese like flavor and even smells like cheese!)

1/4 t sea salt

dash or two of nutmeg (I know it sounds weird but it really does add a nice nutty flavor without overpowering it)

TO MAKE:

Simply put everything in a high speed blender or food proccesor and blend until smooth.

We used this on our pizza for dinner tonight and here is an example of how to use it:

Bake your crust for about 6 minutes before adding toppings.

Layer pizza sauce, then cashew cream, then any other toppings you like and bake for 15 more minutes or until crust begins to brown.

ENJOY!

MAPLE APPLE CRISP

(source)

The sun is shinning. The days are slowing getting warmer and longer. The season of berry cobblers and fresh apple crisps is right around the corner and I have a recipe to get you as excited as I am about it!

(I know apples are more of a late summer/fall fruit but, like I said, I’m a little excited.)

I have always LOVED apple crisp but have been deprived for years due to the fact that it contains copious amount of butter… not to mention the flour… both of which my body doesn’t seem to like much.

After years of deprivation (do you feel sorry for me yet?), I decided to take matters into my own hands and attempt an apple crisp that I could eat and not pay for it later.

It’s a crowd pleaser in our house and I hope you enjoy it as well!

ENJOY!

Elizabeth

What are some the recipes your are looking forward to this summer?


MAPLE APPLE CRISP

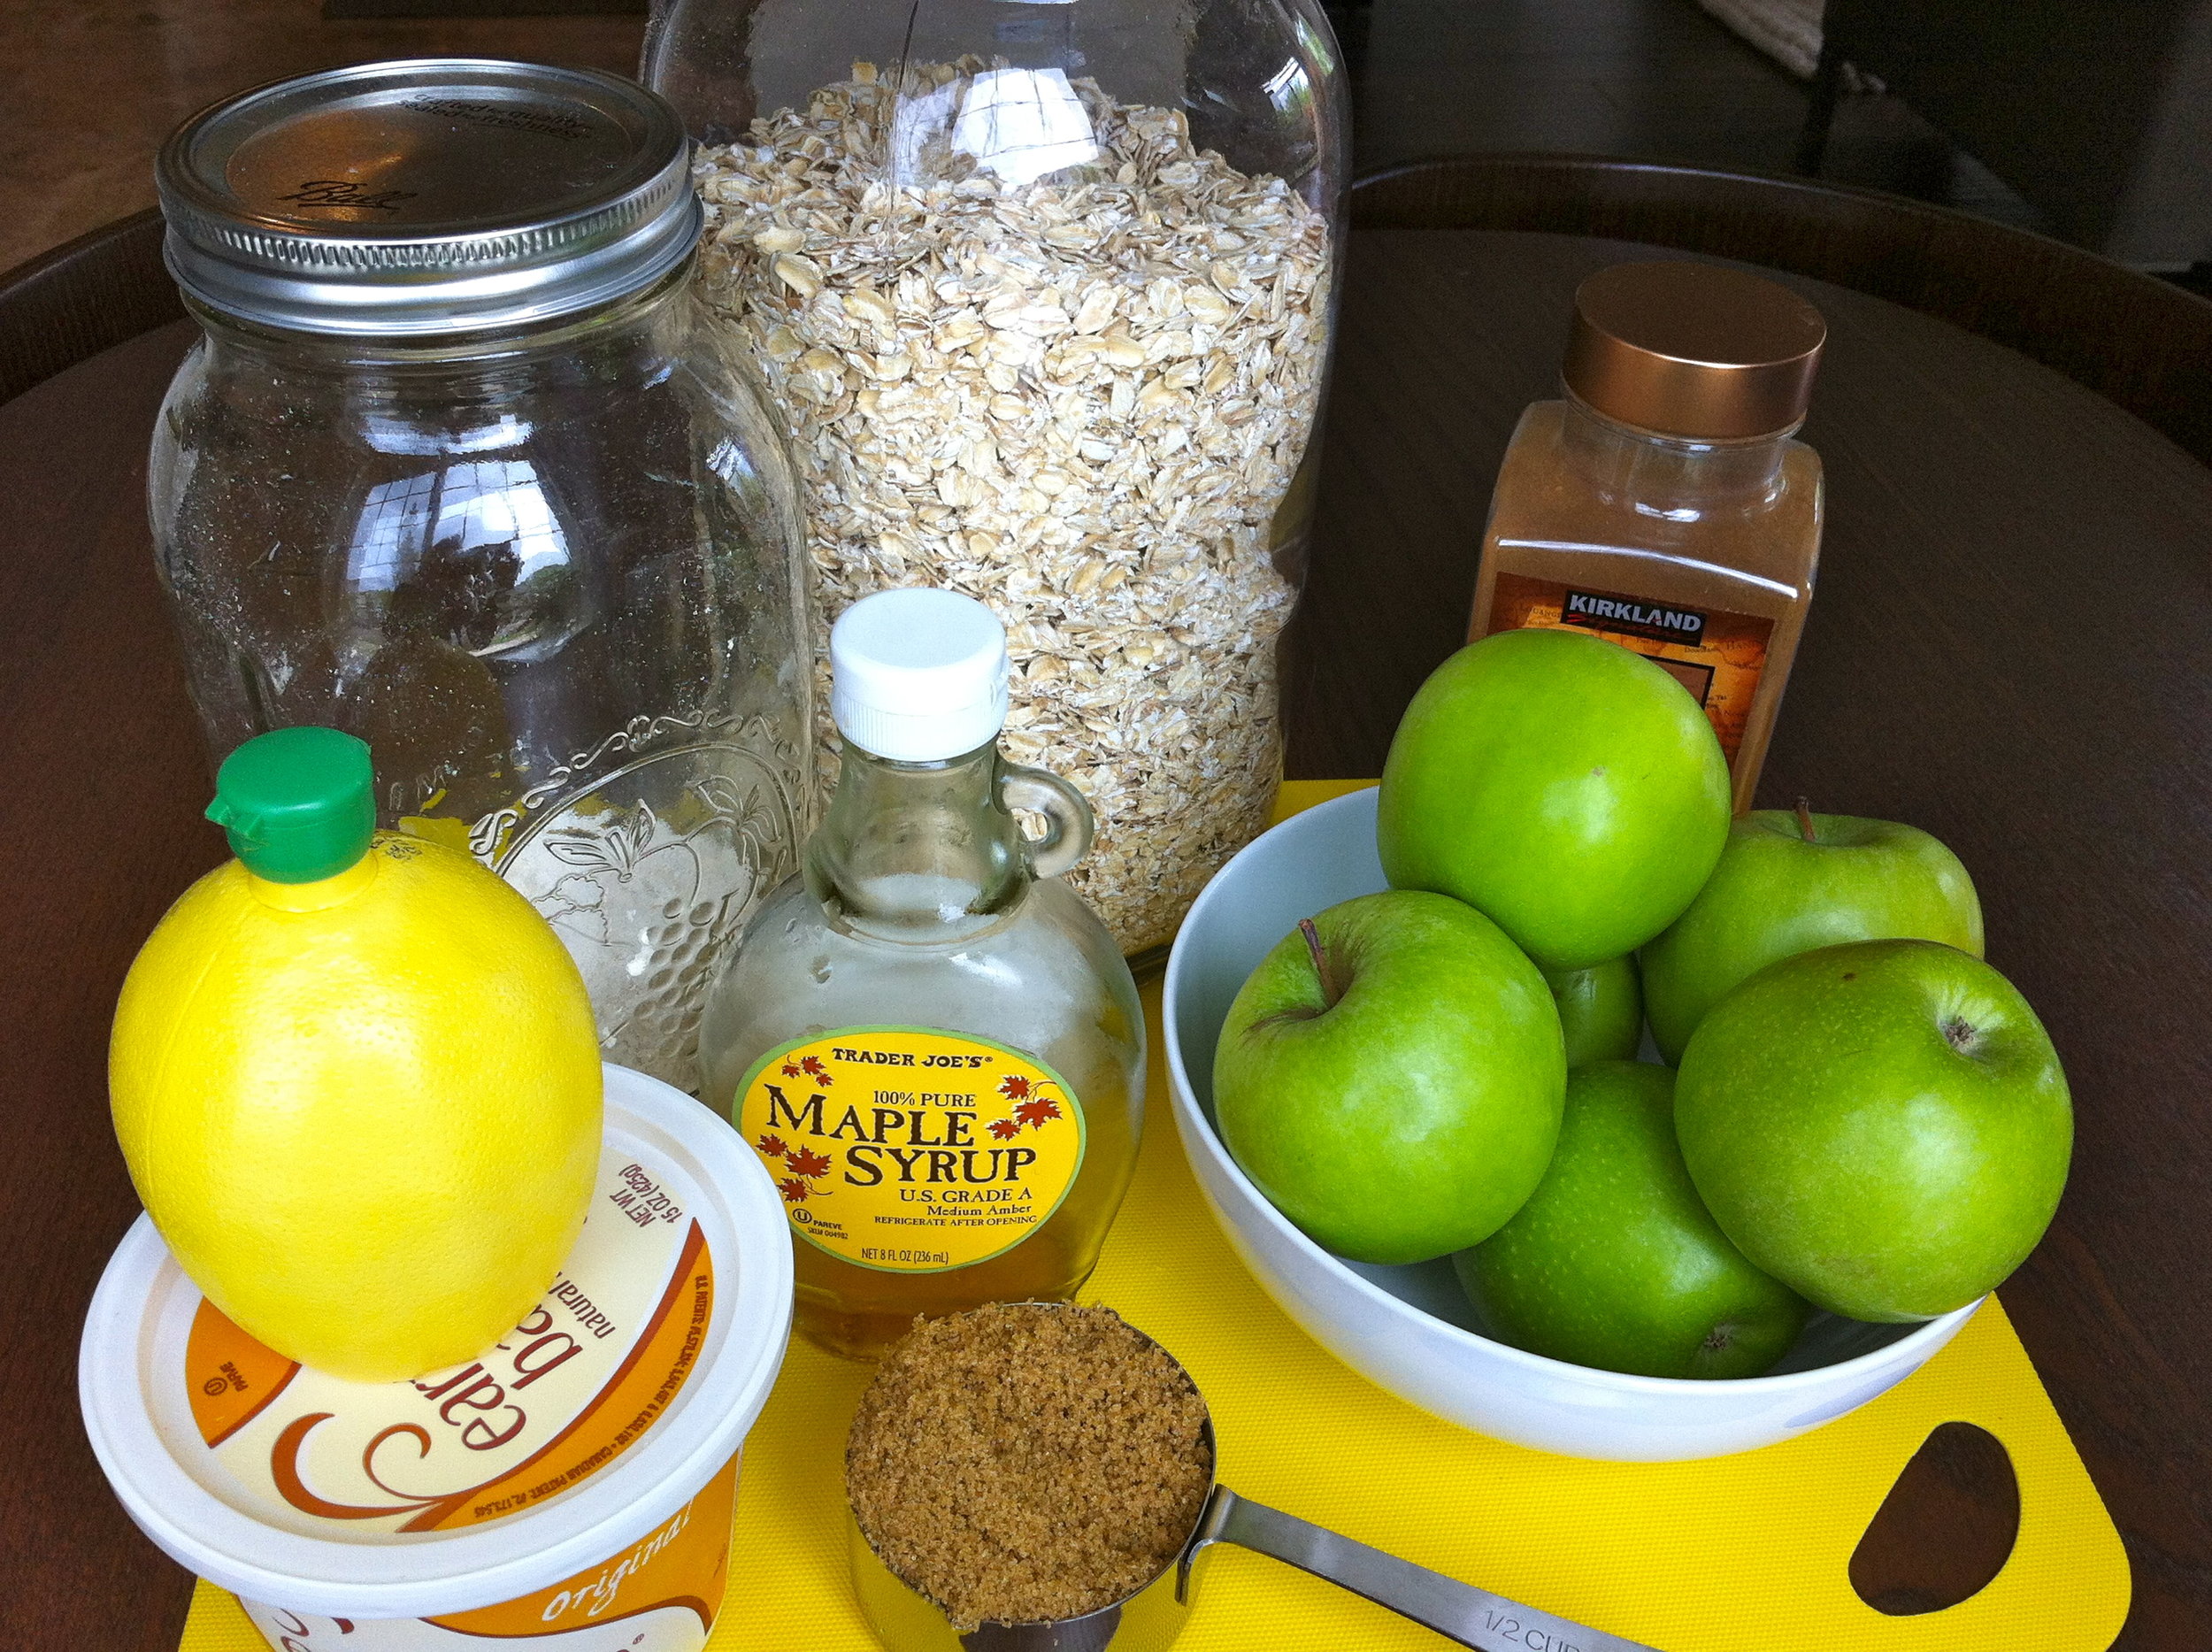
INGREDIENTS:

  • 5 heaping cups granny smith apples (4-5 apples), pealed and chopped into small chunks or slices
  • 1 T lemon juice
  • 1 T real vanilla
  • ¼ C real maple syrup
  • 1 T cinnamon
  • ¾ C oat flour (whole wheat flour works too but I think the oat flour makes it moister and tastier)
  • ¾ C slow cooking oats
  • 1 C organic brown sugar
  • 5 T Earth Balance butter (or real butter)

TO MAKE:

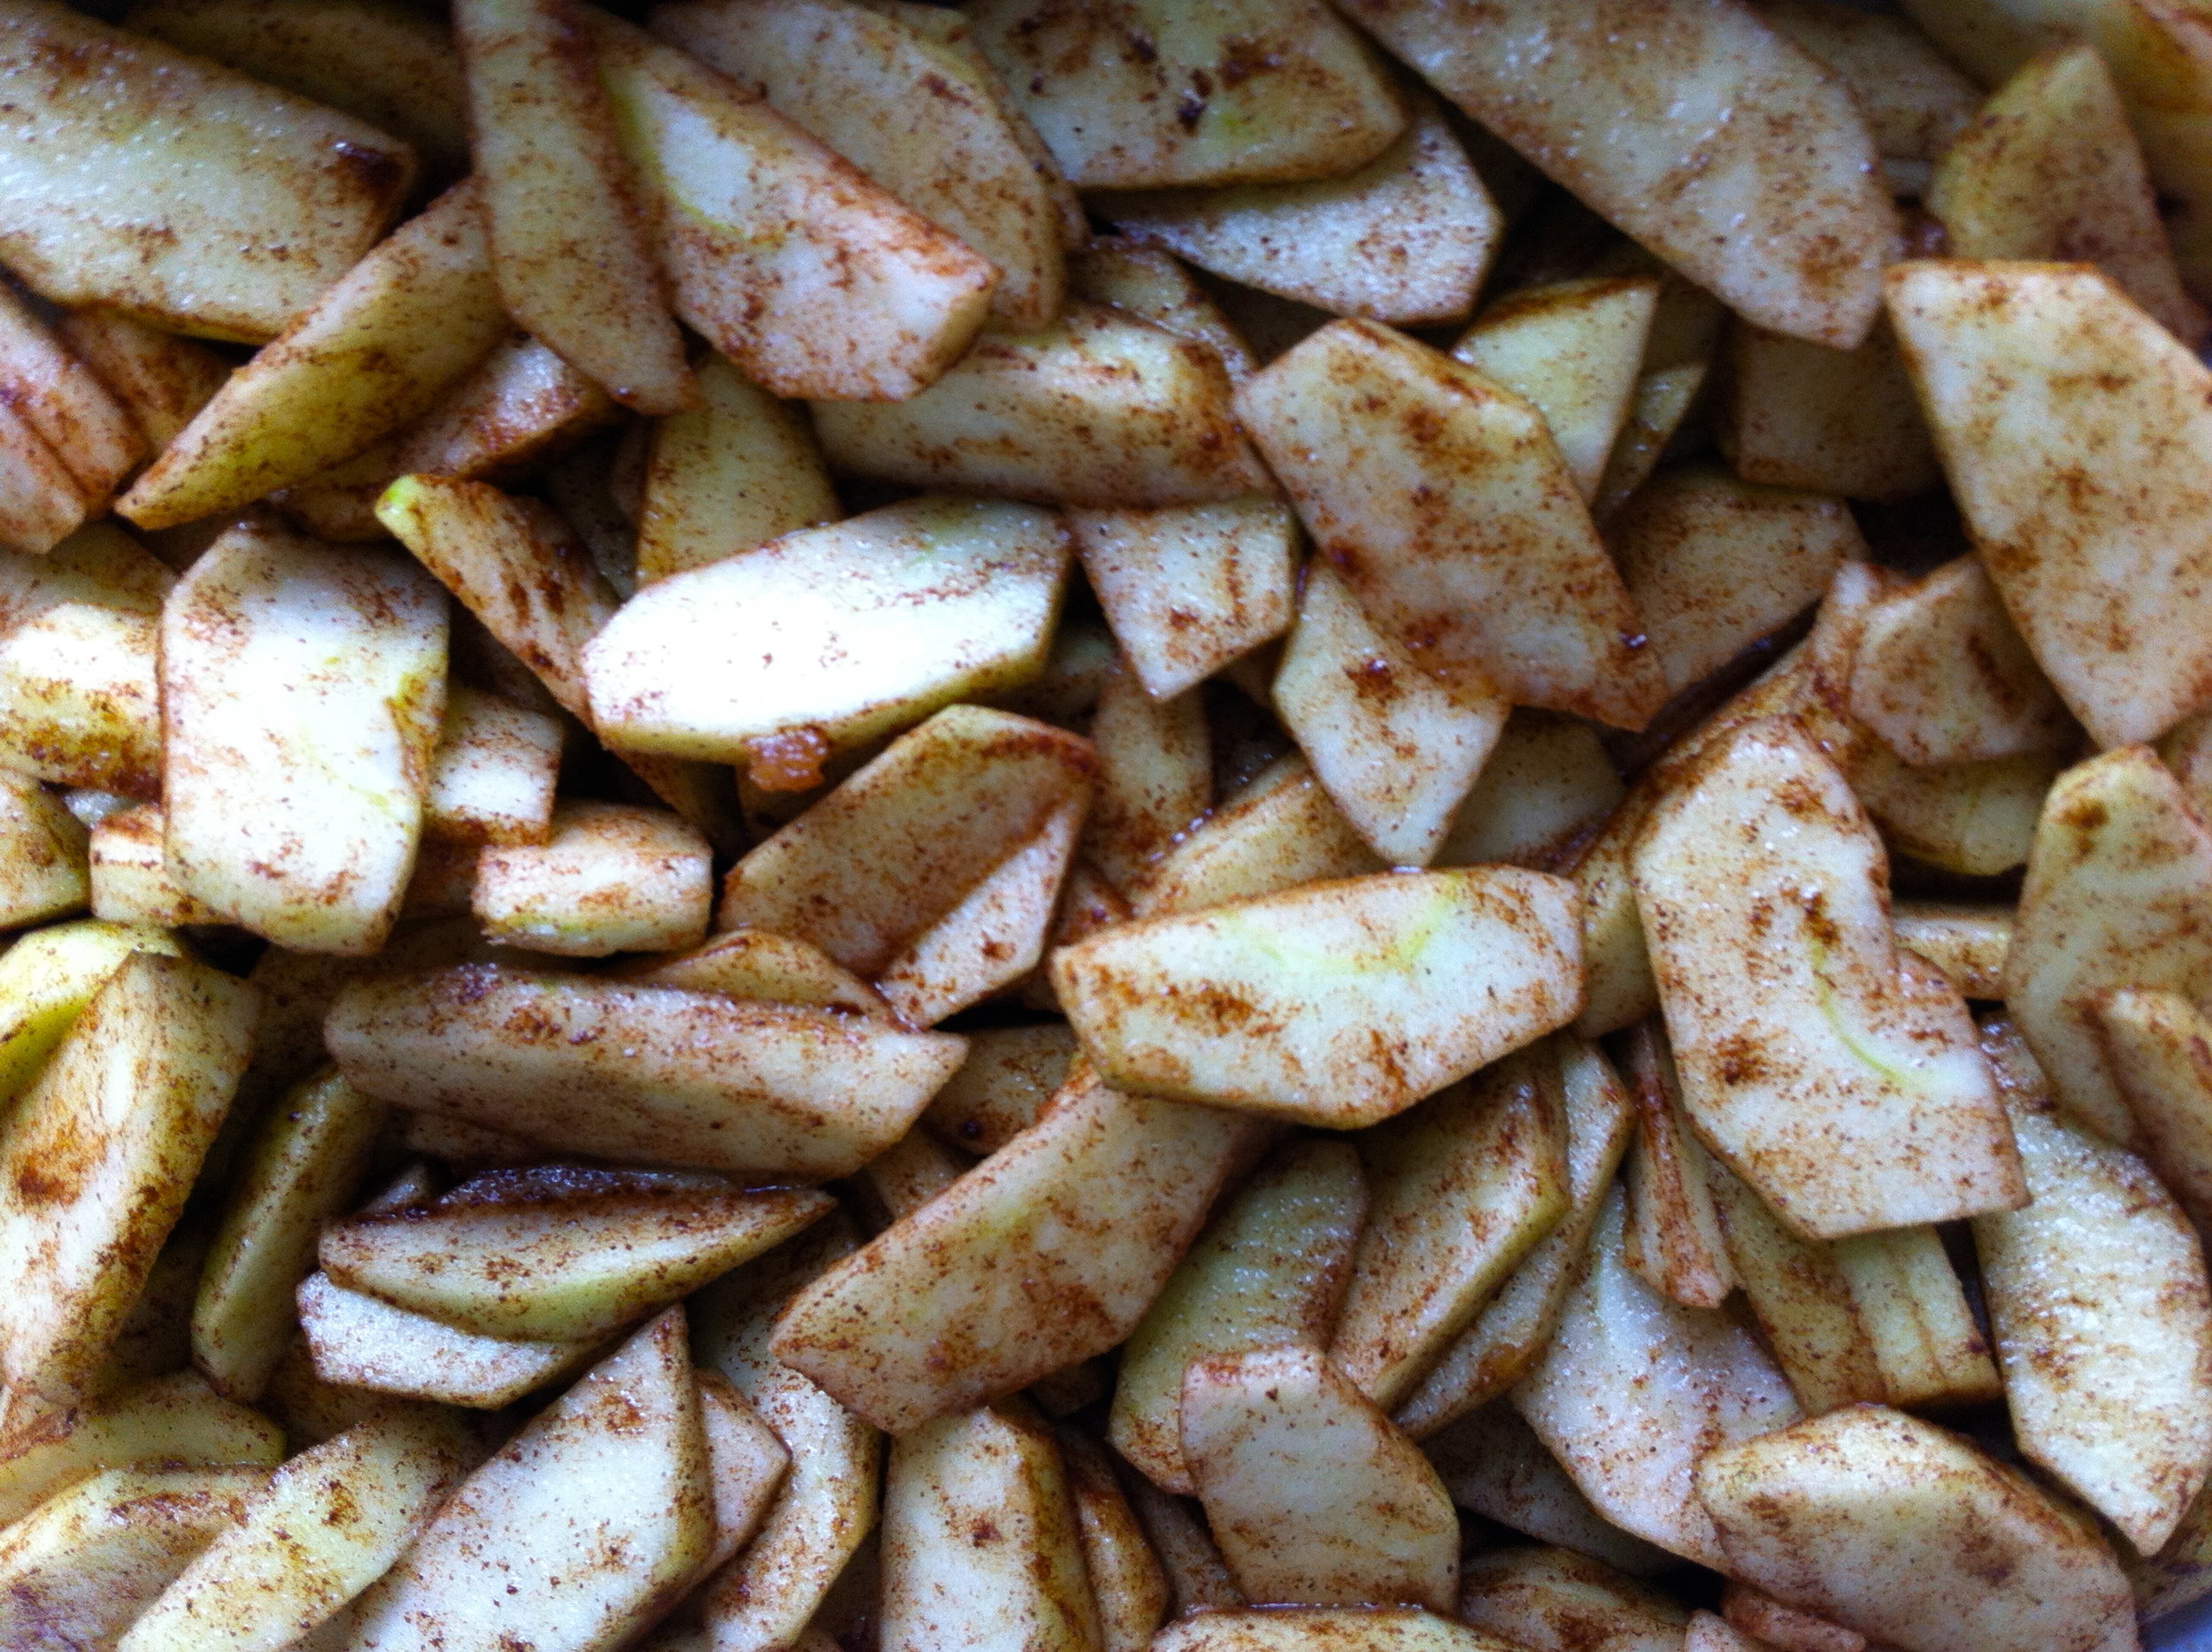
Mix apples, lemon juice, vanilla, maple syrup, and cinnamon all together and place in a medium or large baking pan.

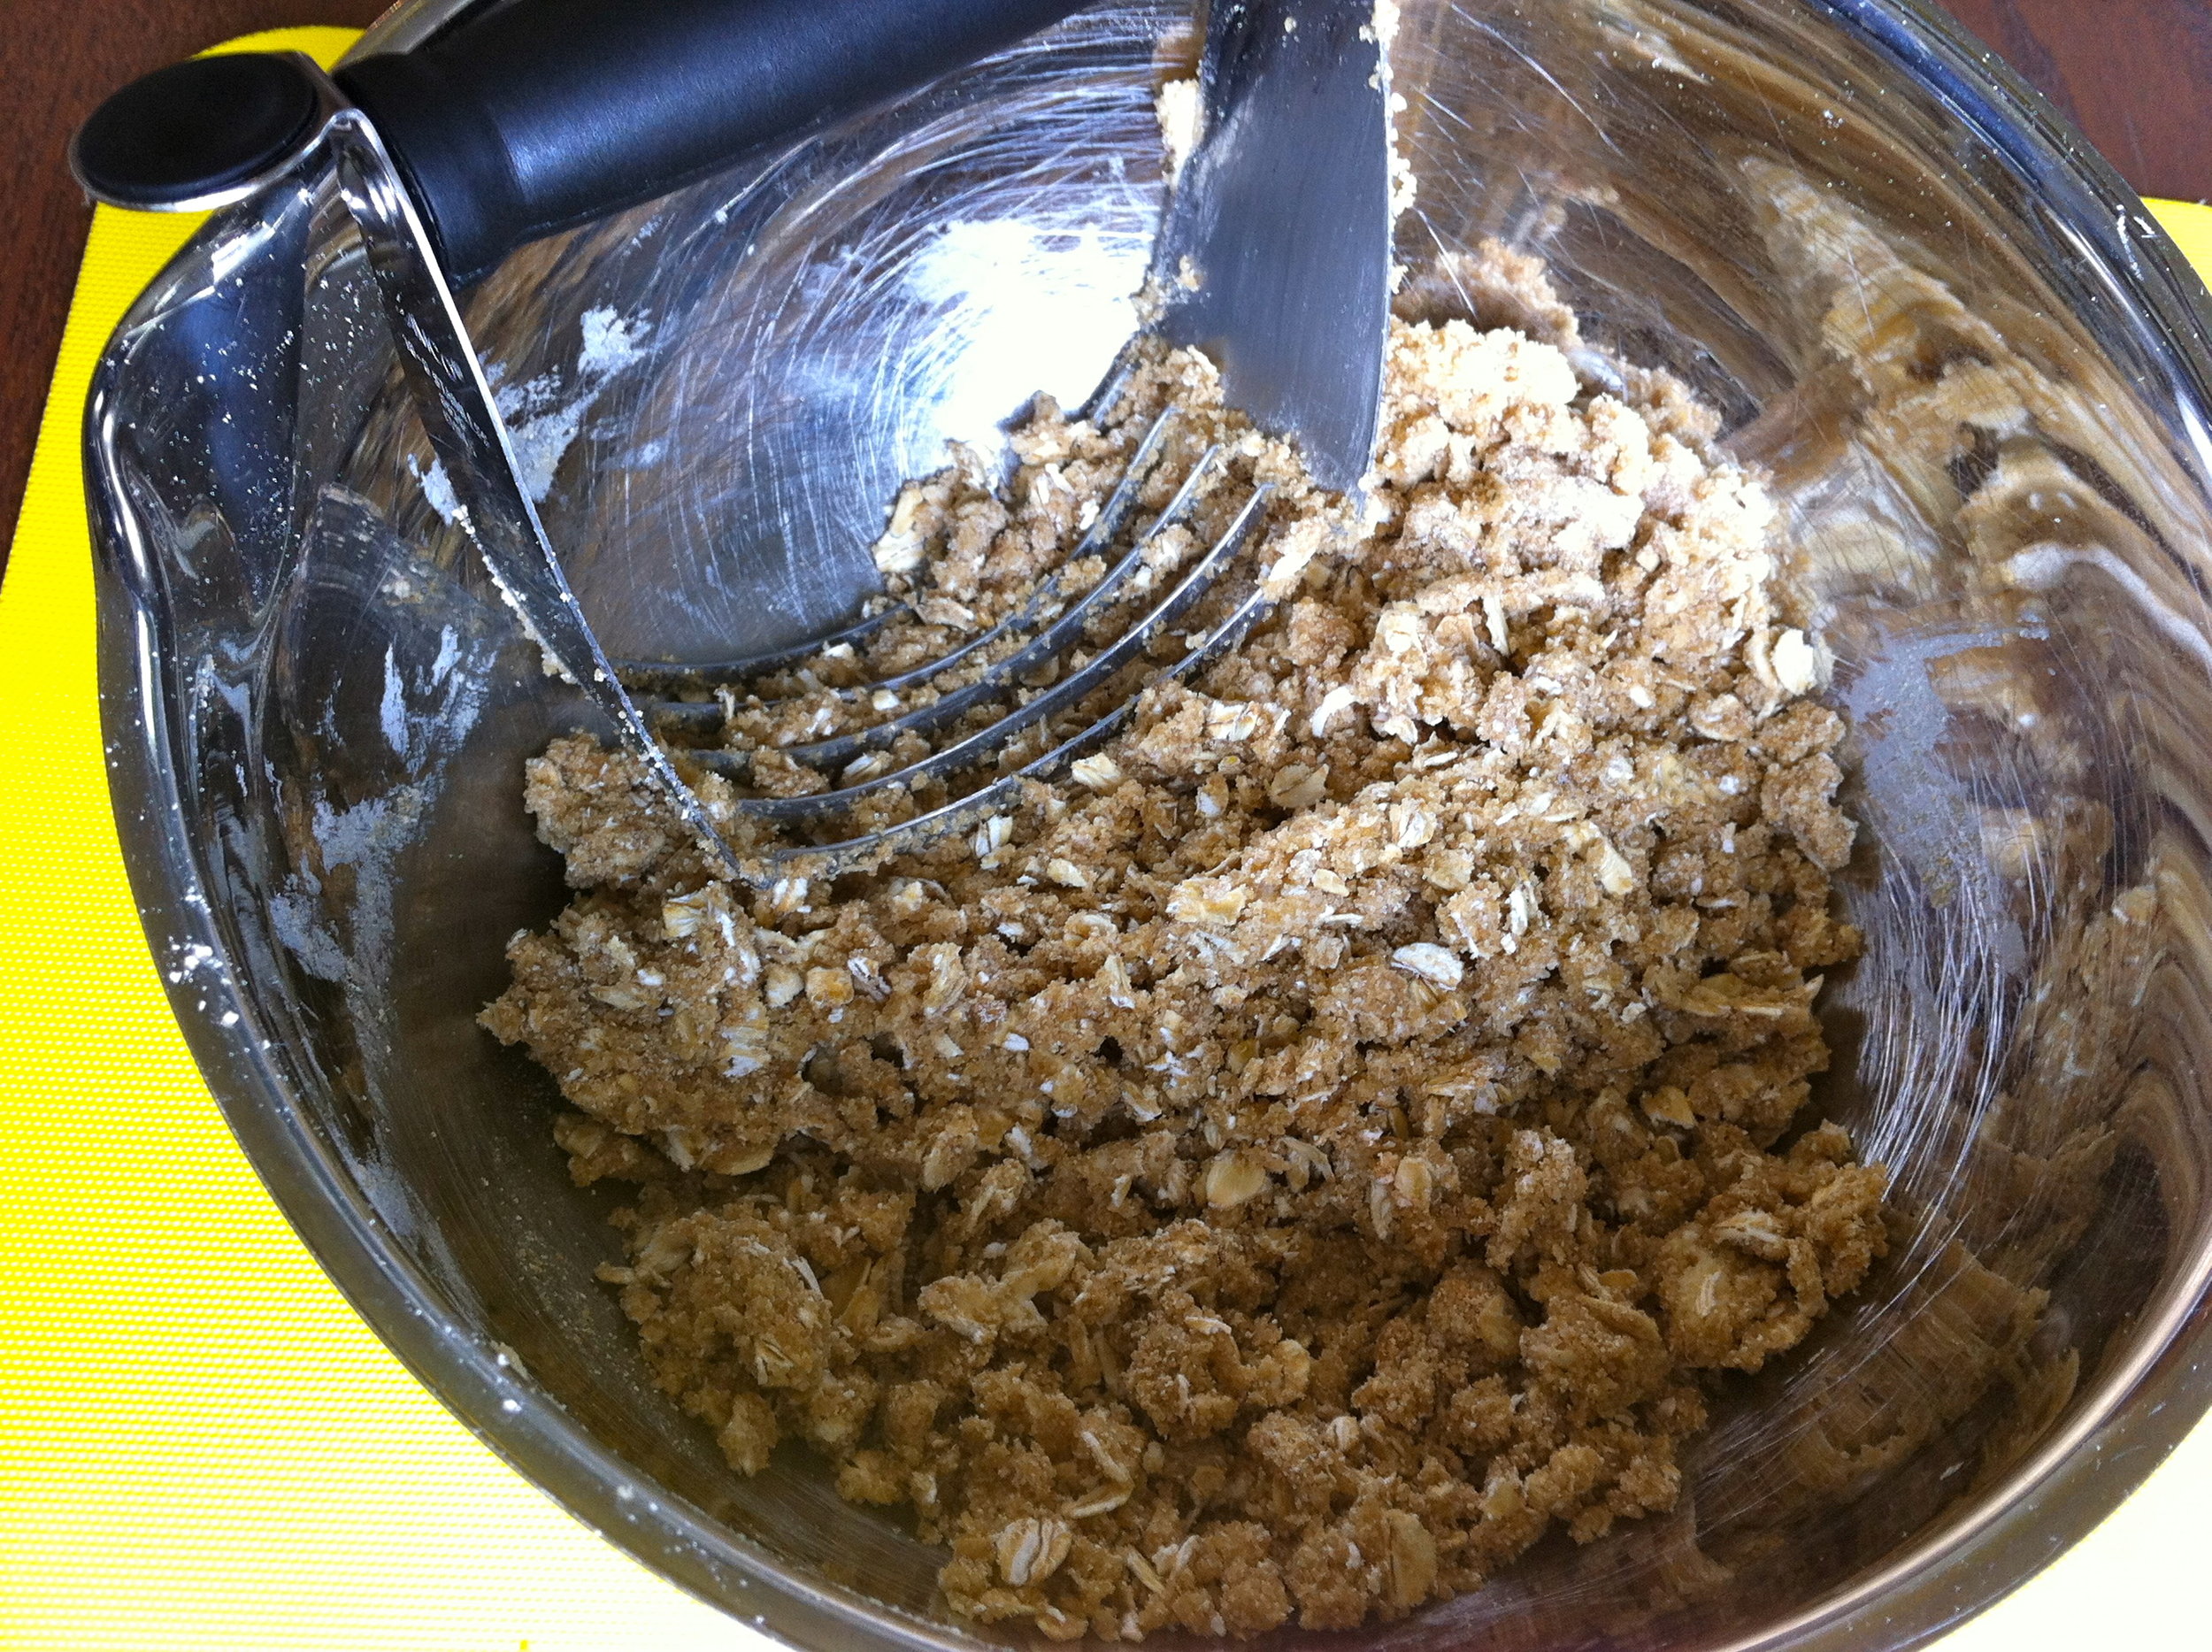
Combine flour, oats, brown sugar and butter using a pastry knife or fork until butter is in small chunks and ingredients are combined.

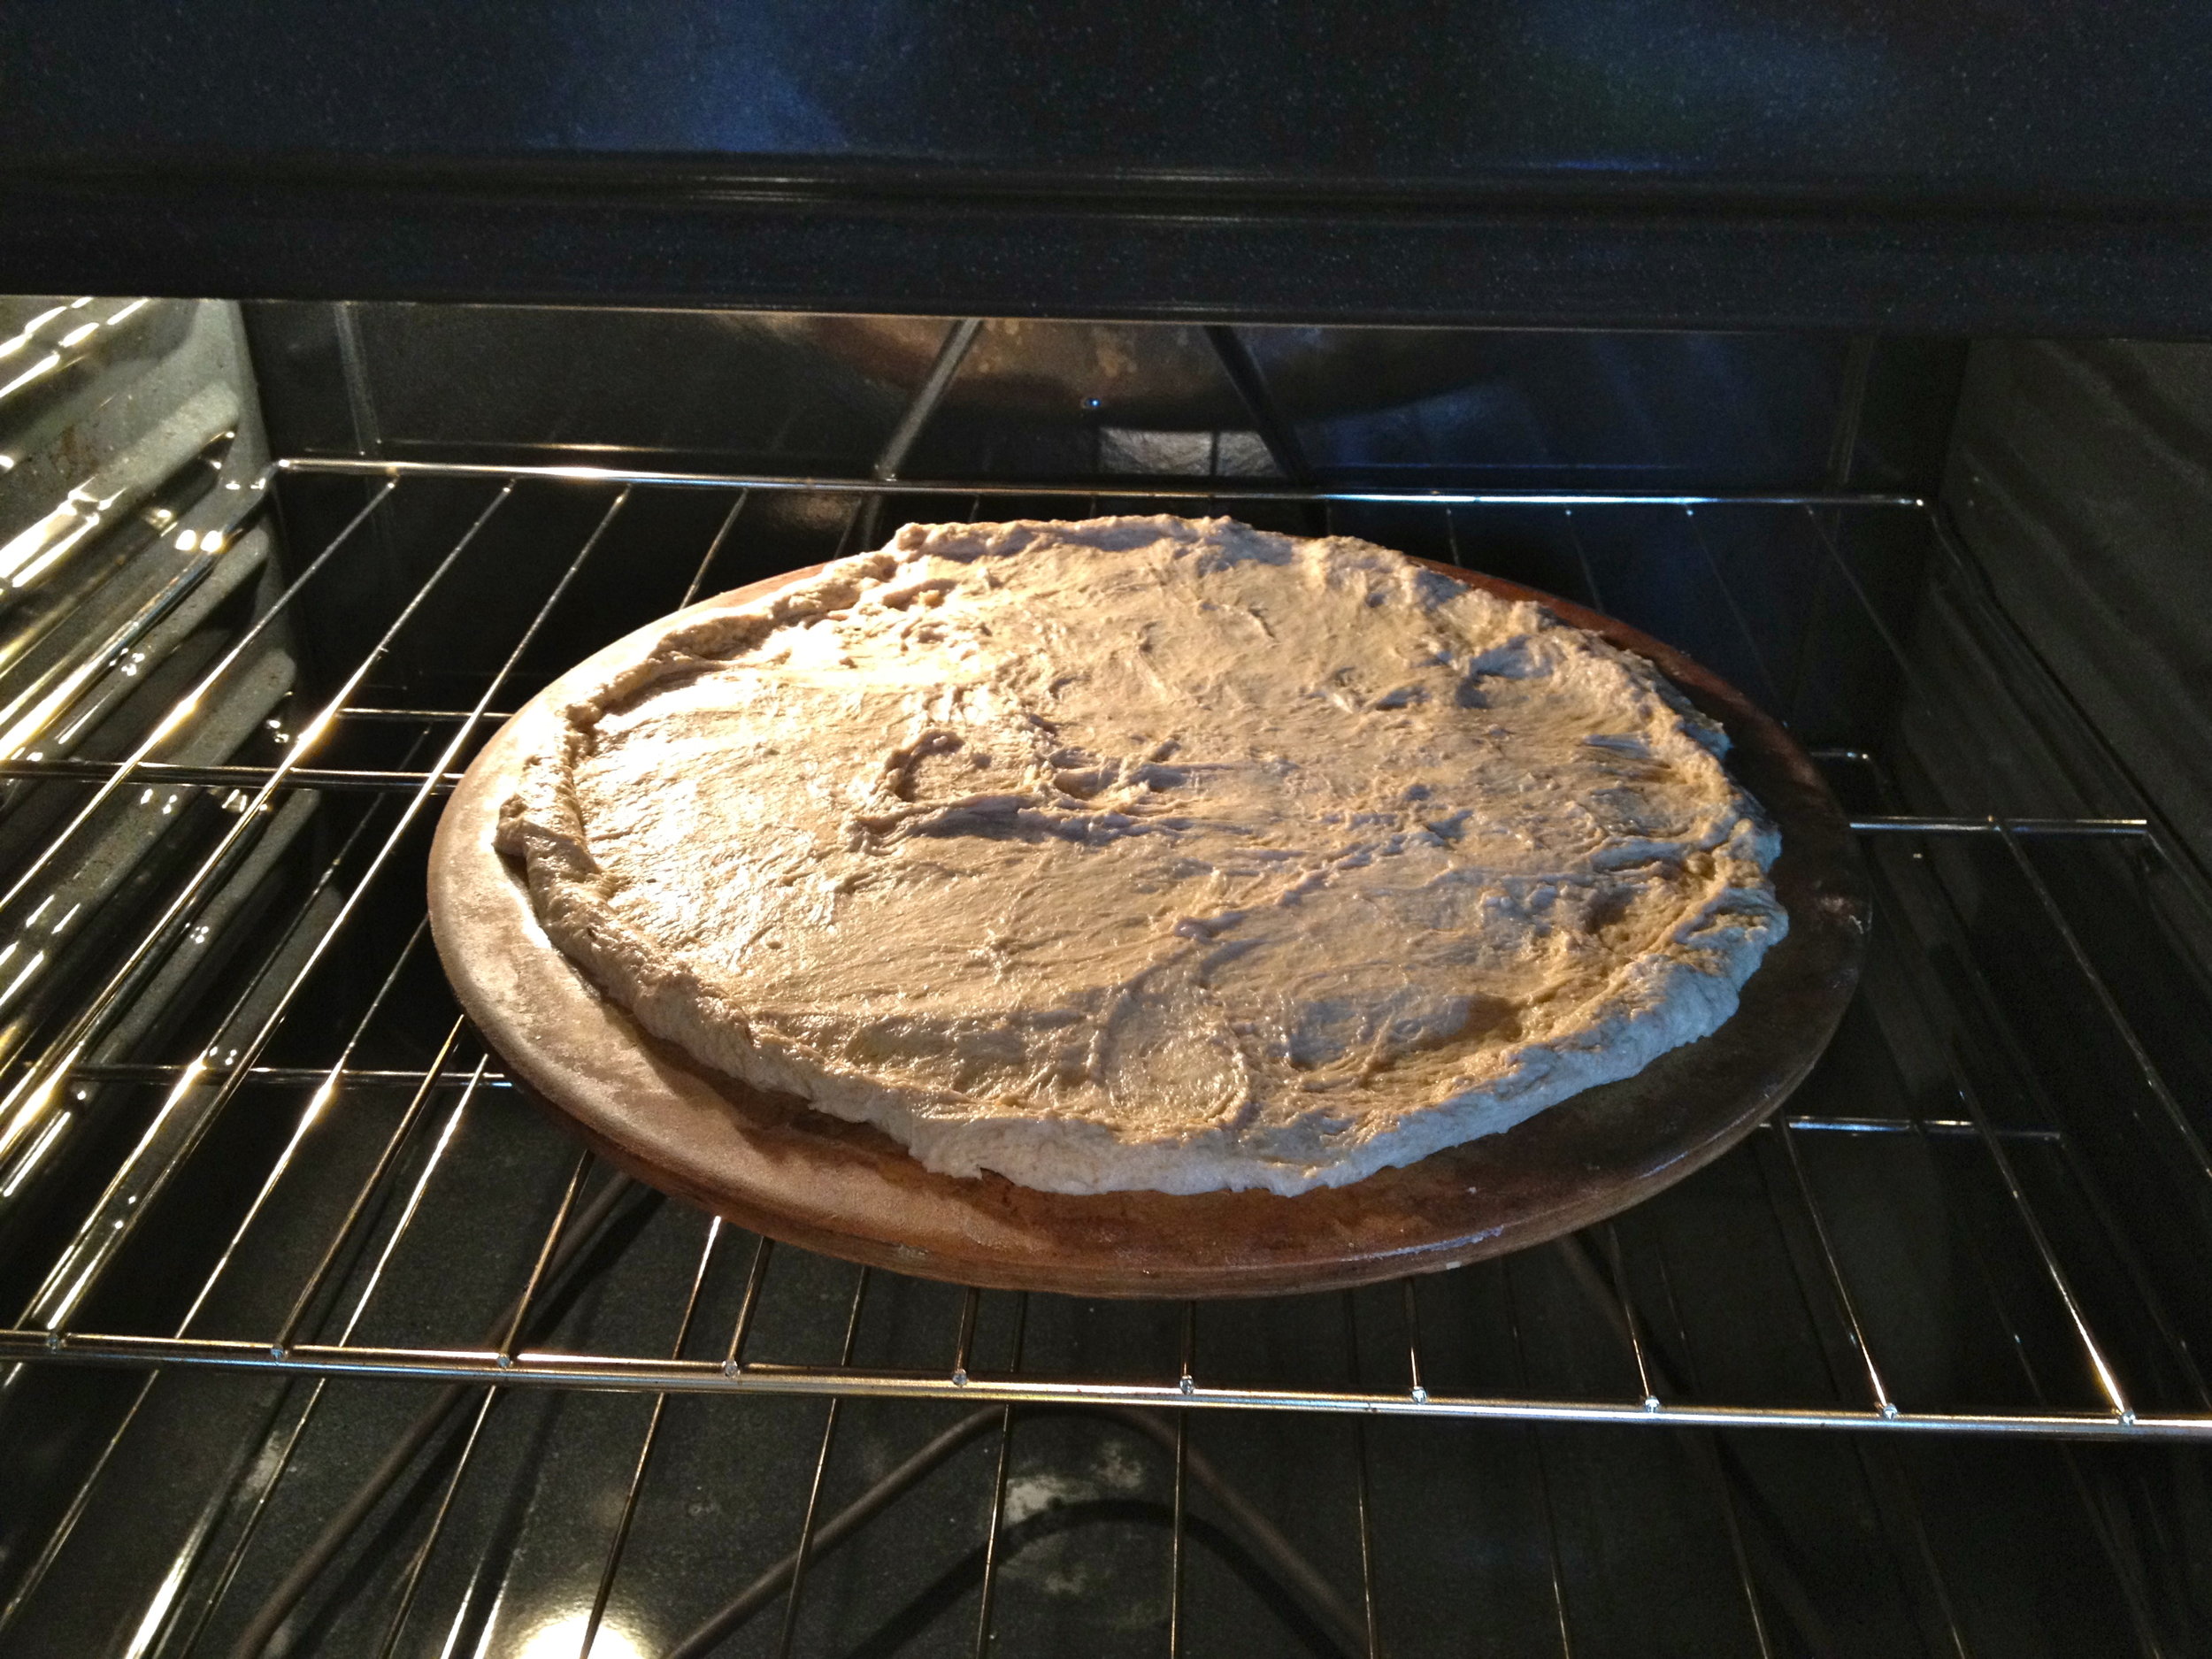
Pour topping over apple mixture and bake at 350 for about 50 min. Check it at that point and see if the top is starting to brown and apples are very soft, it may need a bit more time.

*The key is cooking it long enough for everything to get soft enough to melt in your mouth!


TO SERVE:

Enjoy with vanilla ice cream, coconut milk ice cream or pumpkin ice cream!


We tested out our ice cream maker we got for Christmas and made some coconut milk ice cream and it did not disappoint!

OTHER VARIATIONS: 

  • You can use a pie crust (I think the store bought ones are the best!) on the bottom and then follow the same instructions if you want it to be more pie like
  • It is also delicious with real caramel syrup drizzled on top!

[print_this]

MAPLE APPLE CRISP

INGREDIENTS:

  • 5 heaping cups granny smith apples (4-5 apples), pealed and chopped into small chunks or slices
  • 1 T lemon juice
  • 1 T real vanilla
  • ¼ C real maple syrup
  • 1 T cinnamon
  • ¾ C oat flour (whole wheat flour works too but I think the oat flour makes it moister and tastier)
  • ¾ C slow cooking oats
  • 1 C organic brown sugar
  • 5 T Earth Balance butter (or real butter)

TO MAKE:

Mix apples, lemon juice, vanilla, maple syrup, and cinnamon all together and place in a medium or large baking pan.

Combine flour, oats, brown sugar and butter using a pastry knife or fork until butter is in small chunks and ingredients are combined.

Pour topping over apple mixture and bake at 350 for about 50 min. Check it at that point and see if the top is starting to brown and apples are very soft, it may need a bit more time.

*The key is cooking it long enough for everything to get soft enough to melt in your mouth!

TO SERVE:

Enjoy with vanilla ice cream, coconut milk ice cream or pumpkin ice cream!

OTHER VARIATIONS:

  • You can use a pie crust (I think the store bought ones are the best!) on the bottom and then follow the same instructions if you want it to be more pie like
  • It is also delicious with real caramel syrup drizzled on top!

[/print_this]

A DAY TO EAT OUT...

It wasn't until I had kids myself that I realized how amazing my mother is. She beautifully laid down her life 24 hours a day for her husband and her children. All the while fully devoting her life to Christ and growing in her faith daily. Needless to say, she is my hero.

It also wasn't until I had children of my own that I recognized the significance of Mother's Day.

(It's next Sunday in case you forgot. Your welcome moms.)

Yet how could we possibly honor the women who laid down their very lives for us in just one day?

Although we can never repay what they have given, we can take a day and serve them with just a sliver of the service they have lavished on us.

Where do we start?

FOOD! Mother's day is a perfect day to close the kitchen (allowing it to be the one area of the house that remains clean for more the 30 seconds) and take her out to breakfast... or any meal will do!

Our beautiful city is full of amazing places to eat that use all real and whole food ingredients. Many of them even source all locally grown ingredients that provide us with the best tasting and most nutritious meals there are. Below are just a few that we love and would be great places to take your moms to brunch this Mother's Day.

Vita Cafe:

  • They have the best breakfast burrito I've ever had... My stomach is growling just thinking about it.
  • It has a bit of a hippy vibe but... maybe that's why it is so good.
  • Everything on their menu has a vegetarian/vegan option as well as a meat option. They use clean, grass fed meats and fresh produce.
  • They have a great kids menu.
  • They serve breakfast, lunch and dinner.

Slappy Cakes:

  • The perfect spot for moms with kids... Or any age really.
  • You choose a pancake batter, toppings and syrup and grill up your pancakes right at your table.
  • They also have breakfast entrees with fresh ingredients and seasonal produce they grow themselves.
  • They have gluten and dairy free options and they are delicious.

Mother's Bistro:

  • Perfect name for Mother's day! A beautiful spot for brunch. They also serve lunch and dinner.
  • The food is delicious and the menu has lots to offer.
  • The menu doesn't specify dairy or gluten free but they do have options if you ask.

Bijou Cafe:

132 SW 3rd Ave Portland, OR

  • The menu is full of fresh, real food and they serve breakfast and lunch.
  • Limited dairy/gluten free options available. Be sure to ask how they cook the entree you are ordering if you are sensitive to dairy as they cook many of them with butter. The oatmeal and granola are safe!
Some not so healthy but super tasty...

Gravy:

3947 N Mississippi Ave Portland OR

  • You may have to wait a while but it's worth it!
  • Things to try: they are famous for their Creme Brûlée style oatmeal (it can be made with water or soy if you need it dairy free). Their french toast and hash browns are out of this world too!

Tasty and Son's:

  • This is a somewhat southern style restaurant with a great atmosphere.
  • Not much to say other then it is wonderful!

HAPPY MOTHER'S DAY!

Elizabeth

PS: If you have a favorite spot to eat in our city would you share it with us?

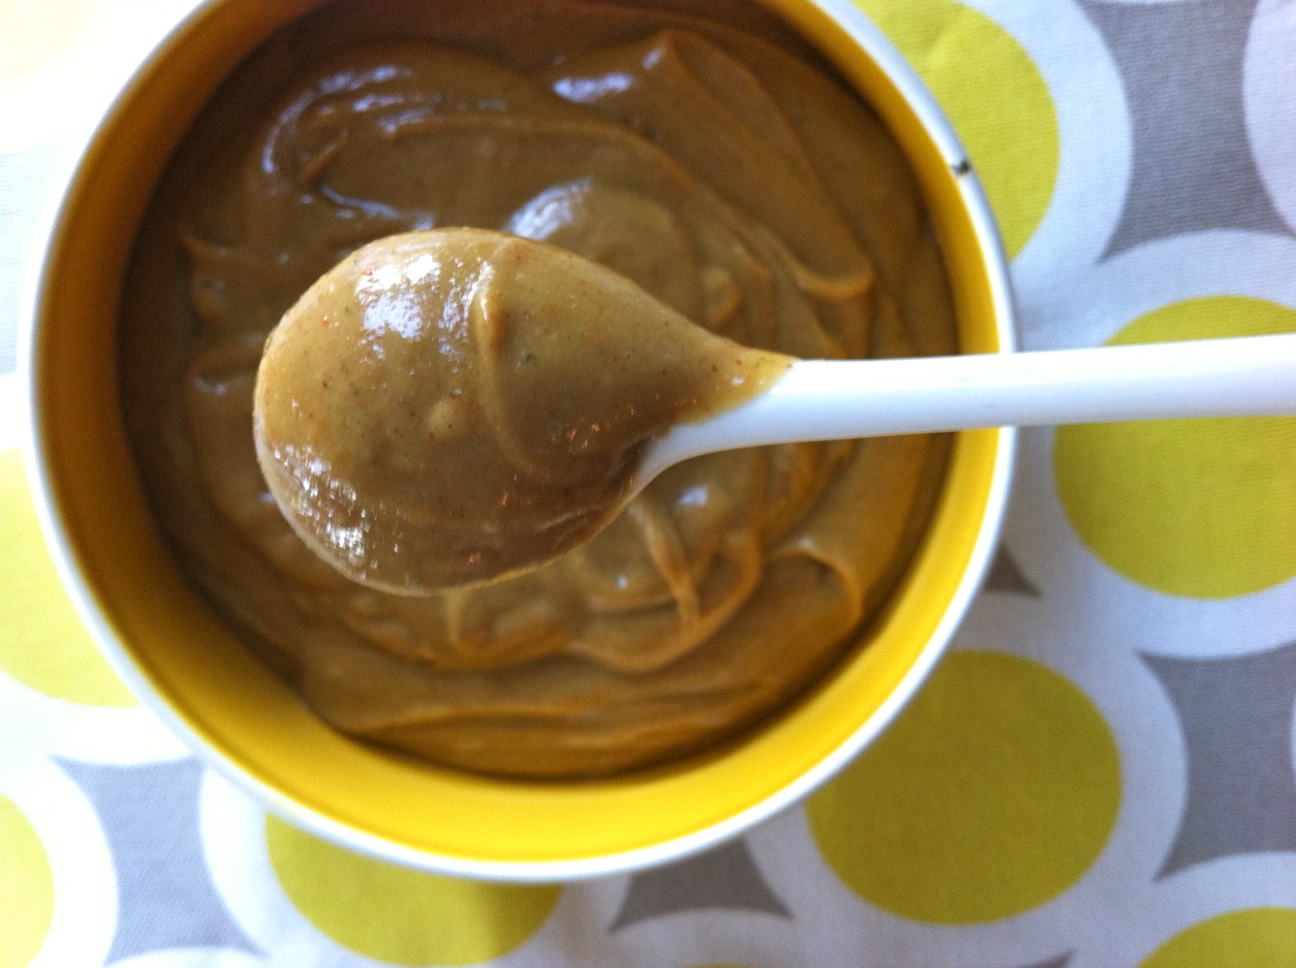
CILANTRO LIME PEANUT SAUCE + VEGGIES + RICE

After a whole pregnancy of craving nothing but Mexican food, two weeks of quick and easy meals, and wonderful friends and family cooking for us… I have made my way back into the kitchen to work on some new, non-Mexican, recipes!

As I am learning to juggle my two little ones, keeping up with laundry and brushing my teeth before my husband gets home from work…. My goal with most meals has been to have enough for leftovers for lunch the following day.

Leftovers are a mama’s best friend.

With Spring finally making it’s way to us, I am getting so excited to grill up every type of colorful vegetable I can get my hands on! Yet for this recipe, my stove had to suffice… as well as the veggies I happened to have in my fridge.

Feel free to get creative with this meal and use whatever type of veggies you and your family like. Really anything goes with this one!

ENJOY!

Elizabeth

CILANTRO LIME PEANUT SAUCE + VEGGIES + RICE 

(apple cider vinegar not used)

PEANUT SAUCE:

  • ½ C natural peanut butter
  • 1 T Braggs amino acids (or soy sauce)
  • 2 T limejuice
  • 1 T coconut oil
  • 1 T minced garlic
  • 1 t minced ginger
  • 1 T brown sugar
  • ¼ C cilantro
  • ¼ C water
  • ¼ tsp cayenne pepper (optional – just adds a bit of a kick but not too much)

(kale and zucchini not pictured) 

VEGGIES + RICE:

  • 2 C cooked brown rice (I cooked mine in vegetable broth for added flavor)
  • 1 can water chestnuts – chopped
  • 1 bell pepper – chopped
  • 2 C steamed kale – chopped
  • 3 carrots – pealed and chopped
  • ½ C green onions – chopped
  • 1 zucchini – chopped
  • ¼ C chopped cilantro
  • Coconut oil

TOPPINGS:

  • Chopped peanuts
  • Green onions
  • Sriacha Hot Sauce

TO MAKE:

SAUCE:

Combine all ingredients in a high-speed blender or food processor. Blend until smooth. Add more water to reach desired consistency if necessary.

VEGGIES:

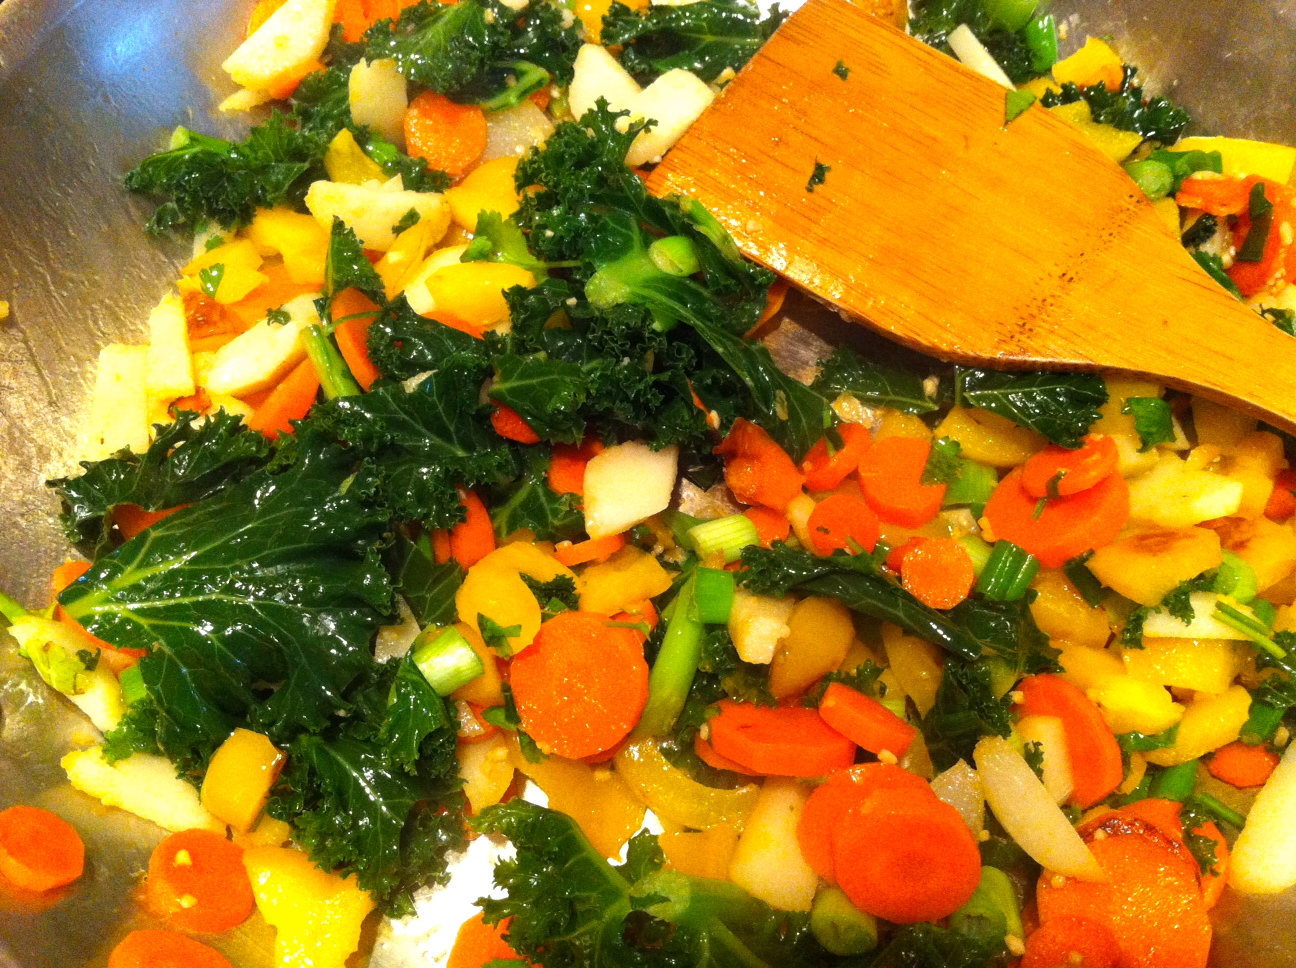
Heat a bit of coconut oil in a large sauté pan on medium heat. Add carrots and peppers and cook for a few minutes until they soften. Then add water chestnuts, steamed kale, green onions, zucchini, cilantro, salt and pepper and cook all together for a few more minutes. I tend to like my veggies on the crispier side so turn up the heat to medium high and let them brown up without getting soggy.

*Steaming the kale prior to sautéing it will soften it and makes it much better! You can use a steamer or just put a bit of water in a pan with the kale and cover. Cook for about 5 min on a high heat. You just want it to soften a bit and wilt.

TO COMBINE:

In a large mixing bowl, combine cooked brown rice, sautéed veggies, and peanut sauce. Stir until combined. Give it a taste and add more salt or pepper if desired.

TO SERVE:

Add toppings and enjoy!


LENTIL HUMMUS: by michele fordice

A few weeks ago, my dear friend Michele posted a photo on Facebook of some homemade hummus she was planning to make. Her pile of ingredients sounded so good that I asked her to share her creation with you all. She is delightful and fun and truly finding cooking to be a beautiful form of art... a women after my own heart!

ENJOY!

Elizabeth

PS: I will be back next week with a new recipe. All the ingredients are waiting in my fridge... I just need to figure out how to find time to take a shower with two little ones... then I will be back in the kitchen!

LENTIL HUMMUS: by michele fordice

For some families, cheese, bread, or meat may be a staple at the dinner table.

The staple in our home is hummus.

Some would even say it’s become an obsession around here.  With minimal complaints from my 4-year-old son, he eats just about anything you put in front of him. But my 2-year-old on the other hand, he lives and breathes because of his hummus consumption.  For the past two years we have consumed more hummus containers from Costco than one might think humanly possible and we’ve experimented with many hummus recipes.

We have discovered that Trader Joe’s has the best flavor, but because of the amount we consume, we had to switch over to Costco’s more economical version.  In an effort to switch things up now and then, I tried making it myself.

In the end…this recipe has proven to be one of our favorites.

Traditional Hummus is usually blended with a chick pea bean (aka garbanzo bean). For this recipe, I’ve chosen to use a sprouted bean trio of lentils, adzuki, and mung beans. Ok, I’ll be honest. The reason why I chose this group of beans was because of the color. They looked pretty in the store and I wanted to take them home!

Using this sprouted bean trio was a first for me, and despite the initial vanity in my purchase, we really liked the way the hummus turned out. It had a more earthy/hearty flavor.

Unbeknownst to me, sprouted beans are said to be easier to digest and loaded with micronutrients.  Who knew?  Allowing the beans to sprout (aka: germinate) has been used in food preparation for centuries, and for those who are sensitive to certain grains and beans, this might be a viable option.  Ezekiel bread (hyper link to this website:  www.foodforlife.com), is a commercial example of sprouted grain bread.  Most Trader Joe’s carry Ezekiel breads and tortillas.

If you are feeling adventuresome and have never made your own hummus recipe, try it!  It’s actually really easy, nutritious, and a fun recipe to do with kids!  And, if you are not up for cooking your own beans, grab a can of garbanzo beans.  Be sure to rinse the beans in a colander in order to remove the excess sodium that has been put in the can as a preservative.

Put away that Hidden Valley Ranch dressing and bust out a healthy alternative to eating raw veggies!

LENTIL HUMMUS

INGREDIENTS: 

  • 1 cup of dried lentils or any kind of bean of your choice
  • 3 cups of water (used to boil the beans)
  • 3 tbsp tahini (sesame paste)
  • ½ cup lemon juice
  • 2 gloves minced garlic
  • 1 tsp cumin
  • 1 tbsp Tamari soy sauce or Braggs Liquid Amino
  • ¼ cup olive oil
  • Salt to taste

TO MAKE:

  • Cook dried lentils or beans according to package directions.  If you have cooked canned beans, pour contents into a colander to drain juices and rinse beans of any excess sodium.
  • Pour the rest of the ingredients into your choice food processor and blend.  Depending on your food processor you may need to add a bit of water or olive oil to create a more creamy texture.
  • Serve with fresh vegetables, pita, and or as a sandwich spread.
  • Now enjoy!

This is just ONE of many renditions you can try.  Cook up some spinach and add it into the food processor for some extra micronutrients.  You can also add or delete the amount of lemon juice, garlic and tamari sauce to make it more or less flavorful.

Cooking has become an art form for me and food is the canvas.  I love throwing in a pinch of this or a dash of that and see how it changes the consistency or flavor of a dish.  As you get to know the flavors of the world you really get to see HIS creativity, not just the science behind the food.  He sure is creative!

Hope this inspires you too to get creative!

Love, Michele

TRICKS OF THE TRADE: by becca hardesty

I am taking a break from the blog this week because our Scarlet Ruth Mosser made her way into the world this past Tuesday! She is a dainty little girl already and bringing us so much peace and joy! 

Today's post is from my friend Becca Hardesty and I'm sure we will ALL learn from her practical advice on meal planning, grocery shopping and staying in a budget.

ENJOY!

Elizabeth

(Chris, Becca, Bennet and baby #2)

Meal planning and grocery shopping can be daunting tasks, especially if you have kids to mind and a budget to stick to.

I am by no means an expert at these things, but I feel like I have a pretty good method (shopping can get quite interesting when you are 8.5 months pregnant and have a spirited toddler!) to getting it all done. I'm so glad that I get the opportunity to share the method to my meal-planning madness and how I keep sane on long grocery shopping days all the while staying in budget.

Some of this may be common sense, but sometimes common sense is what I need to hear the most!

My husband Chris gets paid every other Friday, which are my grocery shopping days. This means that I only need to do big grocery trips two times a month.

I usually head to the store to grab some fresh produce and milk on Sunday for the second week, but at the end of the two weeks our refrigerator is looking pretty darn empty. Luckily, having a menu planned out means that I'm not scrounging around for things to make at the end of the two weeks (always a plus)!

IT'S ALL IN THE PLANNING: It's important to have a binder of recipes you've torn out of magazines, a folder of saved recipes on your computer, a Pinterest board dedicated to meals you'd love to make/your all-time favorites OR all of the above!

While meal planning, I refer to each of these things often but Pinterest is definitely a favorite for gathering and sharing new meal inspiration and also keeping it all organized.

THE WEEK LEADING UP TO GROCERY SHOPPING:

- Take stock of what needs to be used up in your refrigerator and pantry. Plan meals using these things...wasting is never good.

Example: I know I need to use up some sweet potatoes, sour cream and cilantro so maybe I will make sweet potato tacos next week.

-Think about what you'd like to make. Have you been craving warm soup in this rainy weather?

-Keep your menu interesting by choosing a few favorites, a few oldies and a few new recipes...once again, Pinterest has been a lifesaver in the meal-planning department!

-To mind our budget (and our health) I only plan 1-2 meals containing meat per week. This allows us to get more veggies into our diet and actually all of our favorite meals are meatless ones now!

ASSESS YOUR PLANS FOR THE NEXT WEEK OR TWO (depending on when payday occurs):

- Will you be out of town or having dinner guests over? Do you need to make something quick on house church night?

-Plan accordingly (don't forget to take advantage of that crock pot...it can make your evenings/life so much easier)!

-Choose meals, but not necessarily for specific days (this allows you to be flexible) unless you have something special planned, like a big batch of fish tacos for when your friends come over Friday night.

THE LIST: When I'm doing my meal planning, I first like to find a meal and write it down on the back of my grocery list (or put into my "meals" note on my phone). It's handy to have the list of meals I'll be making while I'm out shopping. After I write down the meal, I take a look at the ingredients and add the ones that I'll need to buy to my grocery list. I then move onto the next meal until I'm all the way through my planned menu.

Speaking of my grocery list, I used to be so attached to my paper lists and would cross out each item as it went into my cart. Recently I decided to try out the Grocery IQ app for my phone. It took a while to get used to, but now I Iove it and don't miss my paper lists at all. The best part is that it's free!
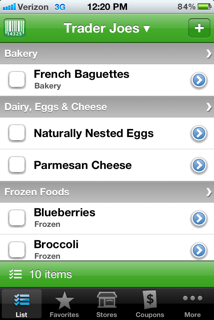
When I'm writing out my list, I have a different list for each store I need to go to. I squeeze three different stores into one morning before naptime so it's important to be organized. (Does anyone go to just one store?!)

SHOPPING DAY: Before you head out, plan your route according to what stores you will be going to and what you need to buy there. Do you need to get a lot of frozen items at Costco? Go there last (or if you are the over-achieving type, keep a cooler in your trunk).

Drive a little farther to get to where you need to go if the stores happen to be closer together somewhere farther from your house. I usually head to Costco first, then park in between Fred Meyer and Trader Joe's since they are pretty close to one another. I do my grocery shopping at Fred Meyer and load it into my car when I'm done and then I walk over to Trader Joe's. This not only saves time and gas but also keeps my toddler happy since he doesn't have to get in and out of the car seat another time.

Speaking of keeping kids (and mama) happy on grocery day, make sure to pack plenty of snacks, water and a sandwich for lunch so you can put them down for nap right when you get home...this will make unloading groceries much more efficient.

Don't forget to have a few distractions up your sleeve (or in your purse) like stickers; and don't be afraid to drop your child off at the play area of the store. I finally tried it out and wish I had done it sooner! My son loves the hour he gets to play as opposed to being stuck sitting in the shopping cart. I'm also able to focus more so we get home earlier and don't miss that precious naptime window!

STAYING ON BUDGET:

-A simple solution to getting the most for your budget would be to choose meals that overlap in ingredients. You could even pick a theme for the week, like "Mexican" which would ensure you'd use up all of those corn tortillas and sour cream.

- I  would love to buy all organic groceries if I could, but that's not really realistic on our budget. I always buy organic dairy products, or at the very least I stick to a brand that I trust. I also stick to the same rule when it comes to meat, which doesn't add up too much when you are only making a couple of meals containing meat each week. As far as produce, I try to buy organic if they are in the "dirty dozen". Pretty much this means that if you eat the peel or skin, then you should choose organic since most of the pesticides sit in the skin or peel.

-It's unfortunate that good and healthy food has a high price tag, but keeping our families healthy is probably a top priority for every parent. If you can't afford to buy organic meat all of the time, cut back on meat in general and spend that money on organic produce instead.

Above all, be prepared and focus on the task at hand. It's easy to get overwhelmed (especially if you have kids) but remember that grocery shopping only lasts a short time and it's such a privilege to be able to go out and fill our cupboards with new items every few weeks!

Becca

Martha + Mary

Thursday was a whirlwind. I woke up looking forward to the day and with a To Do list packed full.

Duke and I were going to have a morning around the house of playing, working out, getting ready and tidying up.

Then we were headed to make a quick stop by Brook’s new office to say hello.

Then off to my mom’s house so Duke could take a nap there while I went grocery shopping for us and for my brother (his wife had been in Uganda for 5 weeks while they adopted my new niece!)

I was just slightly looking forward to grocery shopping by myself. Not that going with Duke isn’t wonderful… just a bit different of an experience.

I had a two-hour window to go to Costco, Winco and Trader Joe’s and be back to pick up Duke and take John Mark his groceries.

I pulled up to the Costco parking lot with a massive downpour enveloping my car and realized I had forgotten my phone. Normally this wouldn’t be a big deal but I am 9.5 months pregnant and could go into labor at any moment.

I thought for a minute about going back to get it but then decided to just shop as quick as I could and hope my water didn’t break.

I buzzed through Costco and Winco… getting SOAKED in each parking lot and then headed to Trader Joe’s.

At this point my “relaxing” time of grocery shopping all alone was not feeling the way I had envisioned.

I pulled into Trader Joe’s, got out my list and realized something…

Everything on John Mark’s list was from Trader Joe’s.

John Mark’s list was on my phone.

My phone was at my parent’s house.

Stress level rising.

To make my long day shorter…

I ended up getting home at 8:30 that night , putting Duke to bed, eating dinner after 9  and falling exhausted into bed as soon as Brook got home at 10.

Needless to say, my day didn’t work out the way I’d planned.

Instead of feeling accomplished and satisfied at the end of the day, I was exhausted, frazzled, and wishing I had been able to finish my laundry, sweep my floor and cross everything off my list of things to do.

Yet this morning I awoke earlier then usual and God had something waiting for me.

I opened by Bible to Luke 10 and the story of Martha and Mary jumped off the page to me in a whole new way.

I have always resonated with Martha and am certainly a woman who gets wrapped up in tasks. In fact, I often enjoy the tasks. Yet, I can get consumed by them and lose sight of what else God might have for me in the day.

Jesus says:

Luke 10: 41

Martha, Martha, you are worried and bothered about so many things; but only one thing is necessary, for Mary has chosen the good part, which shall not be taken away from her.”

This verse sums up my Thursday. I was worried and bothered instead of choosing to sit at Jesus’ feet.

My floors will stay clean only until my husband and son come running down the halls, filling our home with laughter and joy.

My To Do list will always have something new to be added as soon as something old is crossed off.

My laundry will be finished for a few fleeting moments before Duke spills lunch on his t-shirt.

My grocery shopping will be complete until I get home and realize I forgot bananas.

Yet these are the very things that give my life meaning and purpose. They show that my life is filled with people… and people are so much more important then tasks.

I am speaking from a place of weakness and asking God to give me strength. Will you ask Him to the same for you?

In the passage immediately following, Jesus speaks to his disciples about prayer:

Luke 11:9-10

"So I say to you, ask and it will be given to you; seek, and you will find; knock; and it will be opened to you. For anyone who asks receives; and he who seeks, finds; and him who knocks it will be opened.”

Often His answers are different then what we would picture.

They may not come in more time to accomplish tasks.

They may come in the form of more interruptions that seemingly create more tasks.

But may we remember to sit at His feet, first. Asking what His will is for today.

From a mom who is learning,

Elizabeth

PS: In light of what God is teaching me this week… I’m taking the time to enjoy my family this week and rest a bit before we add a new baby girl.

But I don’t want to leave you empty handed in the recipe department so I wanted to link you to one of our favorite treats on these stormy days. ENJOY!