Posts in The Kitchen
GRANDMA'S CHILI... almost

My Grandma Ruth loved me.

She would tell me she loved me with a kiss on my cheek and a simple “I love you, dear”.

And she would show me she loved me….

By cutting the crust off my sandwiches at lunch (on white Wonder Bread of course)

And always making sure the candy dish was freshly filled when I came to visit.

And stocking the freezer with “Awful Waffles” (aka: Eggo Waffles).

And freshly baked coffee cake waiting on the counter as soon as I arrived.

She loved my family and me through food every time we came to visit her house. She would serve us and my Grandpa tirelessly and always served a beautiful dinner every night… complete with a homemade dessert.

She was a beautiful example of what true service is in every way.

She never seemed flustered or too busy for me… even when I was trying to “help” her cook dinner.

She never complained about the dirty dishes in the sink.

She awoke before everyone else so she could have coffee ready and all the breakfast options waiting for us on the counter.

She and my grandpa even slept on the pull out couch in their living room so my family could use their bedroom and have plenty of space.

I long to be like my Grandma Ruth and serve in the way she did.

One of our favorite meals she would make was called Chili Con Carne and her recipe has been passed down and made by everyone in the family.

The only problem is, like most of her cooking, it is not exactly all that good for you.

But oh so tasty!

So, a few years ago I revised her recipe to be a bit better for you but still achieve the same Grandma’s Chili taste.

I hope you enjoy it as much as our family does!

Elizabeth

GRANDMA’S CHILI… almost

*Serves 8ish and freezes perfectly!

*Contains dairy

INGREDIENTS:

2 packages of ground turkey (about 2.75lbs)

1 medium onion – chopped

1 T minced garlic

2 cans black beans - drained and rinsed

2 cans kidney beans - drained and rinsed

1 box of Trader Joes Roasted Red Pepper Tomato Soup

4 T chili powder

1 T cumin

1 tsp sea salt

½ tsp pepper

1 T flour (I used oat flour but any kind of four works)

Splash of water

TO MAKE:

Heat a bit of olive oil in a large pan. Add ground turkey and let it begin to brown.

Once it has cooked for a bit, break it up in to small chunks and add chopped onion and garlic.

While the meat is finishing cooking, combine chili powder, cumin, sea salt, pepper and flour in a bowl and stir well. Add a few tablespoons of water and stir well. It should make a thick paste.

Once the meat is finished cooking, add the paste to the meat and stir.

Add black beans, kidney beans and tomato soup.

Bring everything to a boil, and then reduce to a simmer for about 15 minutes to allow the flavors to combine.

Give it a taste and add more spices if needed. If you would like it a bit spicy, add some cayenne pepper.

*This meal works great when made ahead of time and reheated for dinner. It also freezes really well. I usually freeze half and then use the other half for dinner and leftovers.

TO SERVE:

  • My grandma ALWAYS served hers on bow-tie noodles. It may sound a bit strange to have chili with noodles… but it is AMAZING! I would recommend a good whole wheat noodle or brown rice noodle.
  • It also works on quinoa, just by itself… or a little corn bread never hurt either.
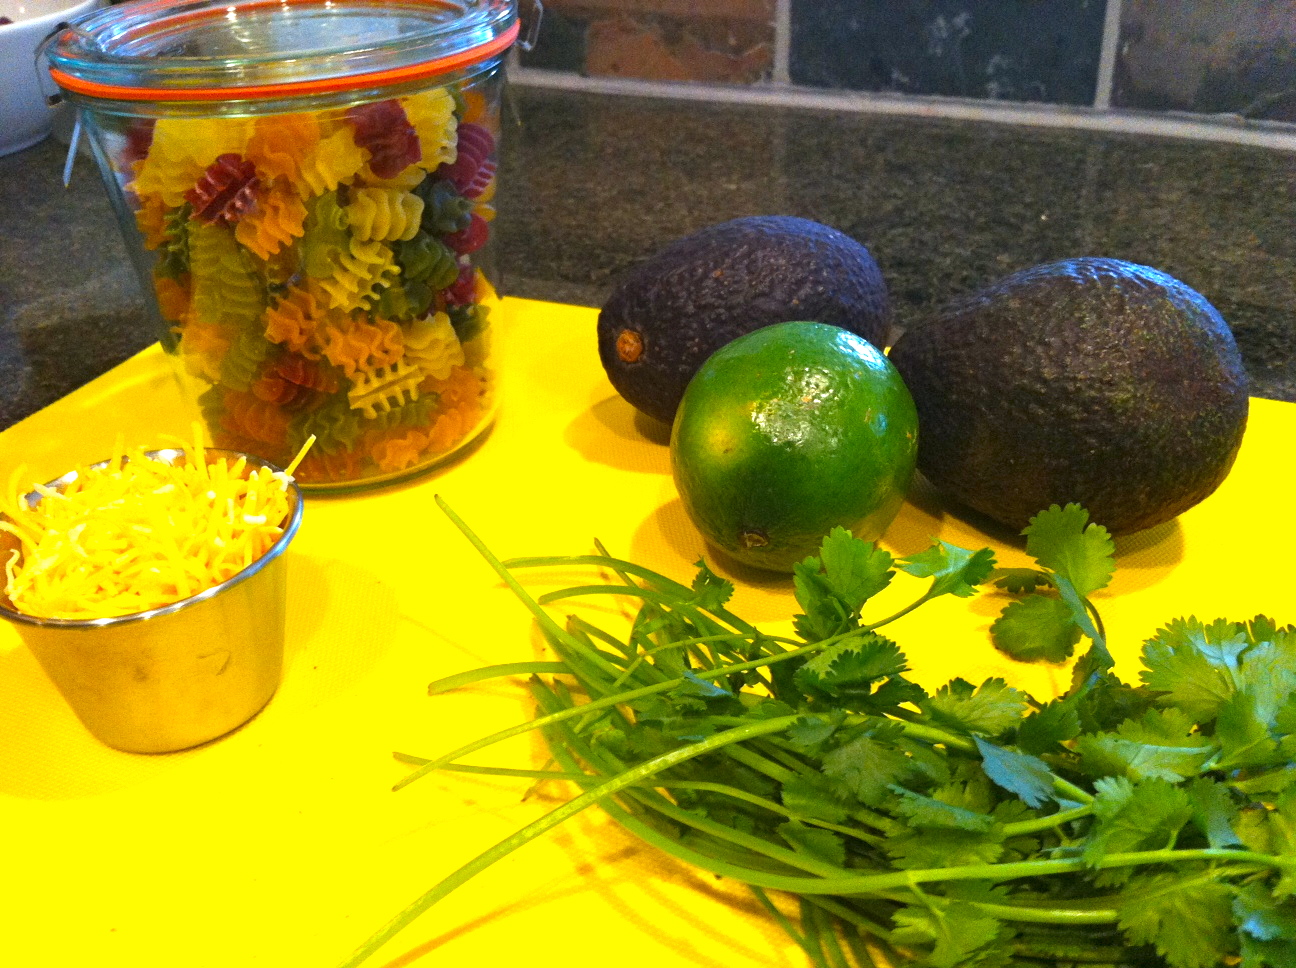
  • It can be topped with cheese, guacamole or sliced avocado, sour cream or plain Greek yogurt… or all of the above.

ENJOY!

PS: she really did make the best Sour Cream Coffee Cake and Pineapple Upside Down Cake around and I plan to attempt a healthier version of those sometime soon as well!

SMOKED PAPRIKA RUB + SALMON

When Brook and I first met, he didn’t like fish. Of any kind. Ever. I loved fish… but was terrible at making it.

Needless to say, for the first few years of our marriage, there was no fish being bought, prepared or consumed in our household.

Until… one summer we were invited to a ranch that some friends of ours own and they had hired a fantastic chef to cook for us all. We happened to be having salmon for dinner and Brook LOVED it.

I don’t remember what the chef used on the fish (I was too distracted by Brook’s sounds effects as he ate it) but I do remember how excited Brook was about it.

This in turn inspired me to try a bit harder to incorporate fish into our diet on a regular basis and made me determined to find ways to prepare it that Brook would like.

With some time, lots of trial and error and a very patient husband… we now eat fish several times a week and we BOTH love it.

May I encourage you to keep an “open pallet” when it comes to food? Even foods you or your family may not love initially? Just like we individually grow and change… so do our taste buds!

I am not saying make yourself eat things you hate.

There are just some things you may never like.

I want to say that I like beets. They are SO good for you and pretty! The reality is I have tried them in every shape and form and I still think they taste like dirt. Some say they have an “earthy” flavor. I beg to differ.

What I am saying is try new things every once and while and be creative with how you prepare foods.

Especially with your children! Keep trying to find ways to help them eat whole, nutrition filled foods.

I have a 2.5 year old myself and I know how hard this can be! Yet, I already see his tastes changing and as we “strongly encourage” him to at least try a bit of everything.

Today’s recipe is one way we love to eat fish. We usually use it on salmon but it would work on any kind of fish and maybe even on chicken.

ENJOY!

PS: if you like beets, maybe you can send me new recipes to help change how I feel about them! Until then… I will steer clear.

Elizabeth

SMOKED PAPRIKA RUB


Serves 2 – 3 (if you are feeding more, simply double or triple the recipe)


THE RUB:

1 T brown sugar

1 T cumin

1 ½ tsp smoked paprika

A few dashes of cayenne pepper

Salt and pepper

Lemon Juice

Olive oil

Salmon/Tilapia – as much as you need to fill the bellies of whom you are feeding.  Adjust quantities of the rub according to how much salmon you use. I used about 10oz of salmon to feed Brook, Duke and myself and this was the perfect amount of rub for that.

Preheat oven to 400F

In a small mixing bowl, combine brown sugar, cumin, smoked paprika, cayenne pepper, salt and pepper. Give it a good stir.

Arrange fish on a baking sheet and squeeze or drizzle lemon juice on each piece. Drizzle just a bit of olive on each piece as well. Use your hands to rub it in a bit.

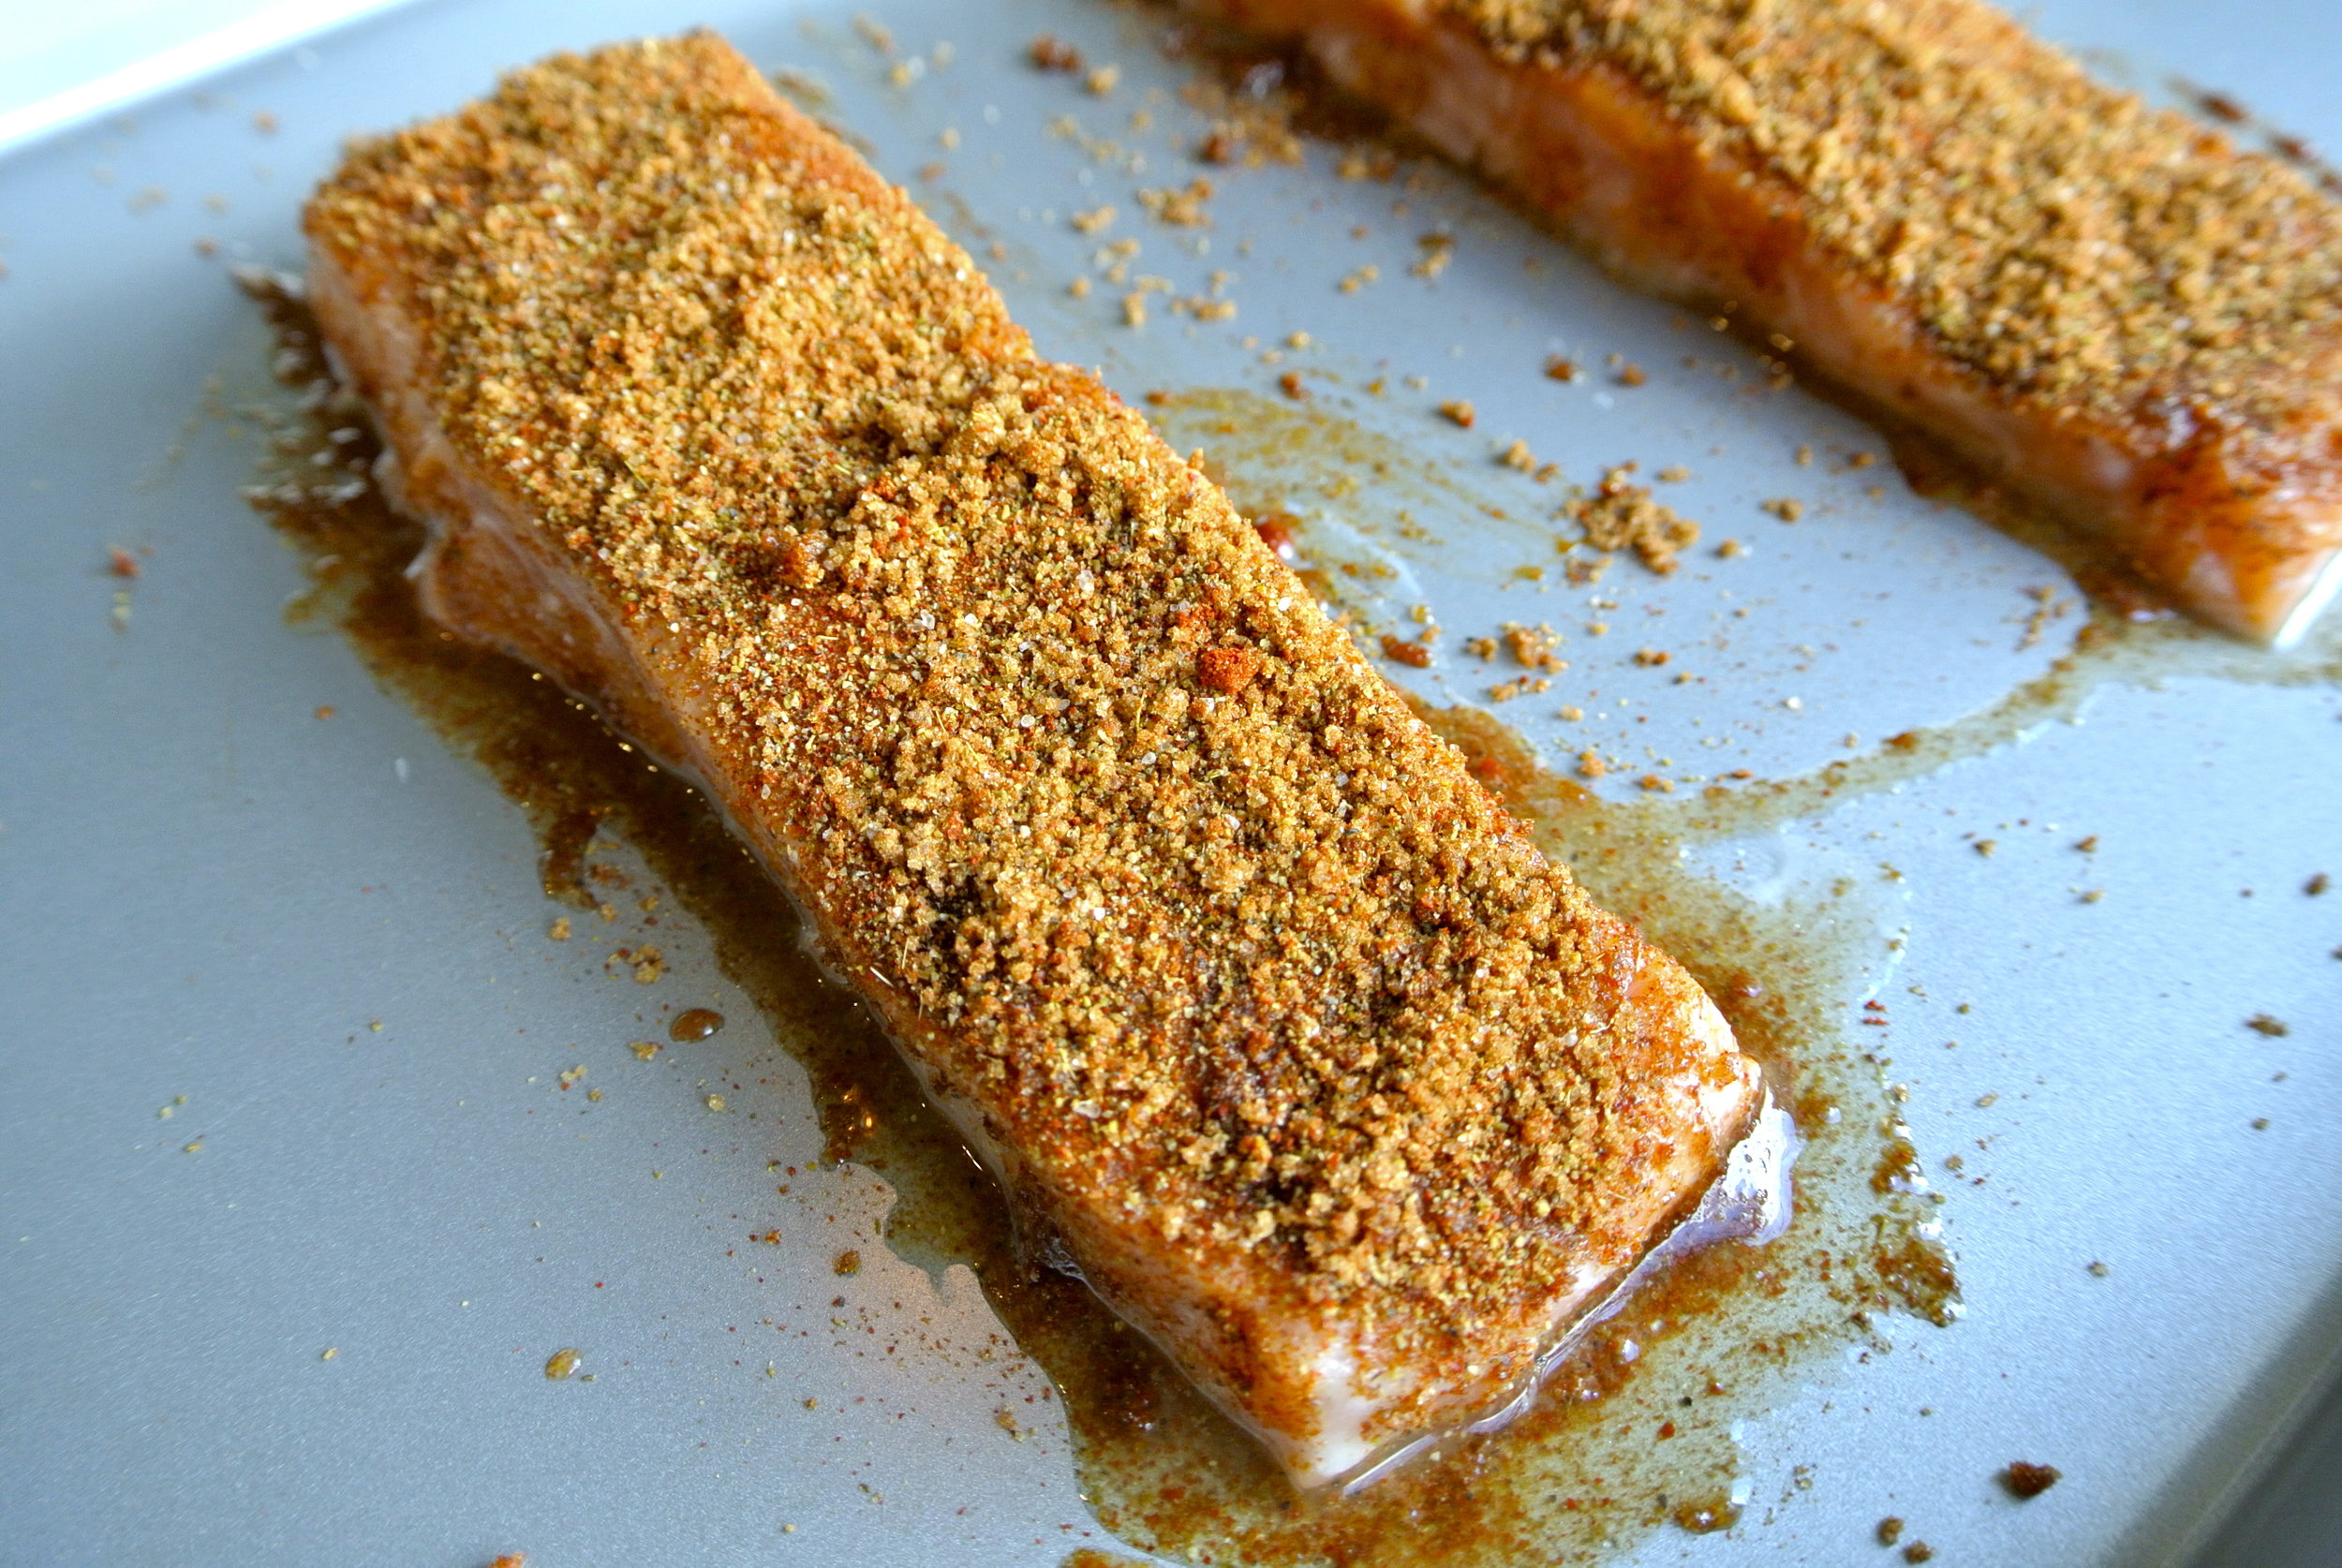
Scoop the rub onto the fish and use your hands to evenly coat the top and sides of the fish.

Place baking sheet in the oven and bake until it flakes with a fork. The baking times will differ depending on what kind of fish you use.

TO SERVE:

It goes great with rice, potatoes, pasta, salad… just about anything. And a side of veggies of course!

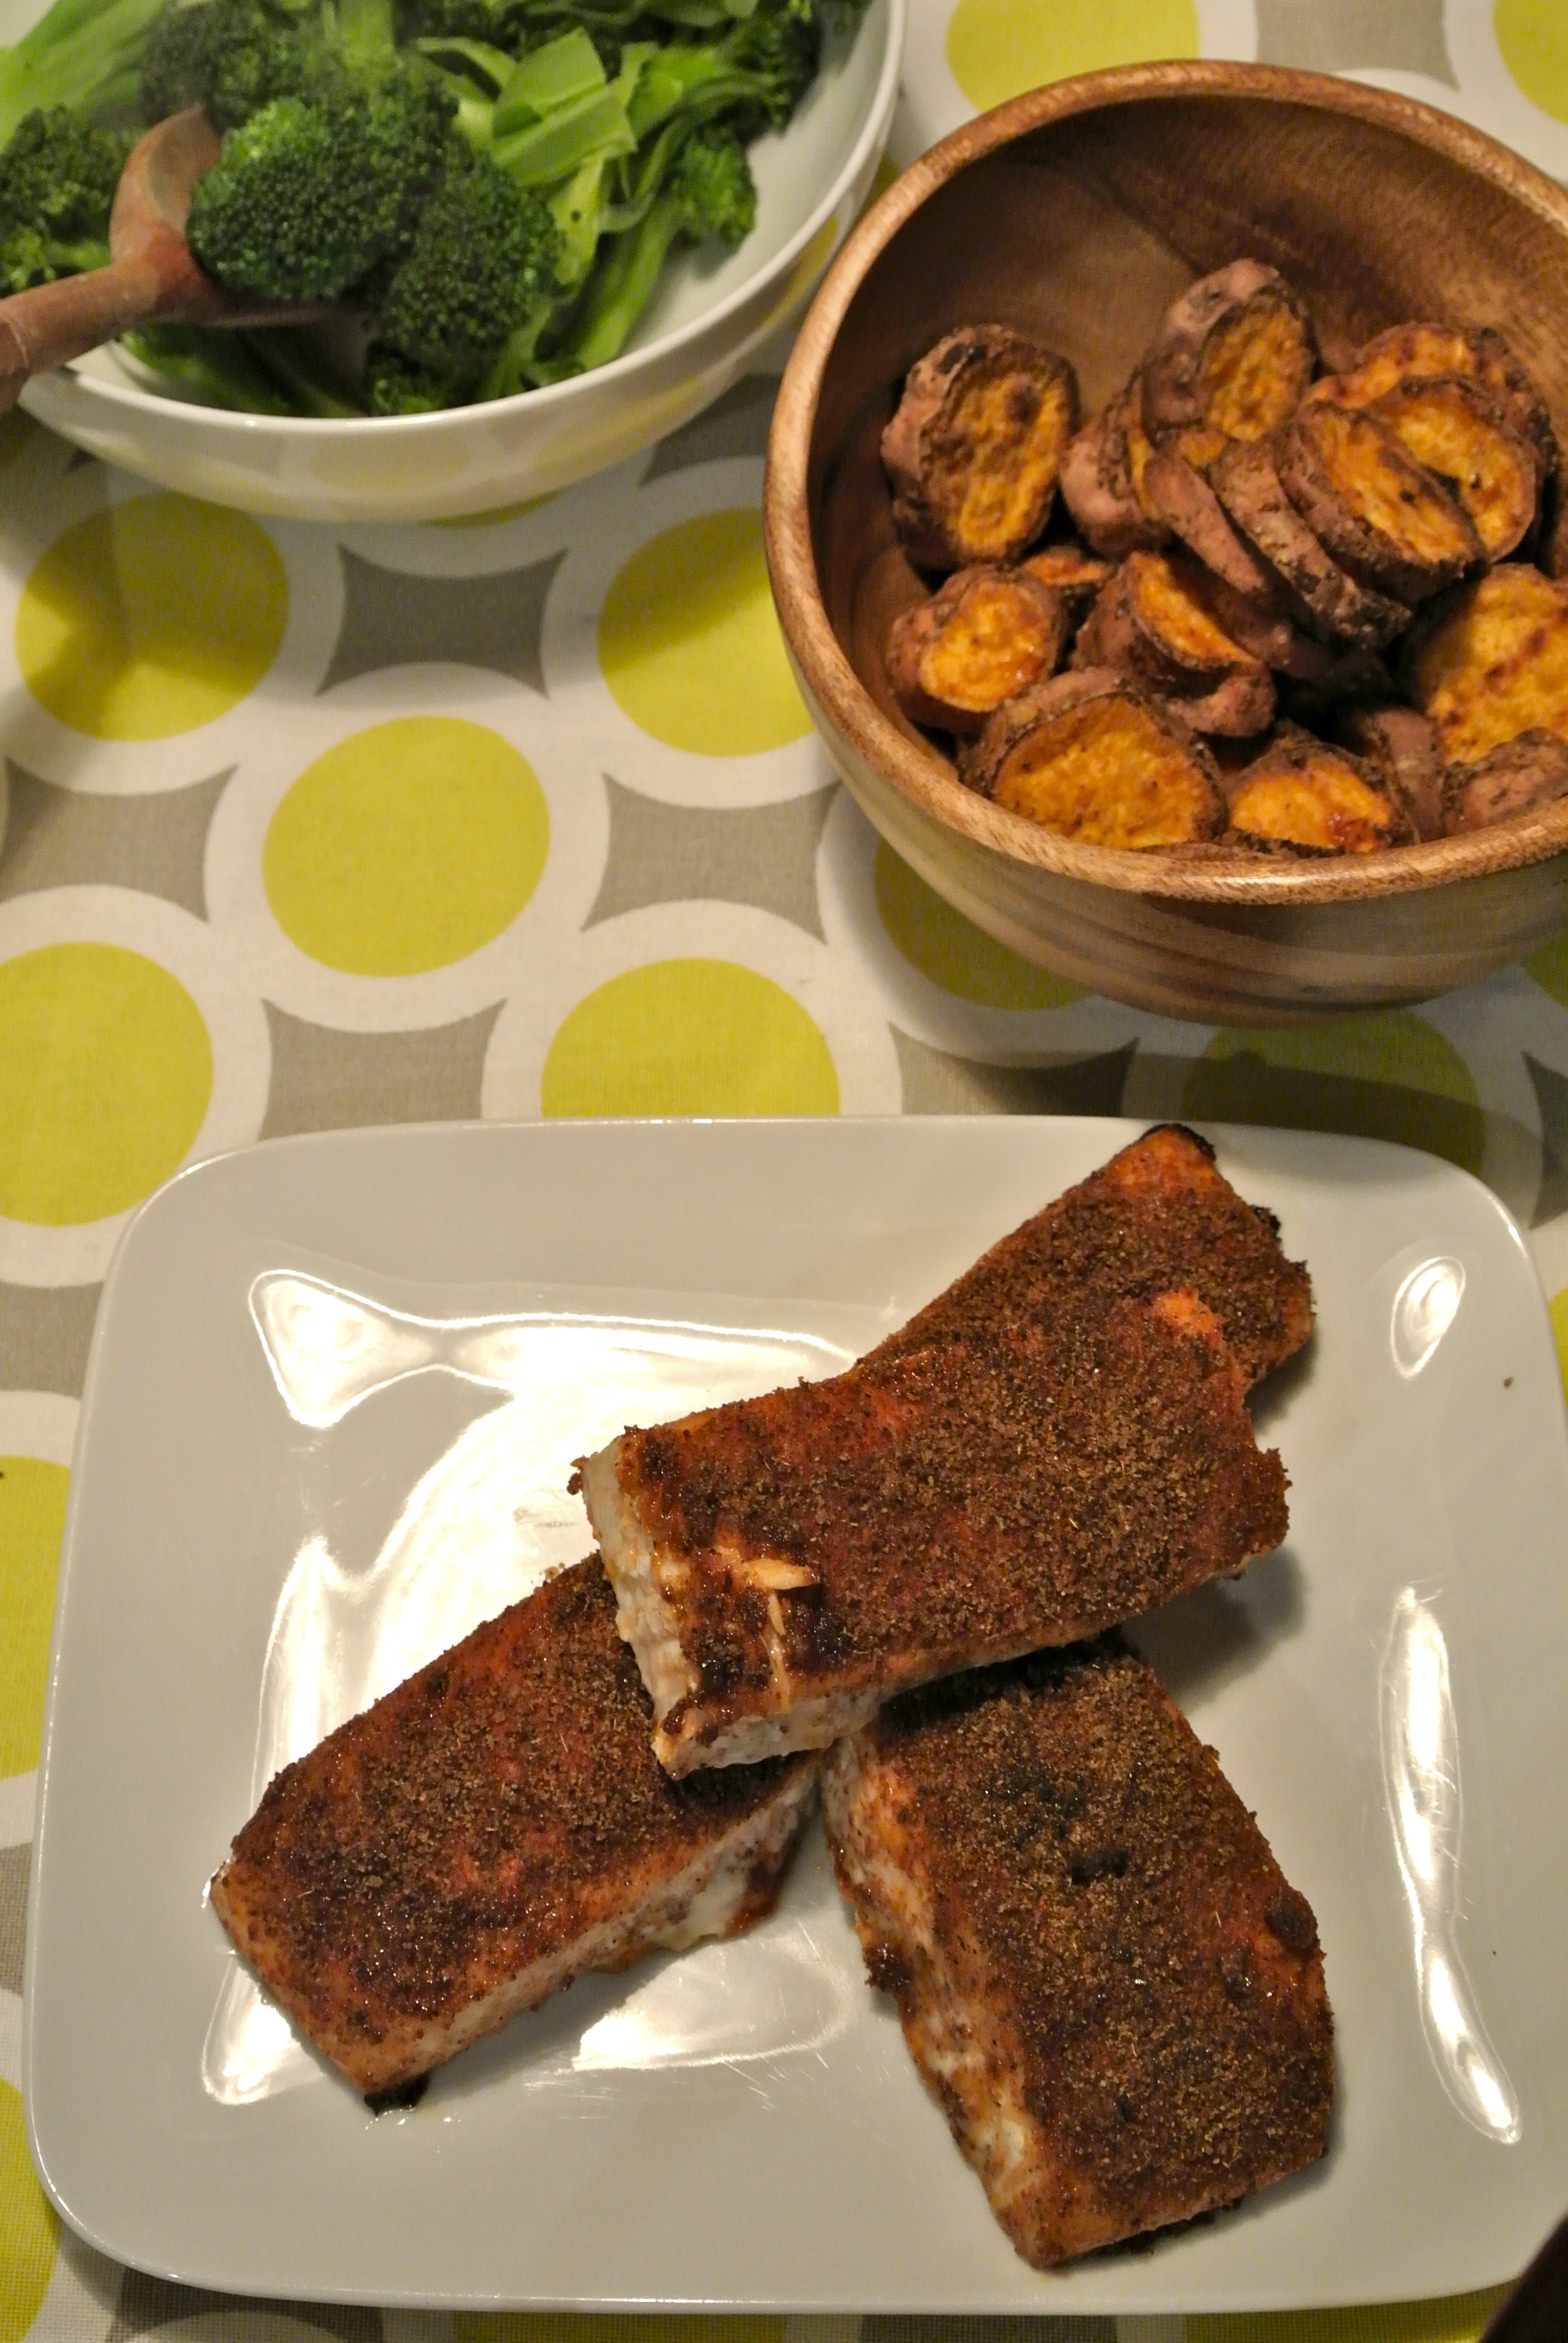
We ate ours tonight with sweet potato fries and steamed broccoli.

MEXICAN QUINOA SALAD

“Keen-what???” That was my response the first time someone asked me if I had ever tried quinoa (pronounced: keen-wah). It sounded sort of strange to me but it did peak my curiosity enough to give it a try.

It is now a favorite in our house and we eat it several times a week. My husband prefers it to most grains so we use it in place of brown rice most of the time.

Due to its flavor and texture, it is very versatile and tastes great with just about anything added to it. I am always looking for new ways to cook/eat it and that is how today’s recipe came about.

Here are a few ways we like to eat it:

Mexican: we use it as a base for mexi bowls or a side dish for tacos. As well as in this weeks recipe.

Asian: we also use it as a base for stir-fry’s with veggies and chicken or salmon

Mediterranean: it tastes great with veggies and some feta and olives tossed in.

For Kids: Duke is somewhat of a picky eater (more on that in future posts) but he loves quinoa with black beans and avocado.

Salads: I use leftover quinoa in salads for lunch. It adds a great texture and bulk to any type of salad and is a great way to use up leftovers.

A bit of interesting information about quinoa:

  • It is naturally gluten free
  • It provides all of the eight essential amino acids, making it a complete protein!
  • Although most of us think if it as a grain, quinoa is actually a close relative to leafy green vegetables such as spinach and Swiss chard. Thus making it one of the best sources of protein in the vegetable kingdom.
  • Costco sells a 4lb bag (it lasts us forever!) of organic, rinsed quinoa for $10. This is the best price I have found so far.

So… if you haven’t given it a try, you should! Today’s recipe works great as a side dish or main course and the leftovers are perfect for lunch.

ENJOY!

Elizabeth

PS: I’d love to hear your favorite ways to use quinoa and what you have been making lately!

QUINOA SALAD:

THE MIX


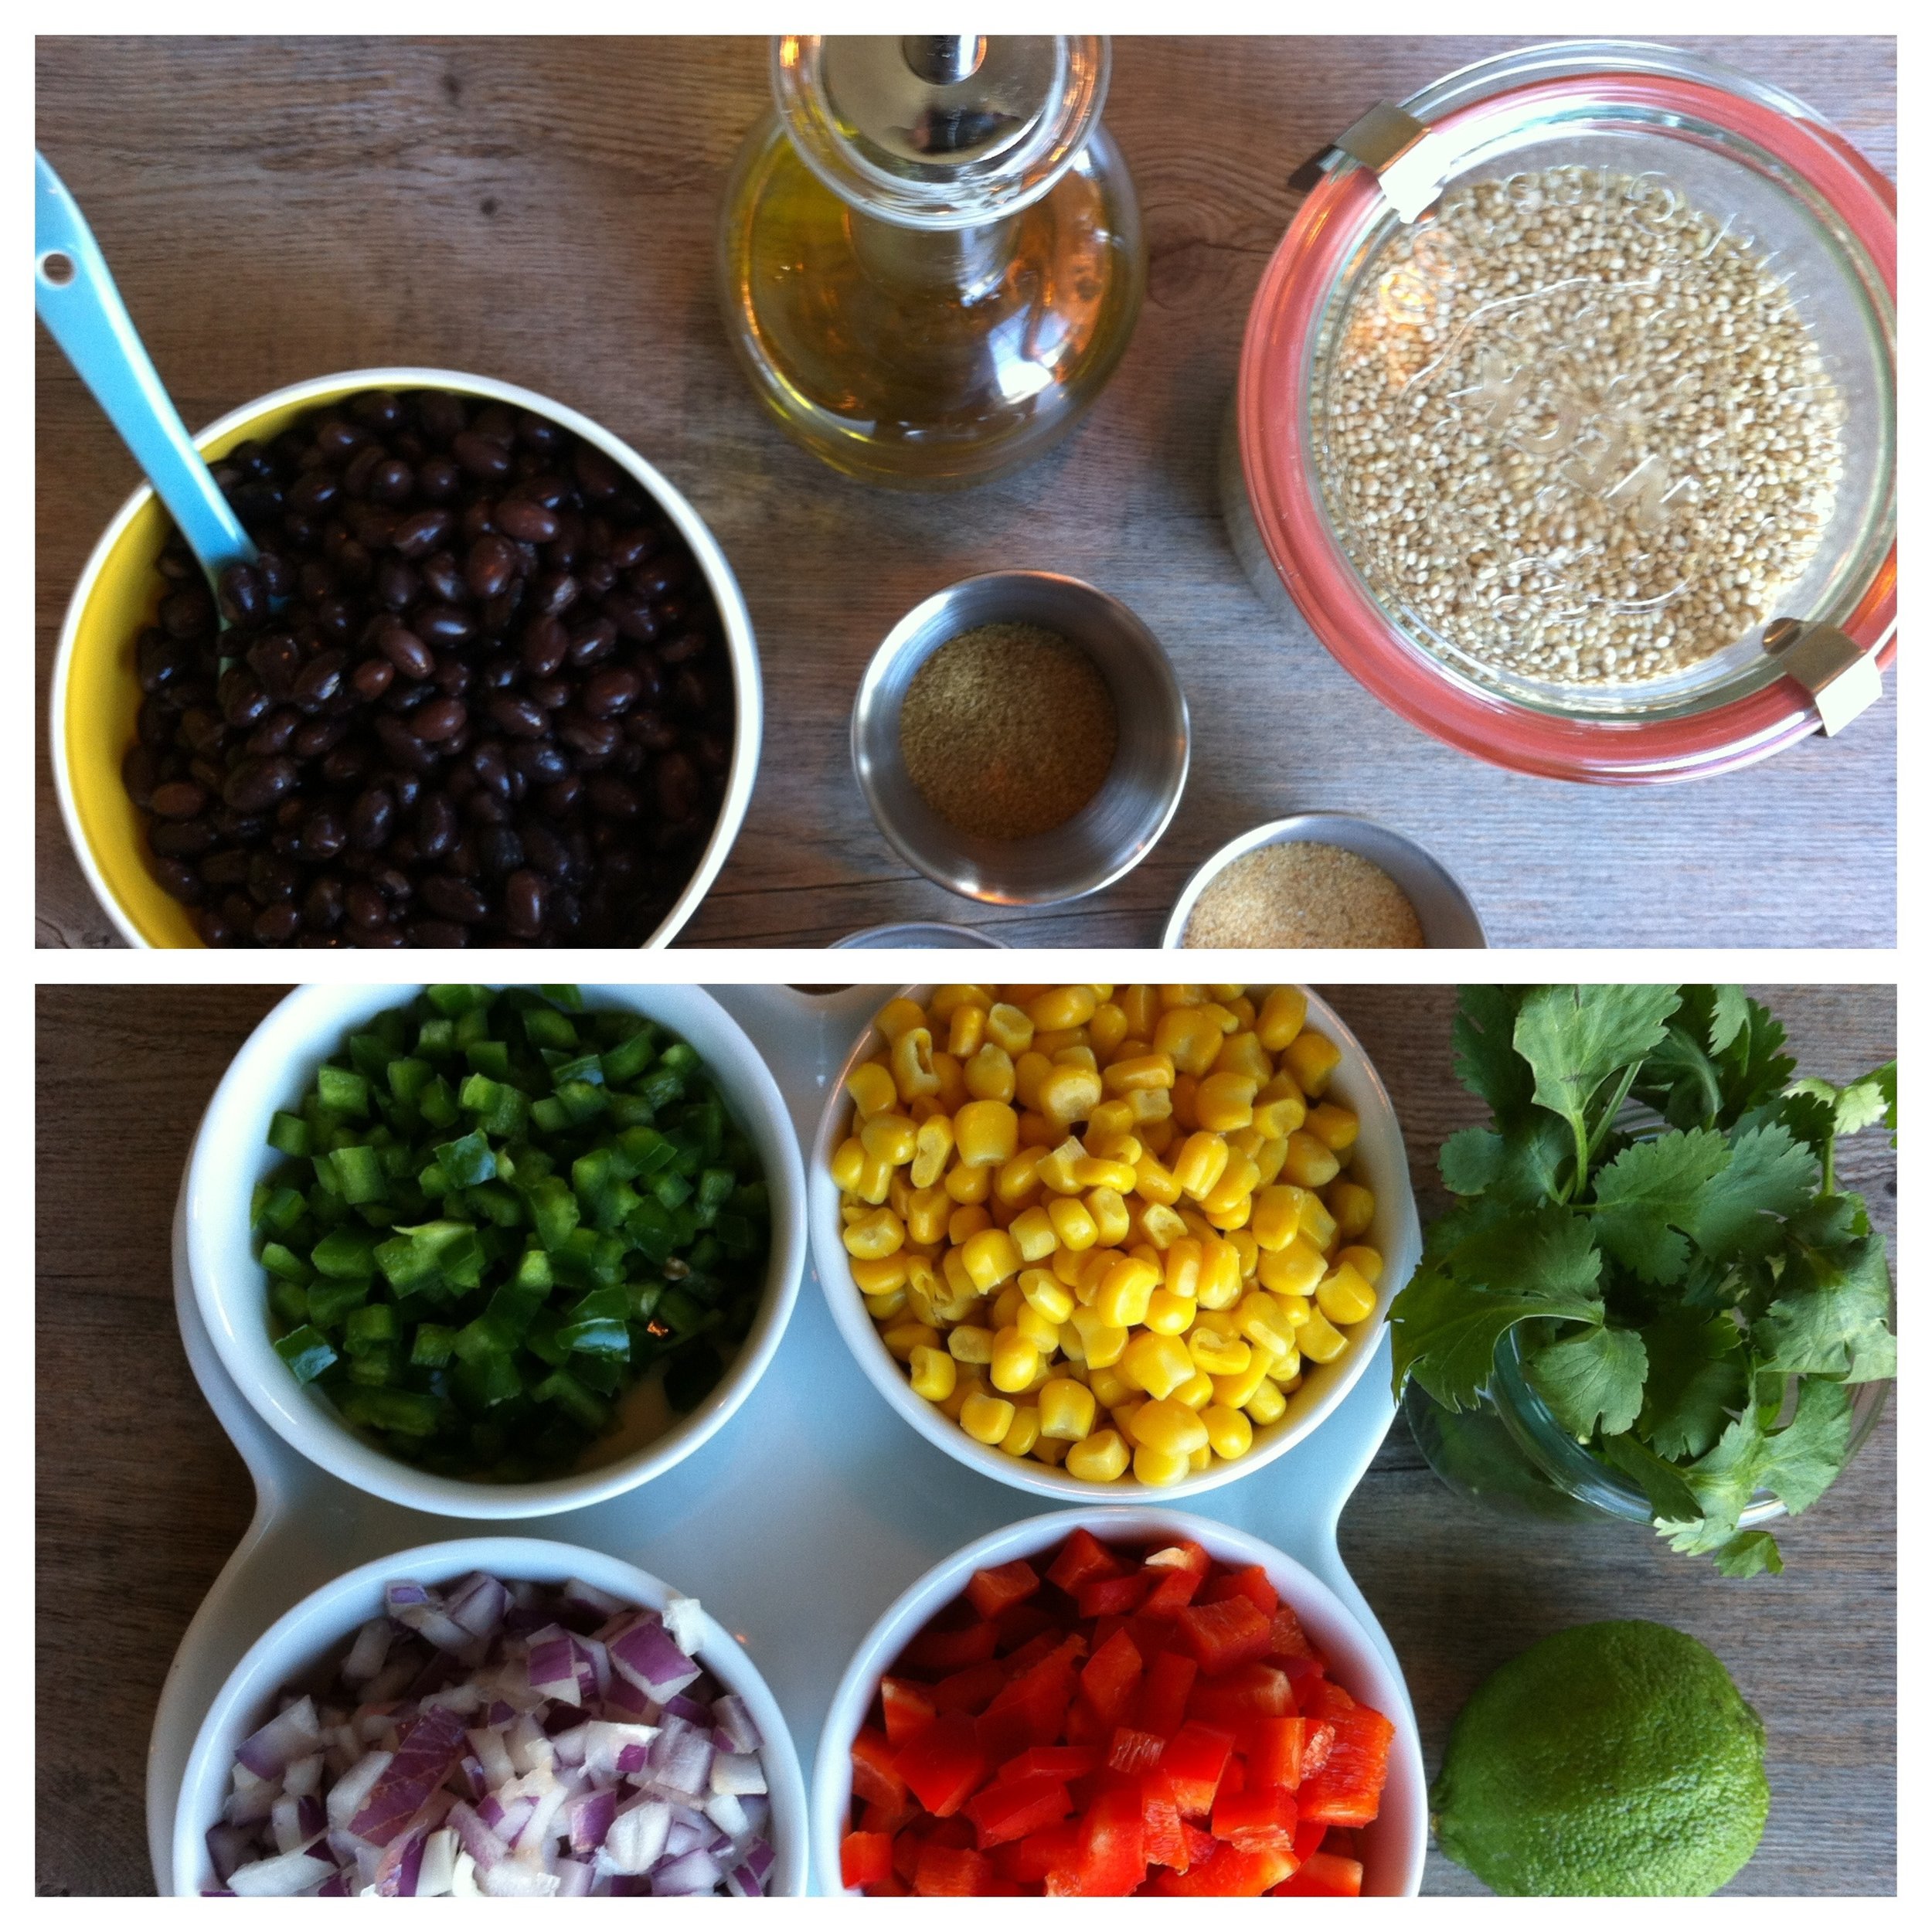
  • 1 1/2 cups quinoa (rinsed)
  • 3 cups vegetable broth or water
  • 1 can rinsed/drained black beans
  • 1 C corn (I used organic frozen corn because it has no added salt or preservatives)
  • 1 chopped bell pepper
  • 1 C chopped red onion
  • 1-2 jalapeños
  • 1/2 C patted down chopped cilantro

THE DRESSING:


  • 1/4 C olive oil
  • Juice from 2 limes
  • 2 tsp cumin
  • 2 tsp garlic powder
  • 1/2 tsp sea salt

TO MAKE:

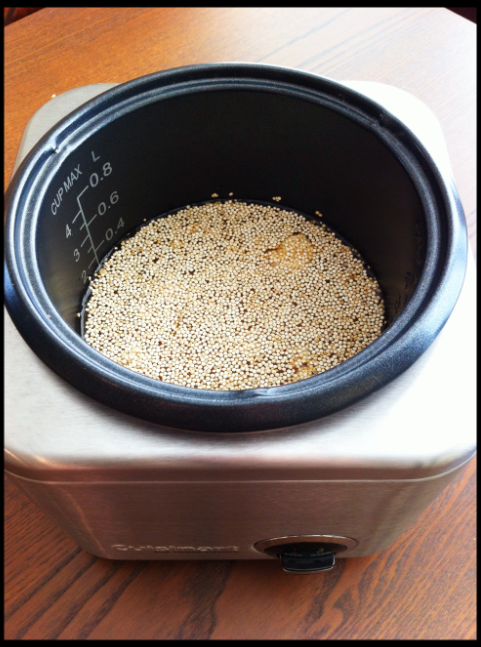
Cook quinoa in vegetable broth (or water) according to the package instructions. I cook mine in a rice cooker but the stove works great too. Allow it to cool completely.

Add black beans, corn, bell pepper, red onion, jalapenos and cilantro and stir all together.

In a bowl, combine olive oil, lime juice, cumin, garlic powder and salt and stir well.

Add the dressing mixture to the quinoa mixture and you are done!

TO SERVE:

Serve cold as a side dish or main course. Garnish with sliced avocado and cilantro if desired.

BANANA BREAD

(in case you didn't know, bananas can also be used as guns)

My house is full of boys.

Cousins to be exact.

My brother and sister-in-law (John Mark and Tammy) are currently in Uganda to bring home their new daughter and their two boys, Jude and Moses, are having a giant sleep over at Duke’s house for a few days.

All the boys were full of energy this morning (wait… when are they not full of energy?) and the clouds were pouring buckets outside. So, after hours of Nerf gun wars, action figure battles and karate matches… we decided to bake.

Growing up, my Grandma Sue would always bake us fresh loaves of her famous banana bread whenever we came to visit. Her banana bread is hands - down the best there is. So good in fact, that John Mark would take a loaf for himself and hide it strategically in the house to ensure that he got his fill during our visit. Yep, he is the oldest.

So, the boys and I attempted a somewhat healthier version of banana bread this morning. I don’t usually make up recipes for baked things because I have found several blogs that do a much better job then I do… but the overly brown bananas on my counter where taunting me to put them to good use and make my own recipe… and we had a whole lot of fun in the process!

ENJOY!

Elizabeth

BANANA BREAD: dairy + gluten free

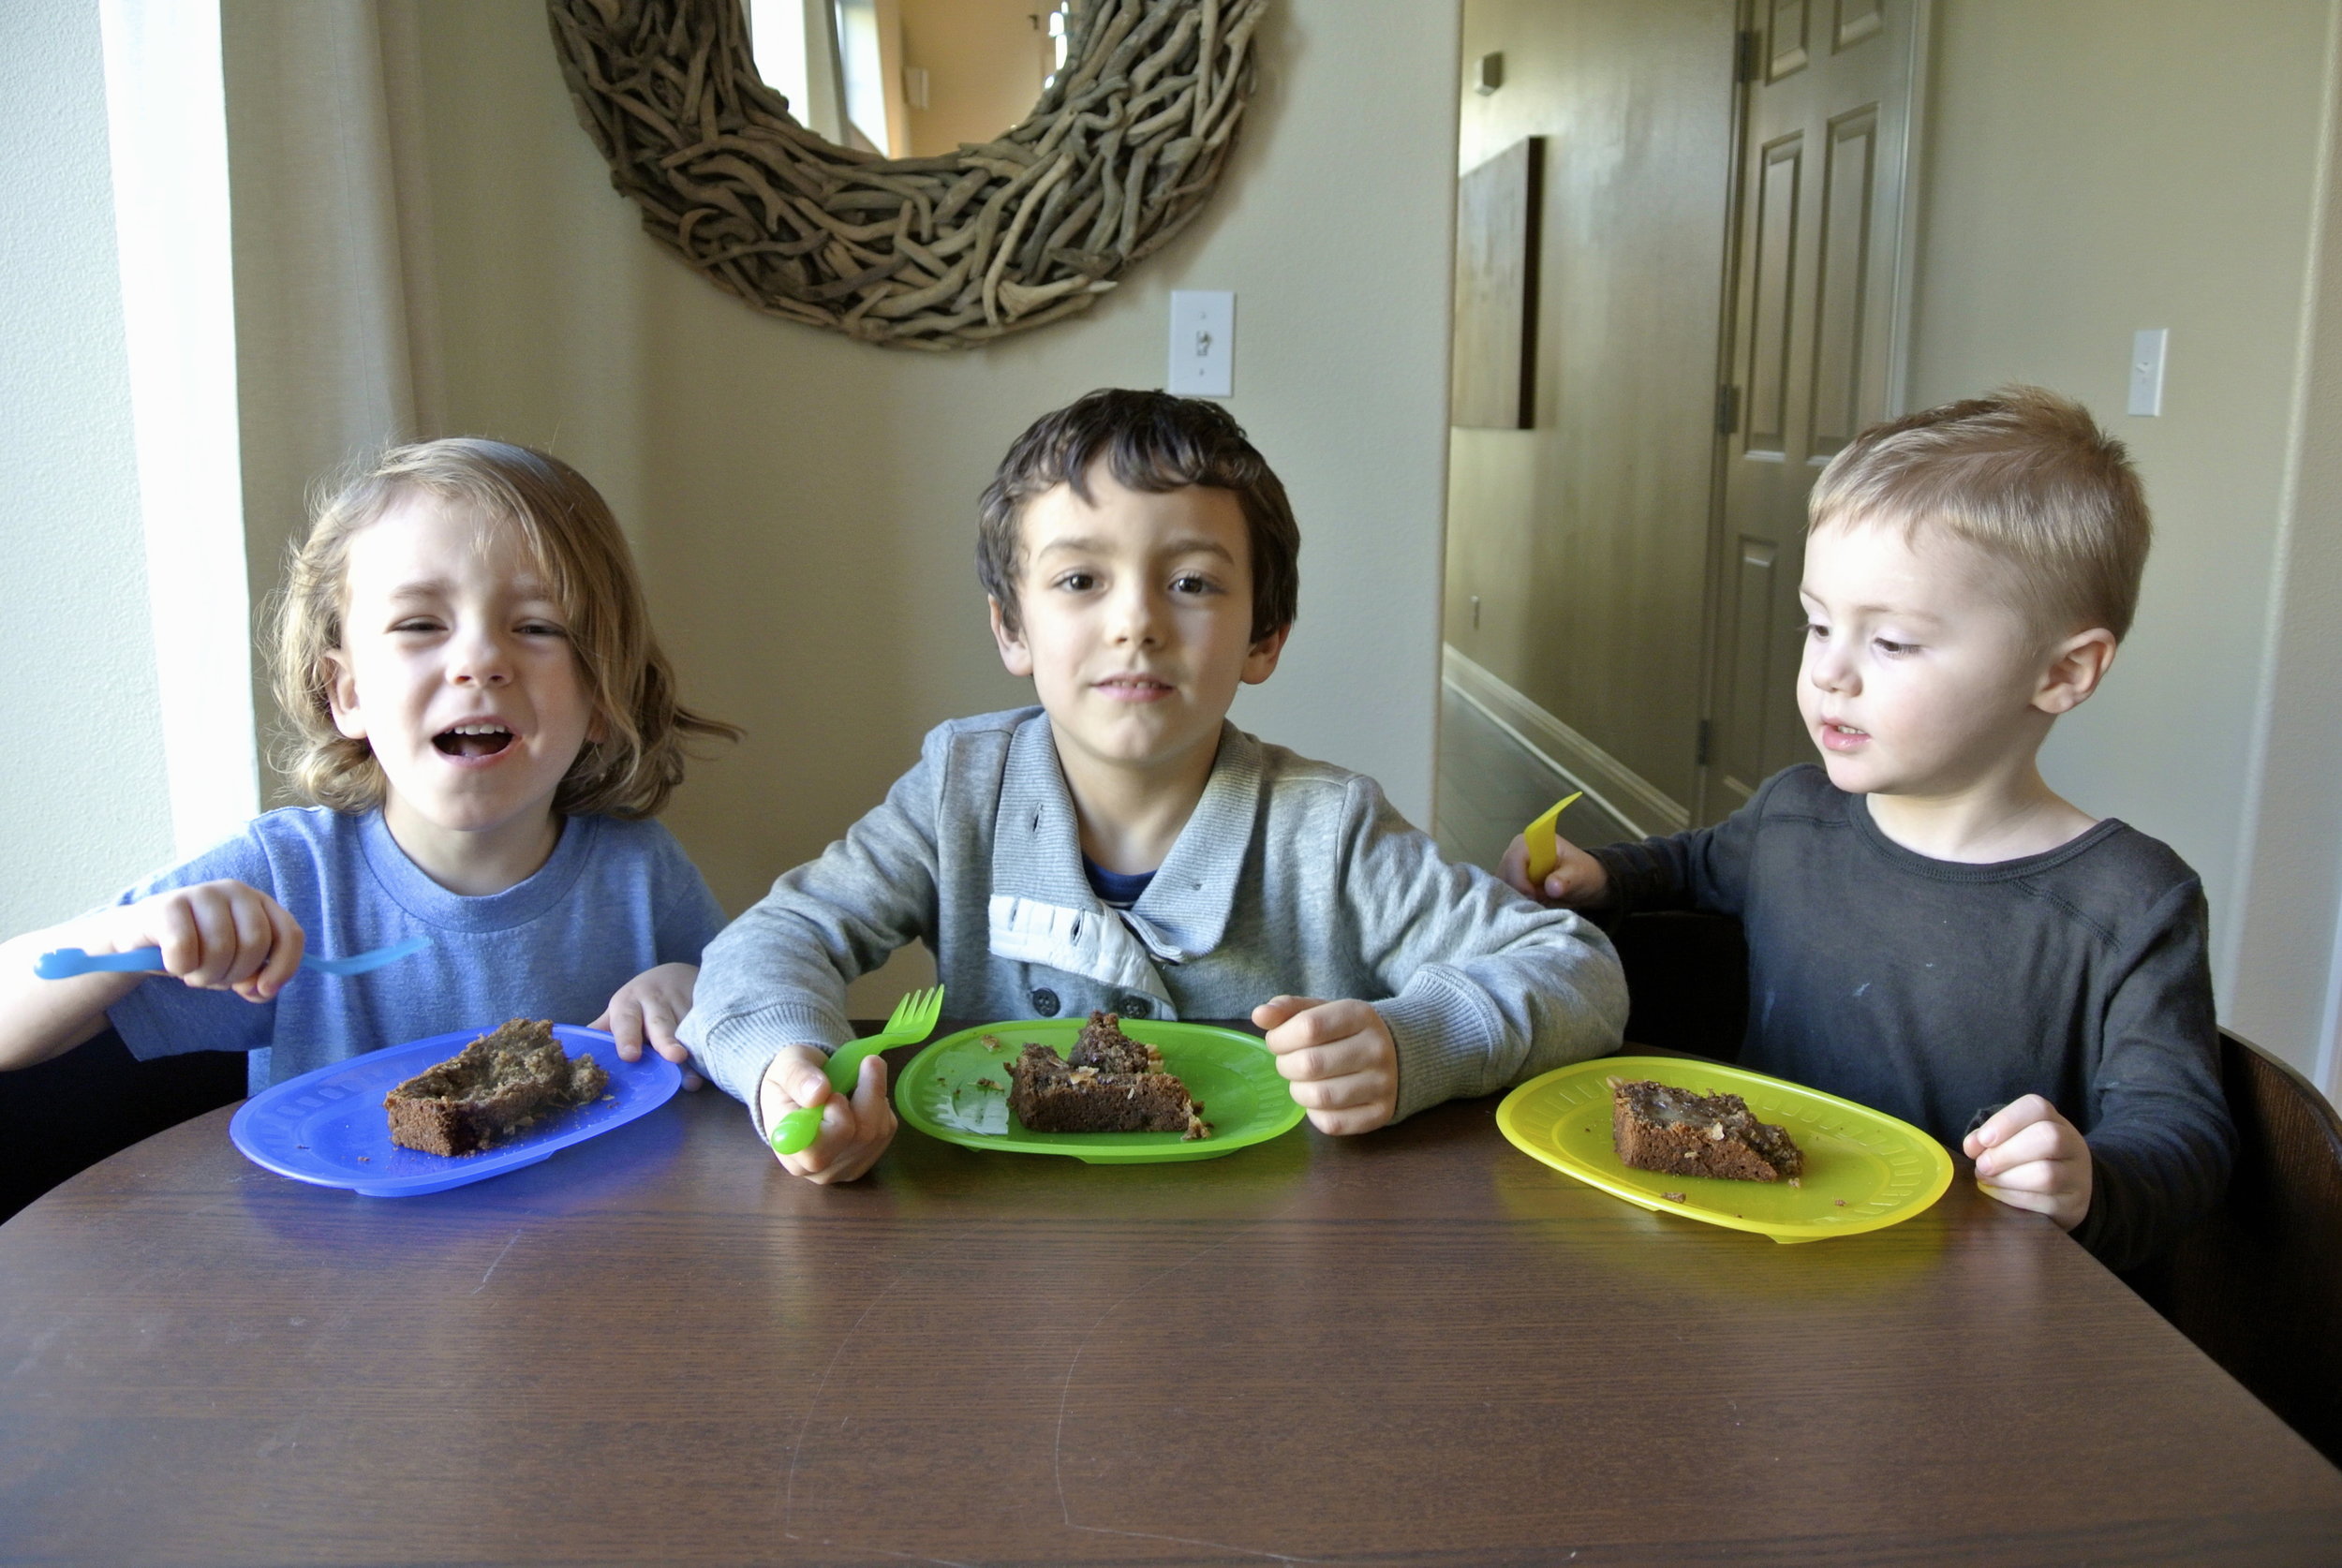
(the three little monkeys)

INGREDIENTS:

  • 3 overly ripe bananas
  • 3 T ground flax seed + 1/4 C warm water
  • 1/4 C melted coconut oil
  • 1 T vanilla
  • ¼ C sugar
  • ½ C brown sugar
  • ¼ C unsweetened applesauce
  • 1 ½ C oat flour (It is sold in bulk at Whole Food and New Seasons or Bob’s Red Mill sells it by the package at most grocery stores. Or, you can grind old-fashioned oats in blender or food processor to make your own. If you use whole wheat flour instead, you may not need to bake it quite as long.)
  • 1 tsp baking soda
  • 1 tsp baking powder
  • ½ tsp salt
  • 3 tsp cinnamon

TOPPINGS: optional but highly recommended!

  • cinnamon sugar + coconut flakes

Preheat oven to 350F.

In a small bowl, combine ground flax seed and warm water. Stir and set aside to thicken for a few minutes

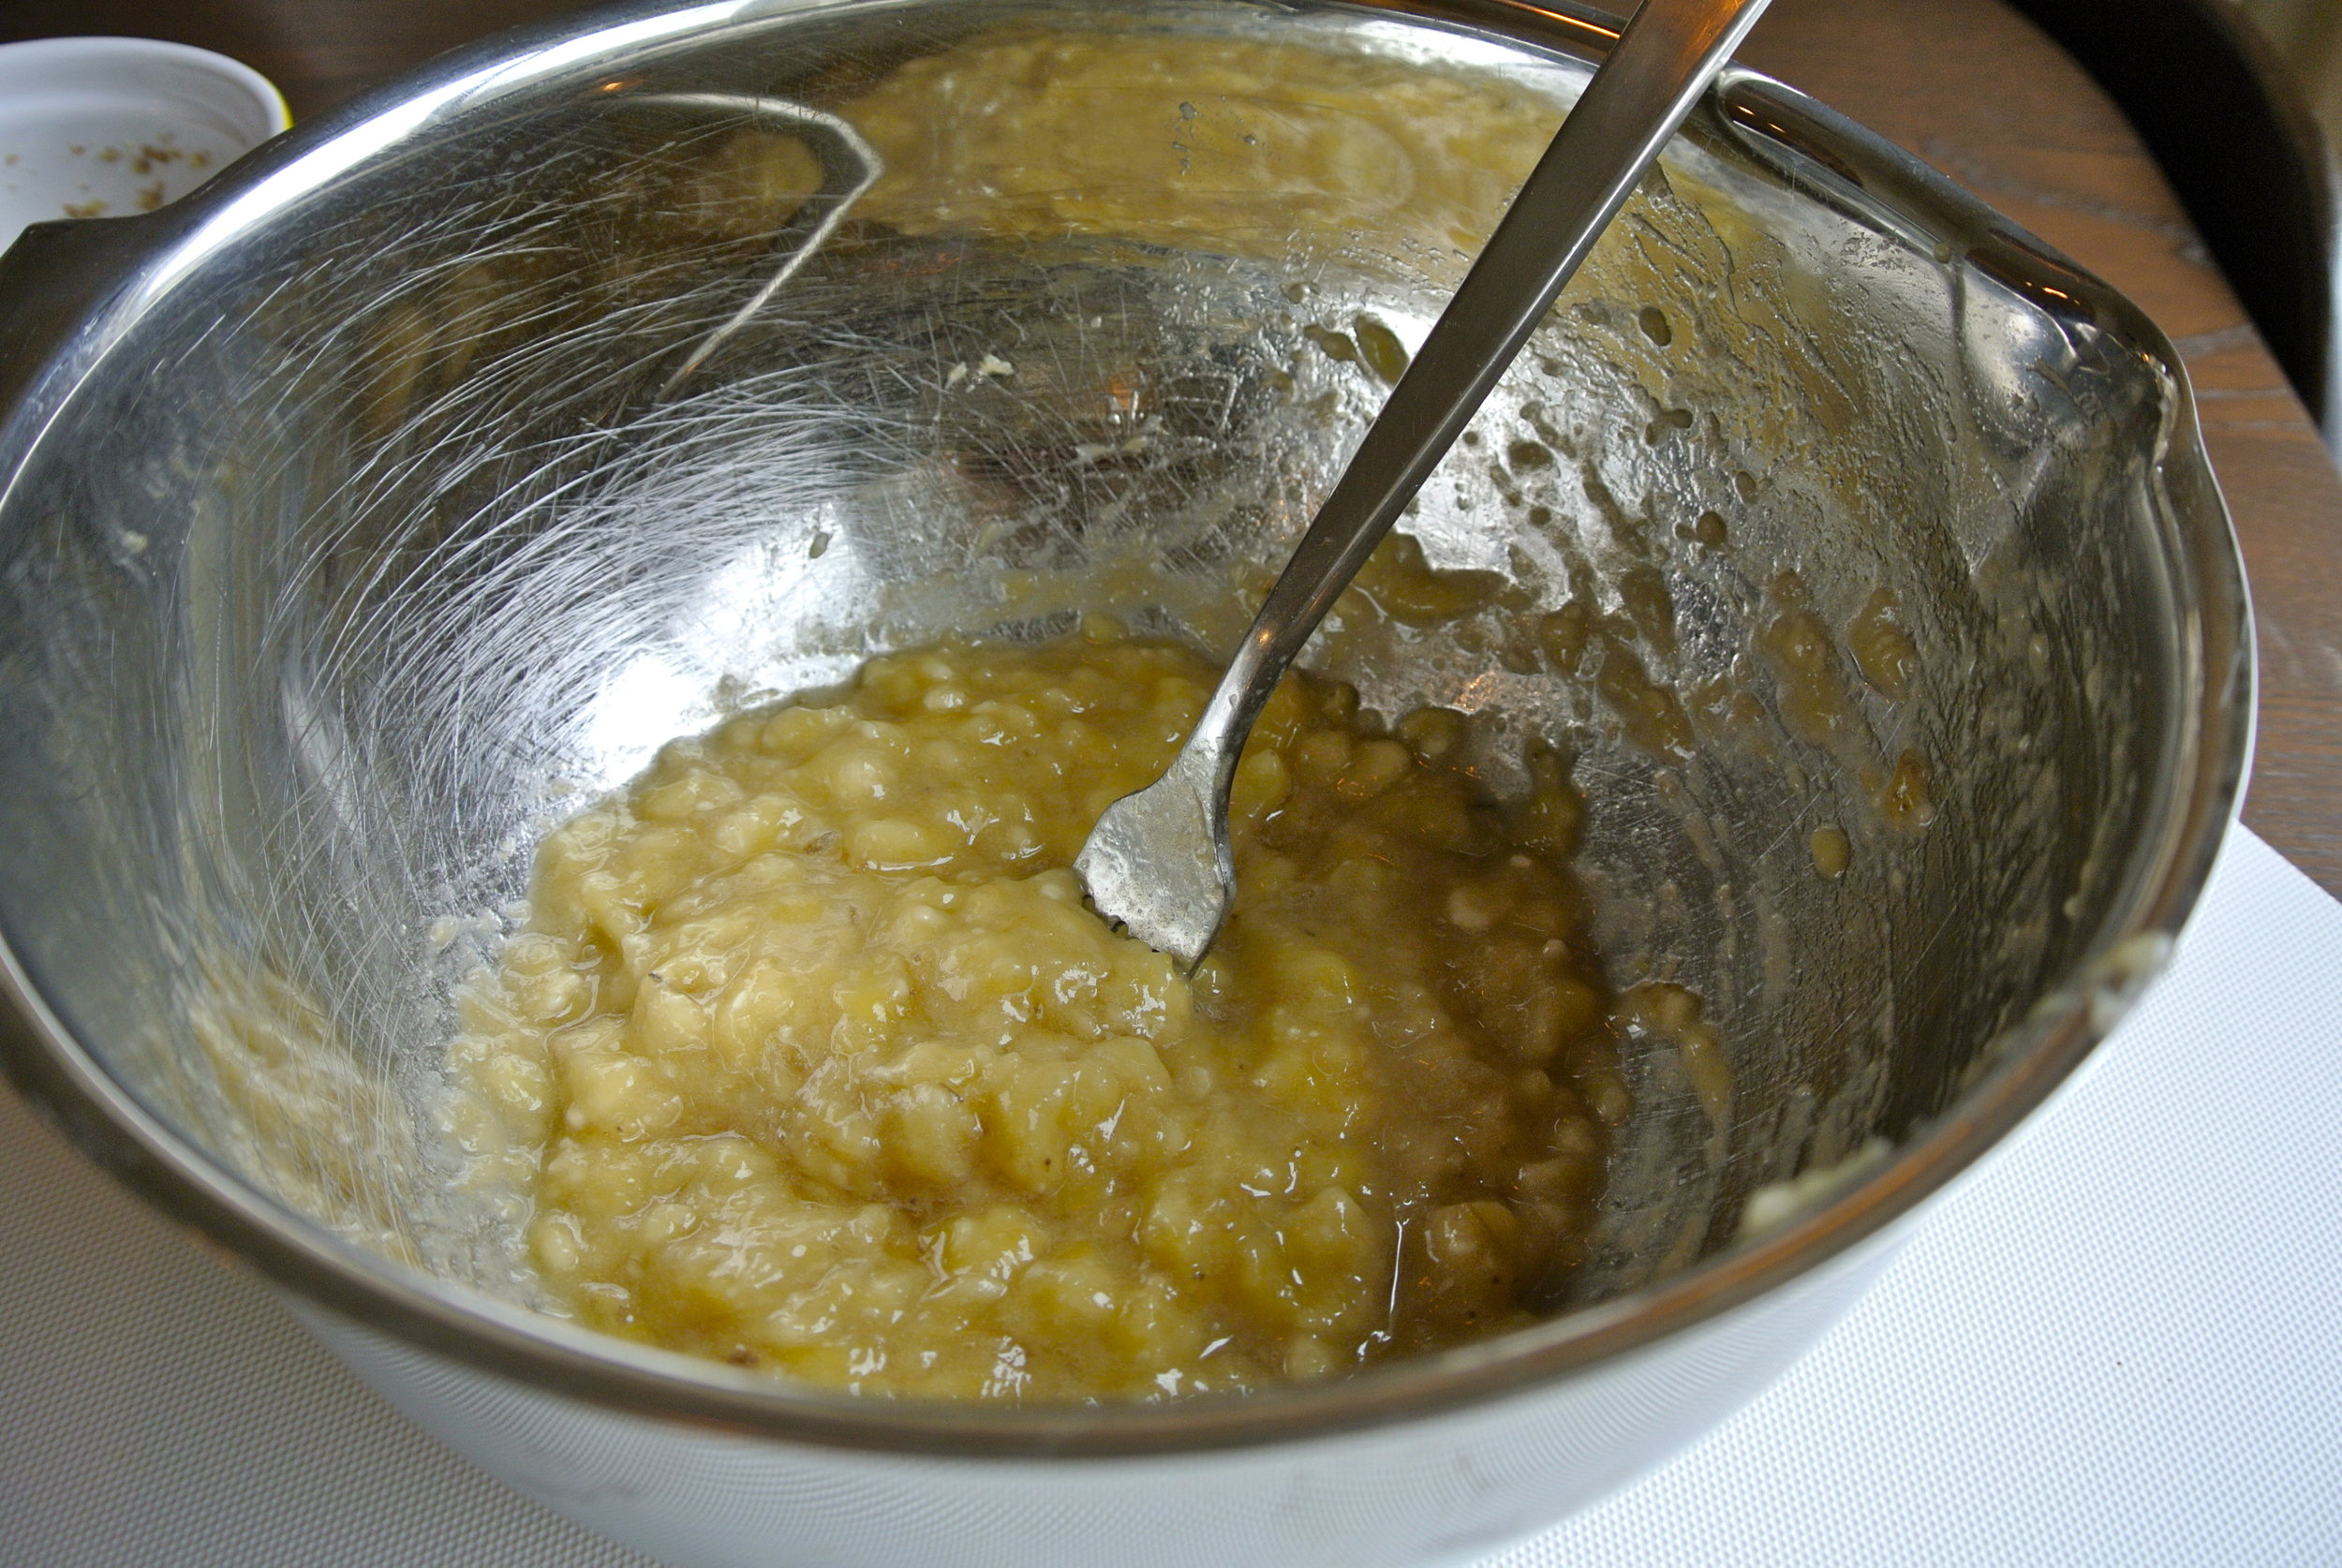
In a mixing bowl, peal the bananas and mash well with a fork.

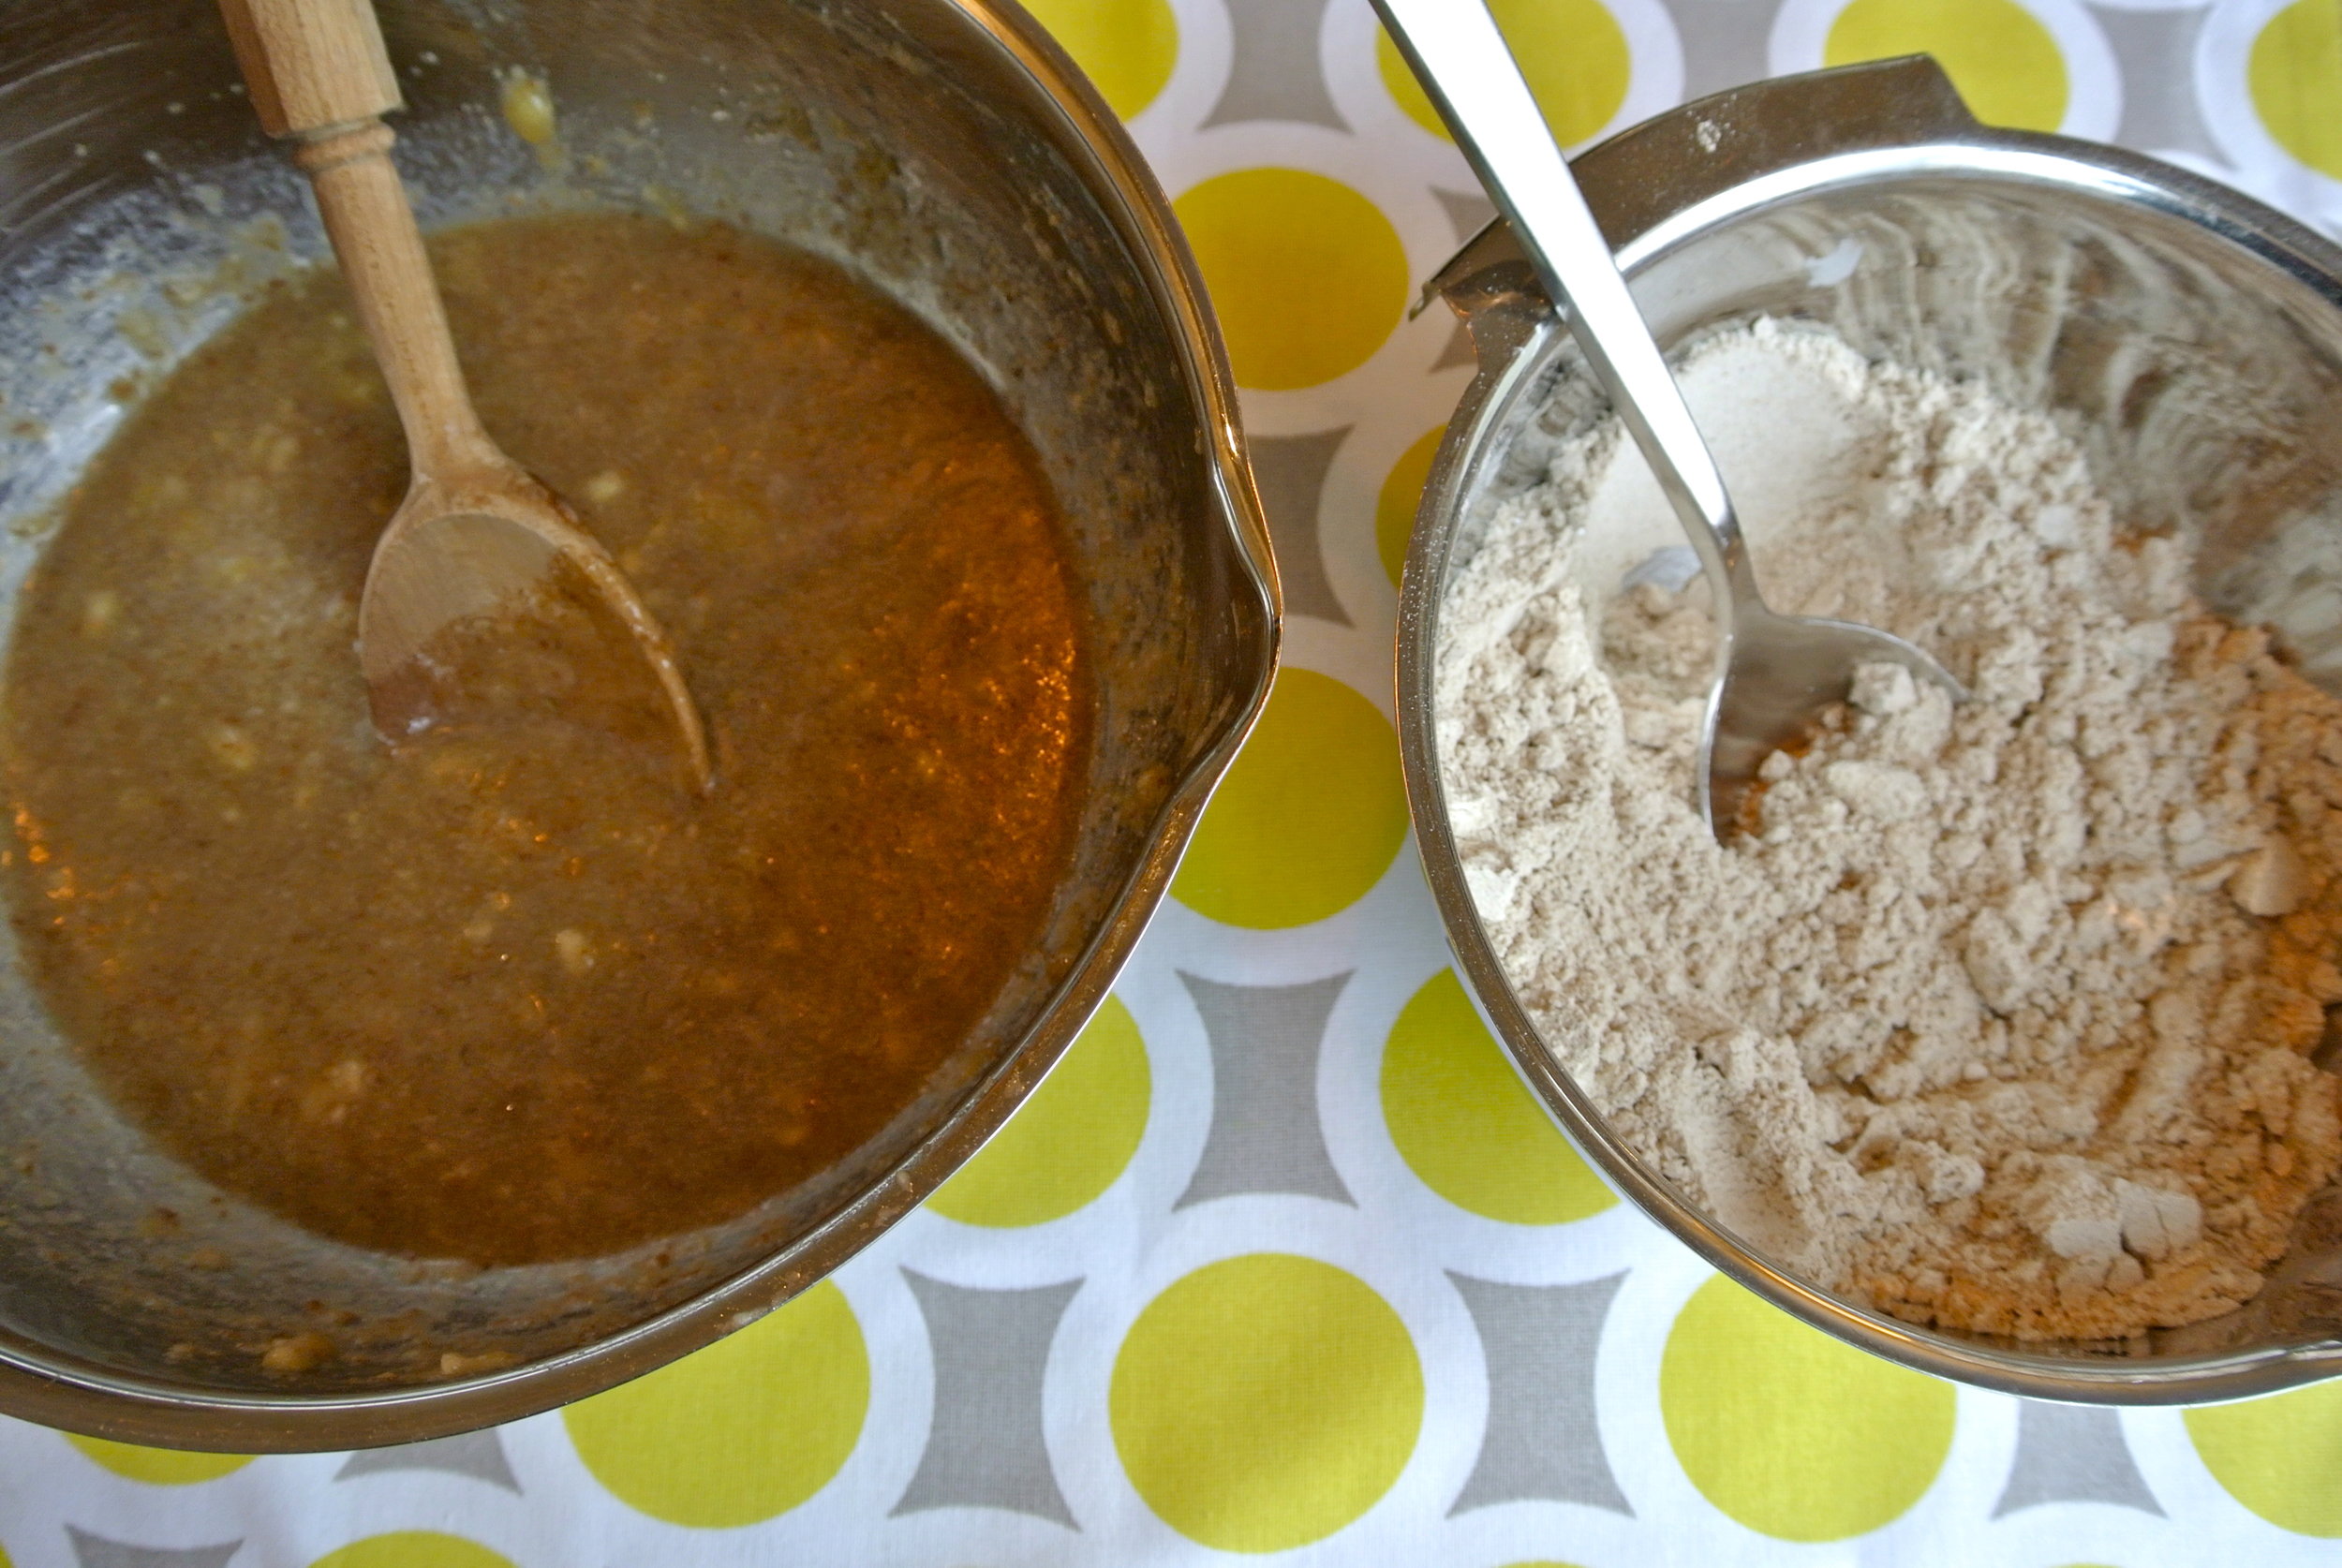
Add coconut oil, vanilla, sugar, brown sugar, applesauce, and flax seed mixture to the mashed bananas and stir.

In a separate bowl, combine flour, baking soda, baking powder, salt and cinnamon and stir well.

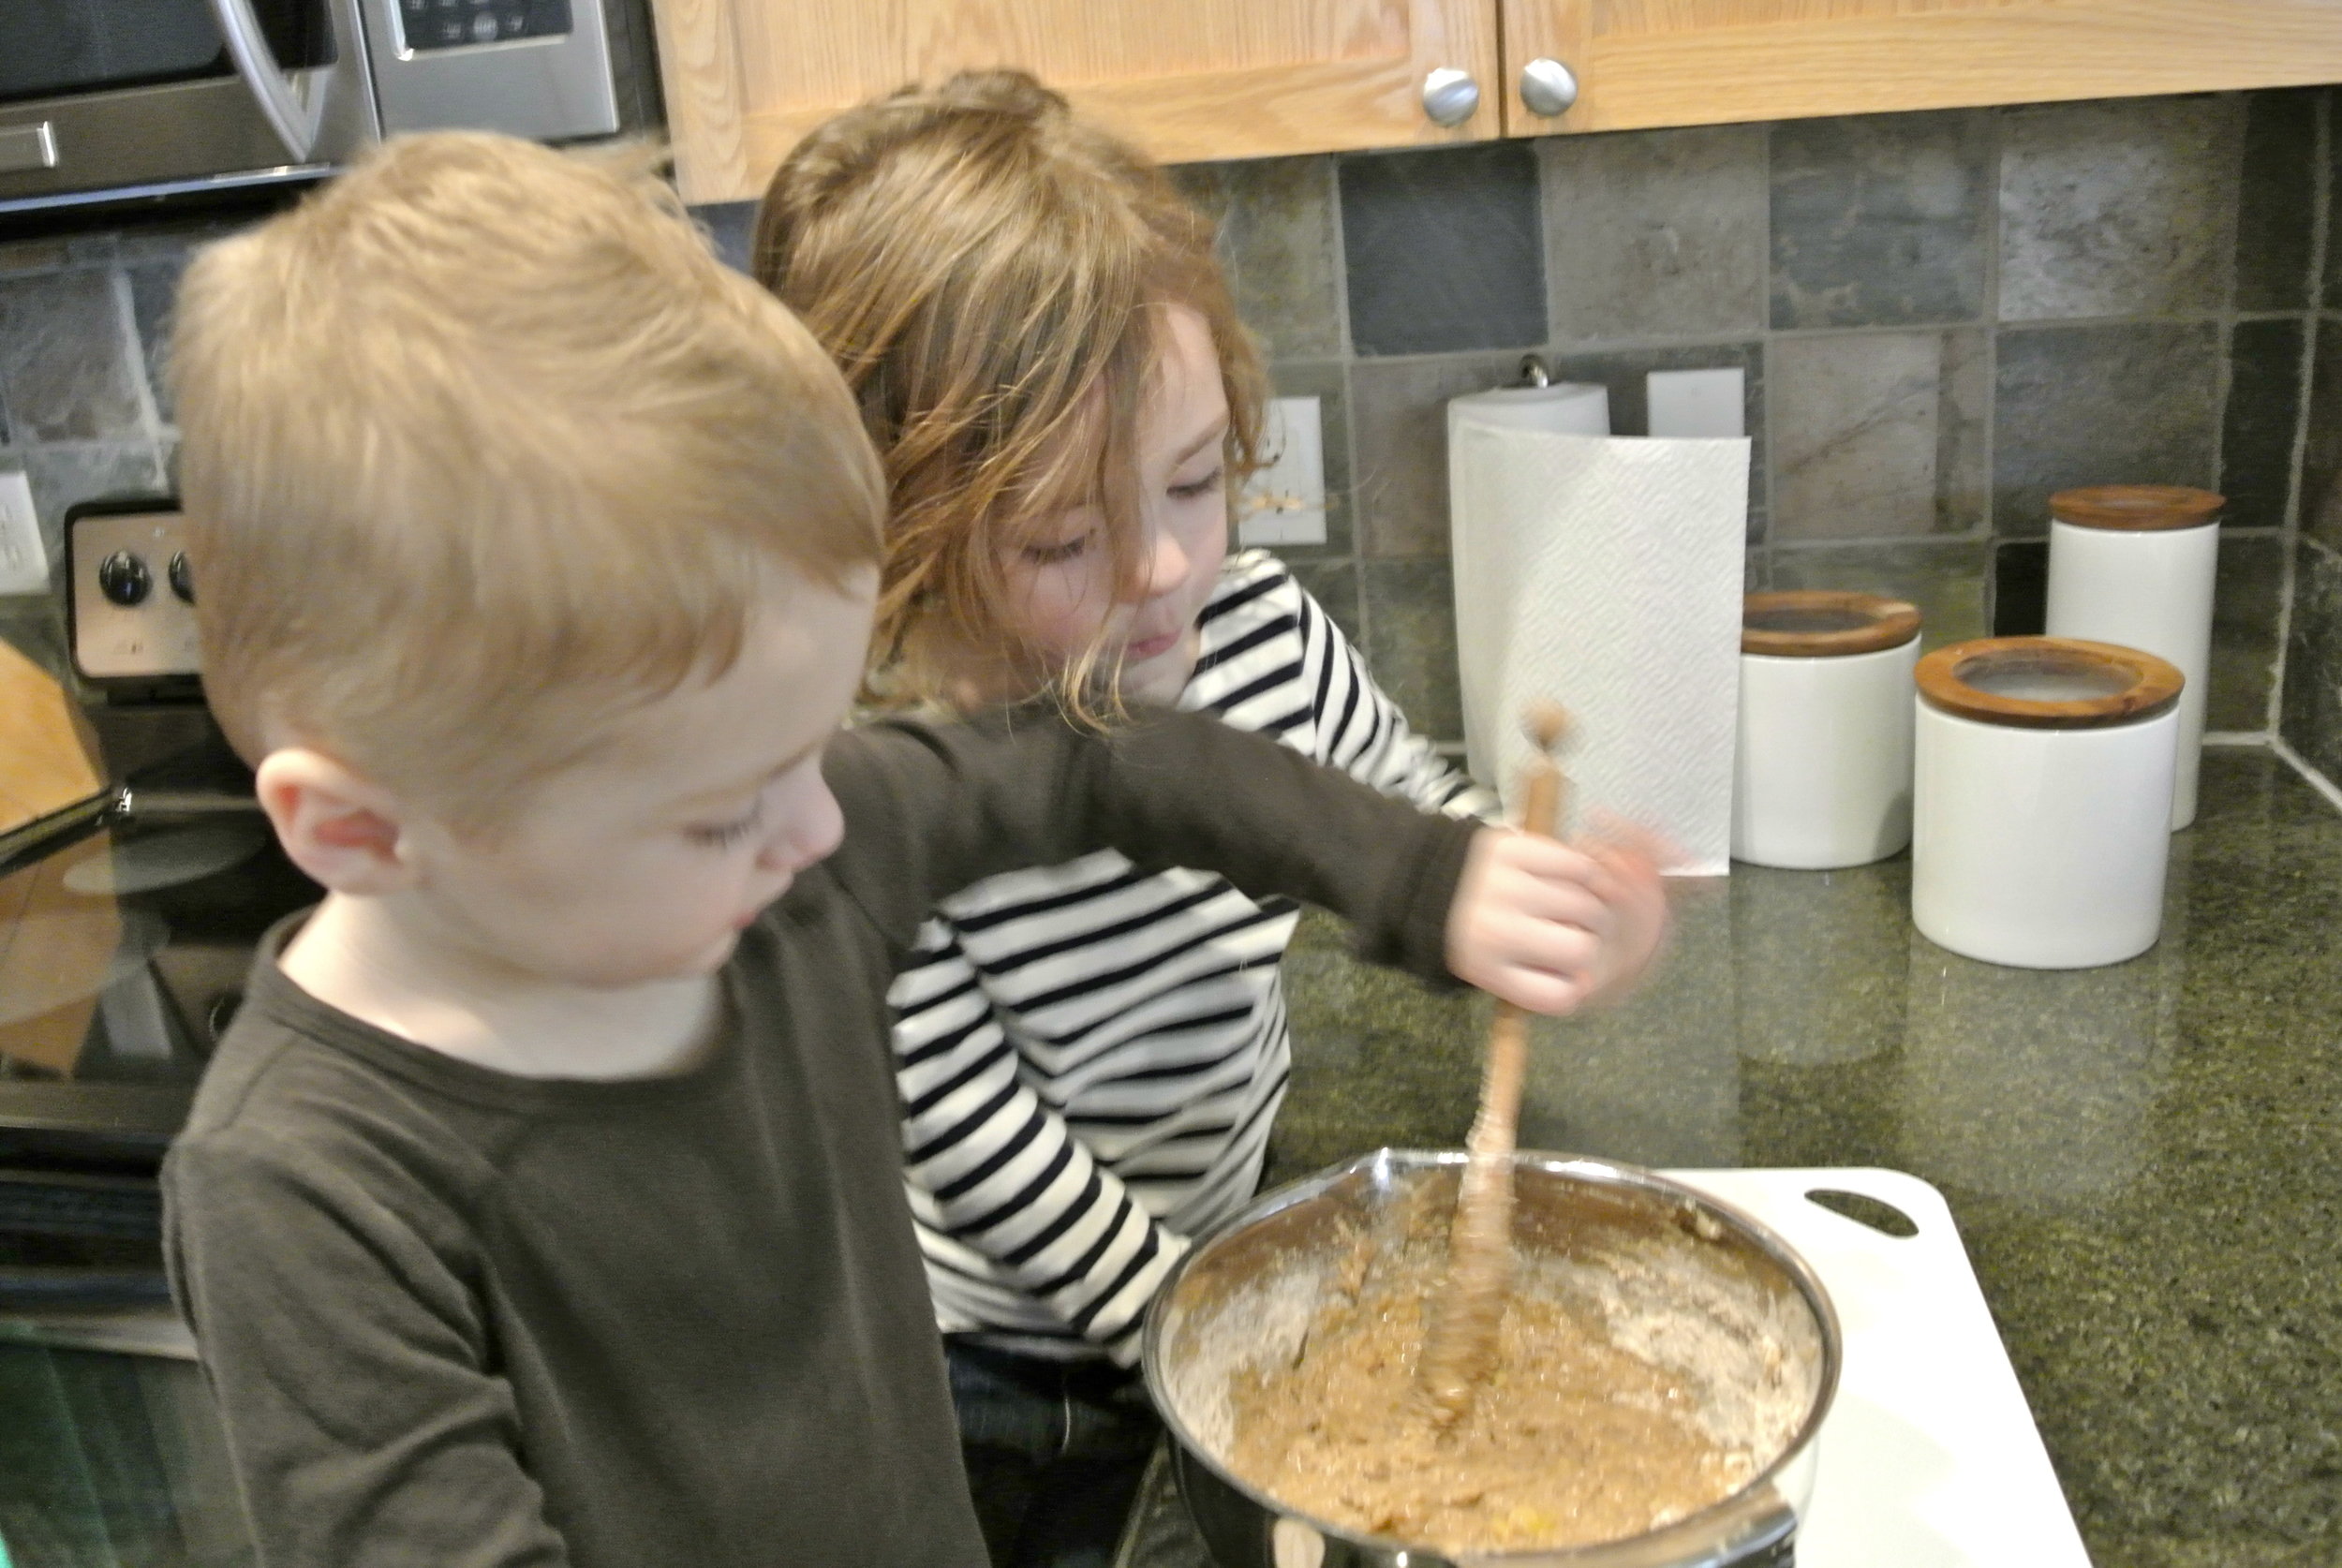
Add flour mixture to banana mixture and stir until combined.

Go ahead and sneak a taste of the batter like Duke. I won’t tell.

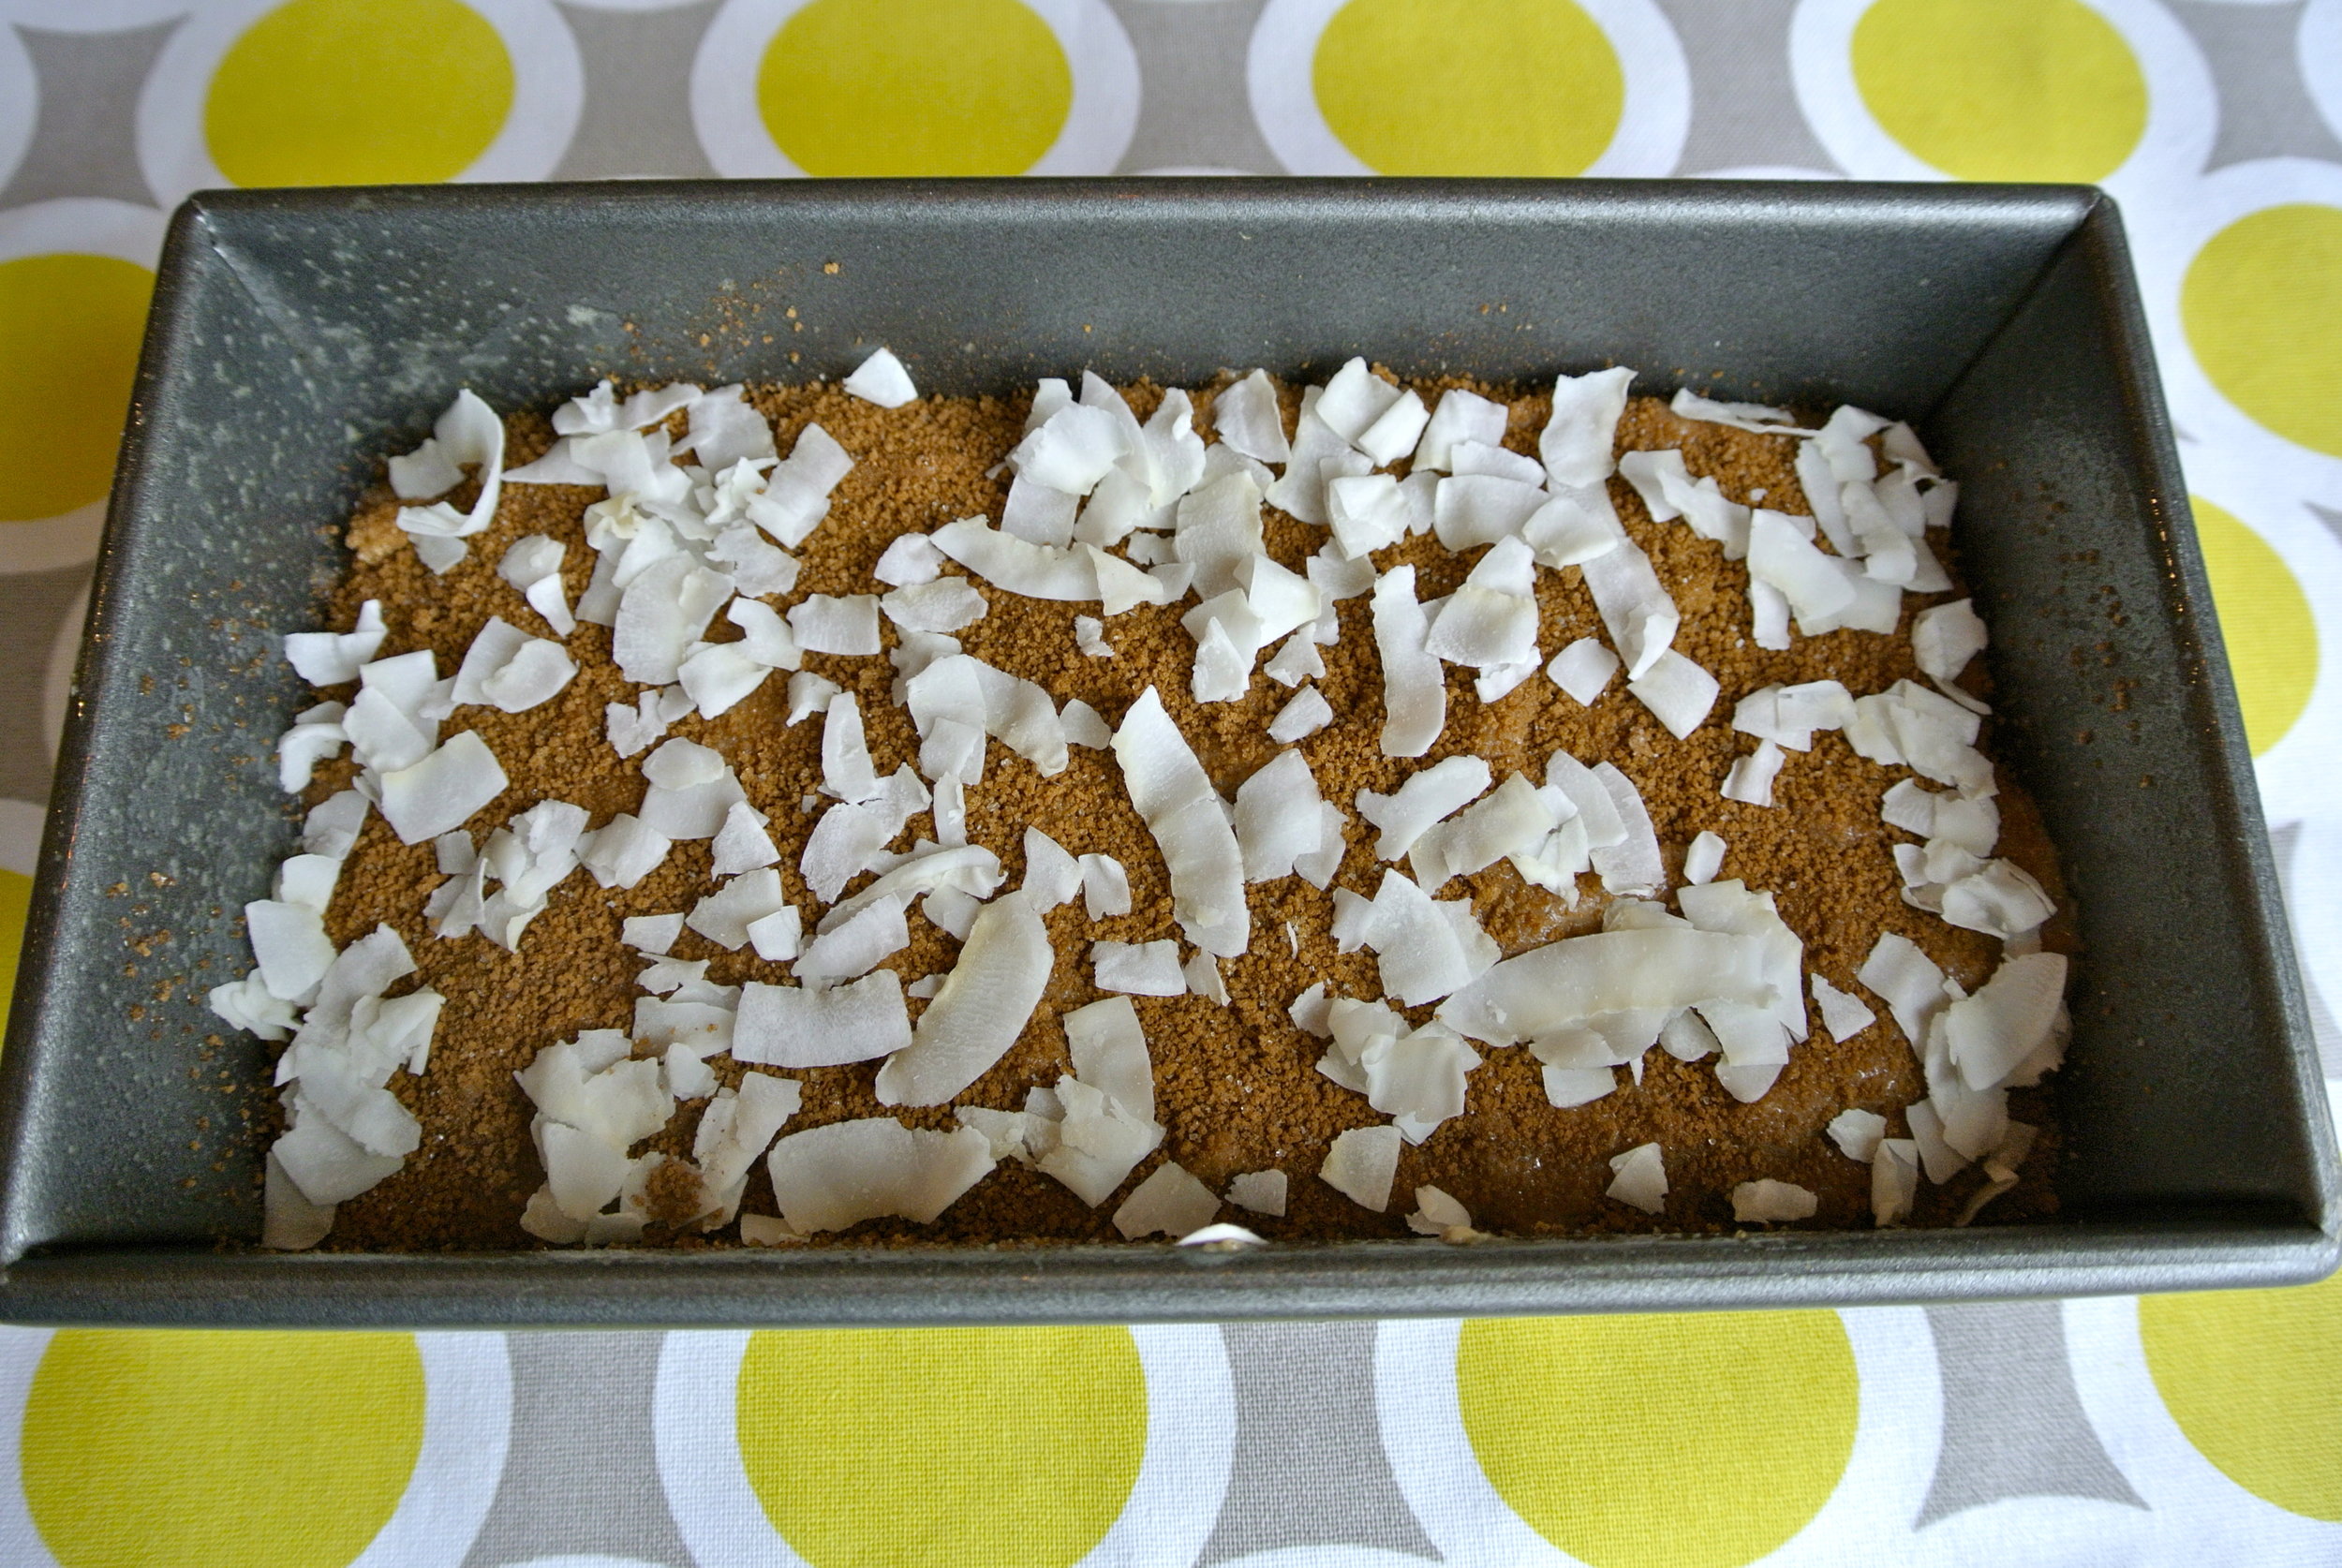
Pour batter into a greased loaf pan.

Sprinkle cinnamon sugar and coconut flakes on top. Feel free to be generous with the cinnamon sugar…. It’s for the kids, right?

Bake for about 45 minutes.

Duke and Moses got a little bored while it was baking and thought this would be a good idea...

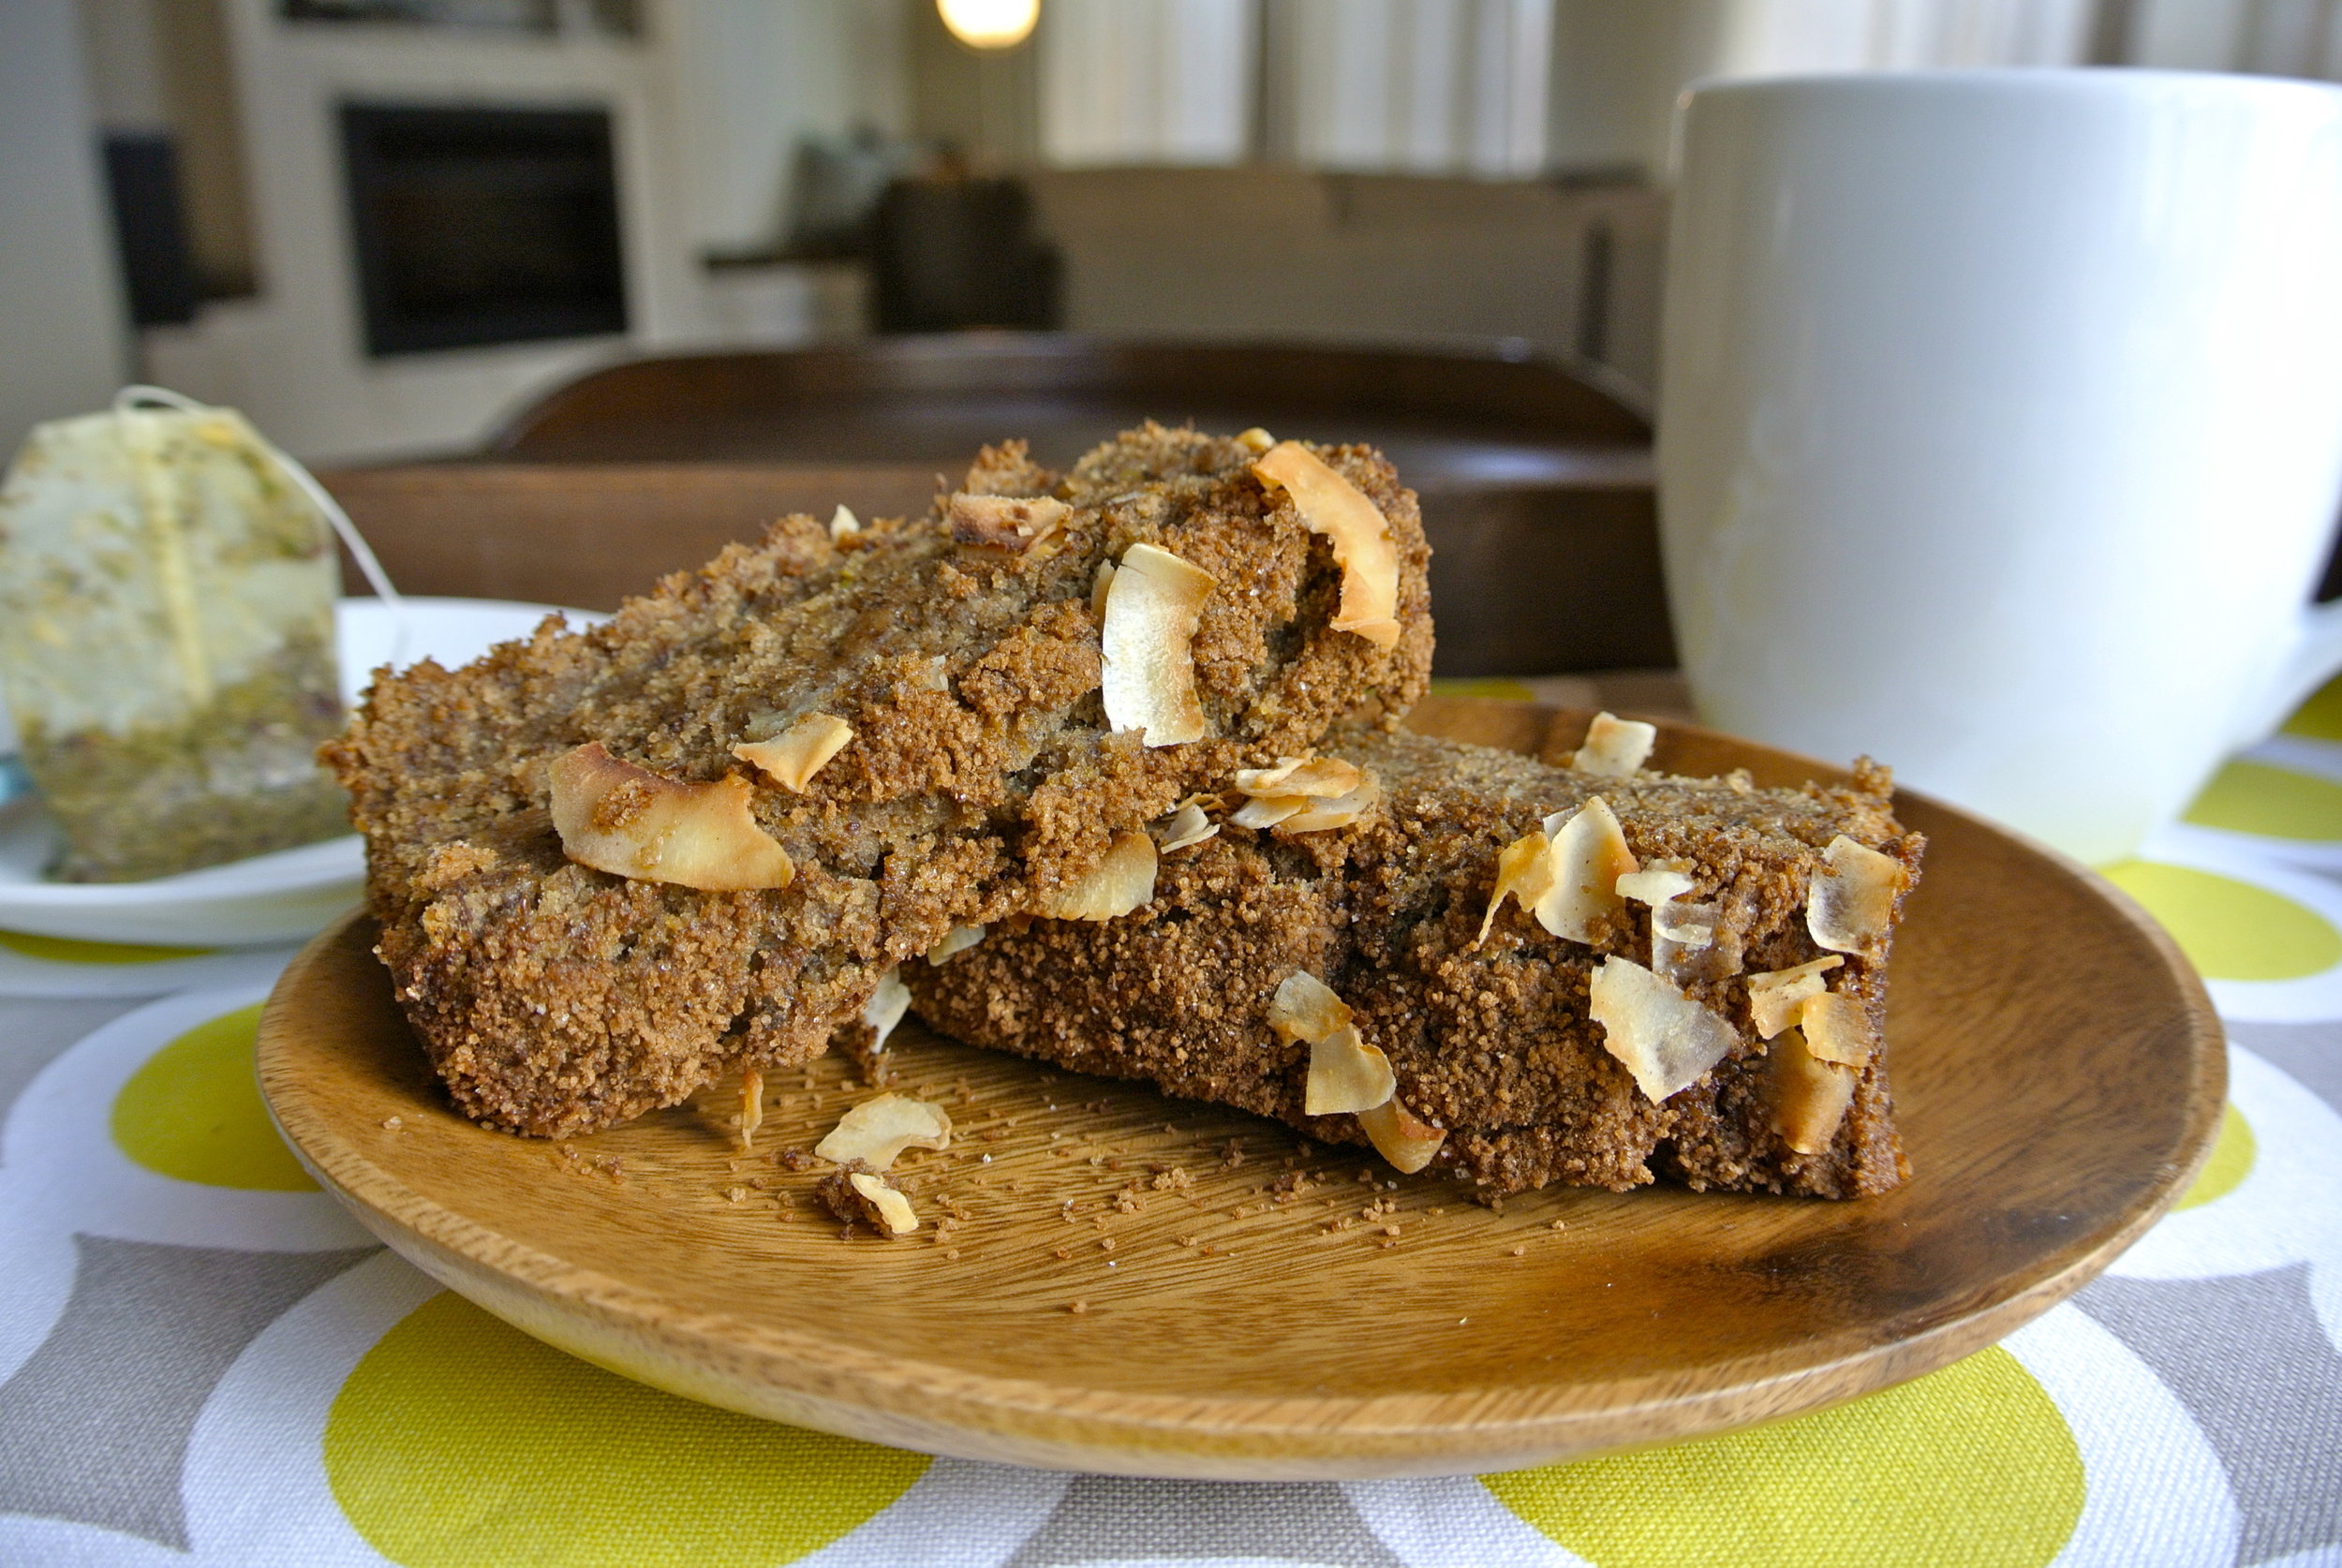
Enjoy fresh out of the oven with a hot cup of tea in front of the fire…

Or, like this…

Off to have another fort making competition… see you next week!

CASHEW PESTO + PIZZA

After a few weeks of quick and easy recipes… I figured it was time to give you one that is a bit more time consuming… but worth every minute. Most of us like pizza… and some of you LOVE it.

Many of us view pizza as on the list of “bad” foods that we indulge in every so often. Now, the fast food version of pizza (served at places like Pizza Hut, Domino’s, Etc) really should be on the “bad” list and is not ideal for putting in your body… but did you know that pizza can actually be good for you?! When you use all real and fresh ingredients, you can create a meal that is full of nutrition and flavor and tailored to fit your tastes buds.

Due to the fact that I am sensitive to most dairy products and often times wheat, I stayed far away from pizza for years knowing it would make me feel terrible. Until…

A while back we had our friends Bobby and Lindsey over for dinner. Lindsey and I have some of the same food sensitivities so we collaborated on the meal. She planned to bring the pesto and I supplied the remaining ingredients for pizza. Little did we know that there had been a huge recall on pine nuts and they were something like $30 a pound! She had the brilliant idea to use cashews instead and it was the best pesto I had ever tasted. With a little tweaking (aka… making and eating it often) I have landed on this recipe. It also tastes great on chicken, fish, pasta, sandwiches and… you fill in the blank.

Using this as a base on pizza really eliminates the need for using much (if any) cheese due to all the flavor and texture it adds.  The pesto can also be made ahead of time and stored in the fridge to make the assembling of the meal much faster.

My son Duke LOVES this pizza and knows that pizza night usually means we are going to be having a family movie night.

He asks for pizza every night.

ENJOY!

Elizabeth

PESTO:

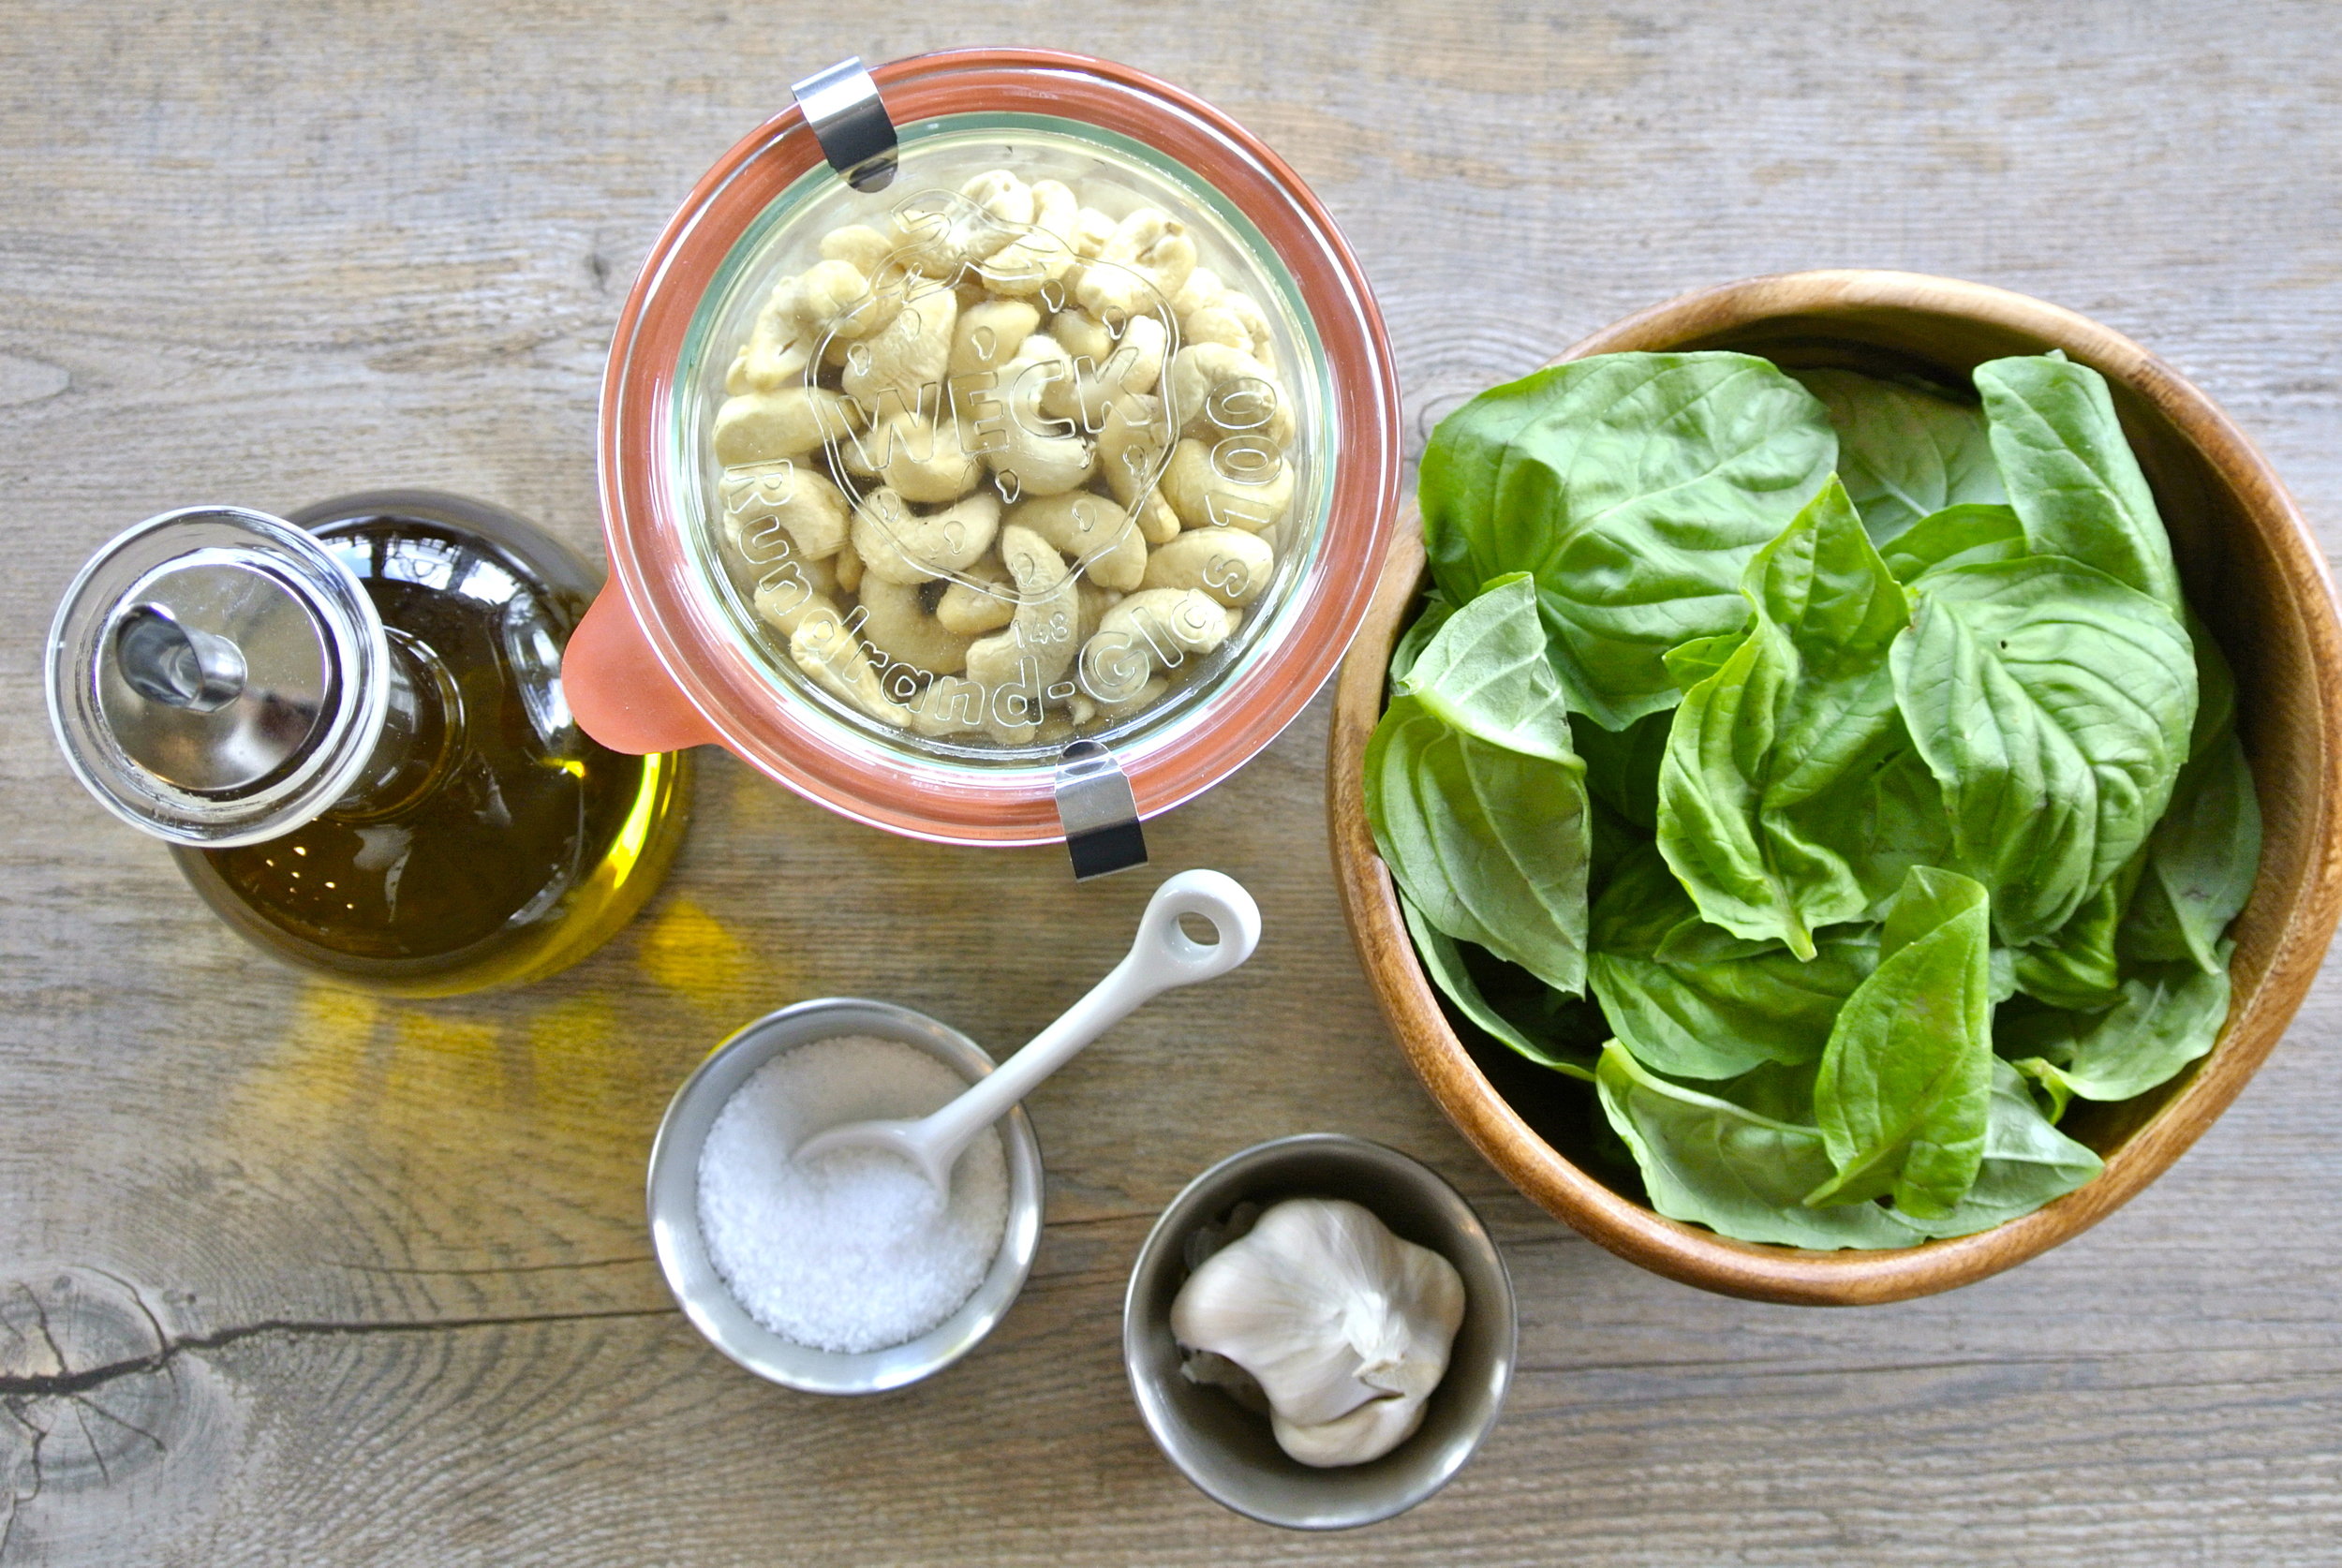
  • 1 C raw cashews
  • 2 C basil (lightly patted down but not packed)
  • ¼ C olive oil + more if needed
  • 1-2 garlic cloves (or 1 T minced garlic)
  • 1/8 tsp salt + more if needed
  • 1/8 tsp pepper (or a few dashes)

Combine all ingredients in a food processor or high-speed blender. You may need to add a bit more olive oil if the mixture is too thick or not blending well. Give it a taste and add more salt and pepper if needed.

PIZZA:

CRUST:

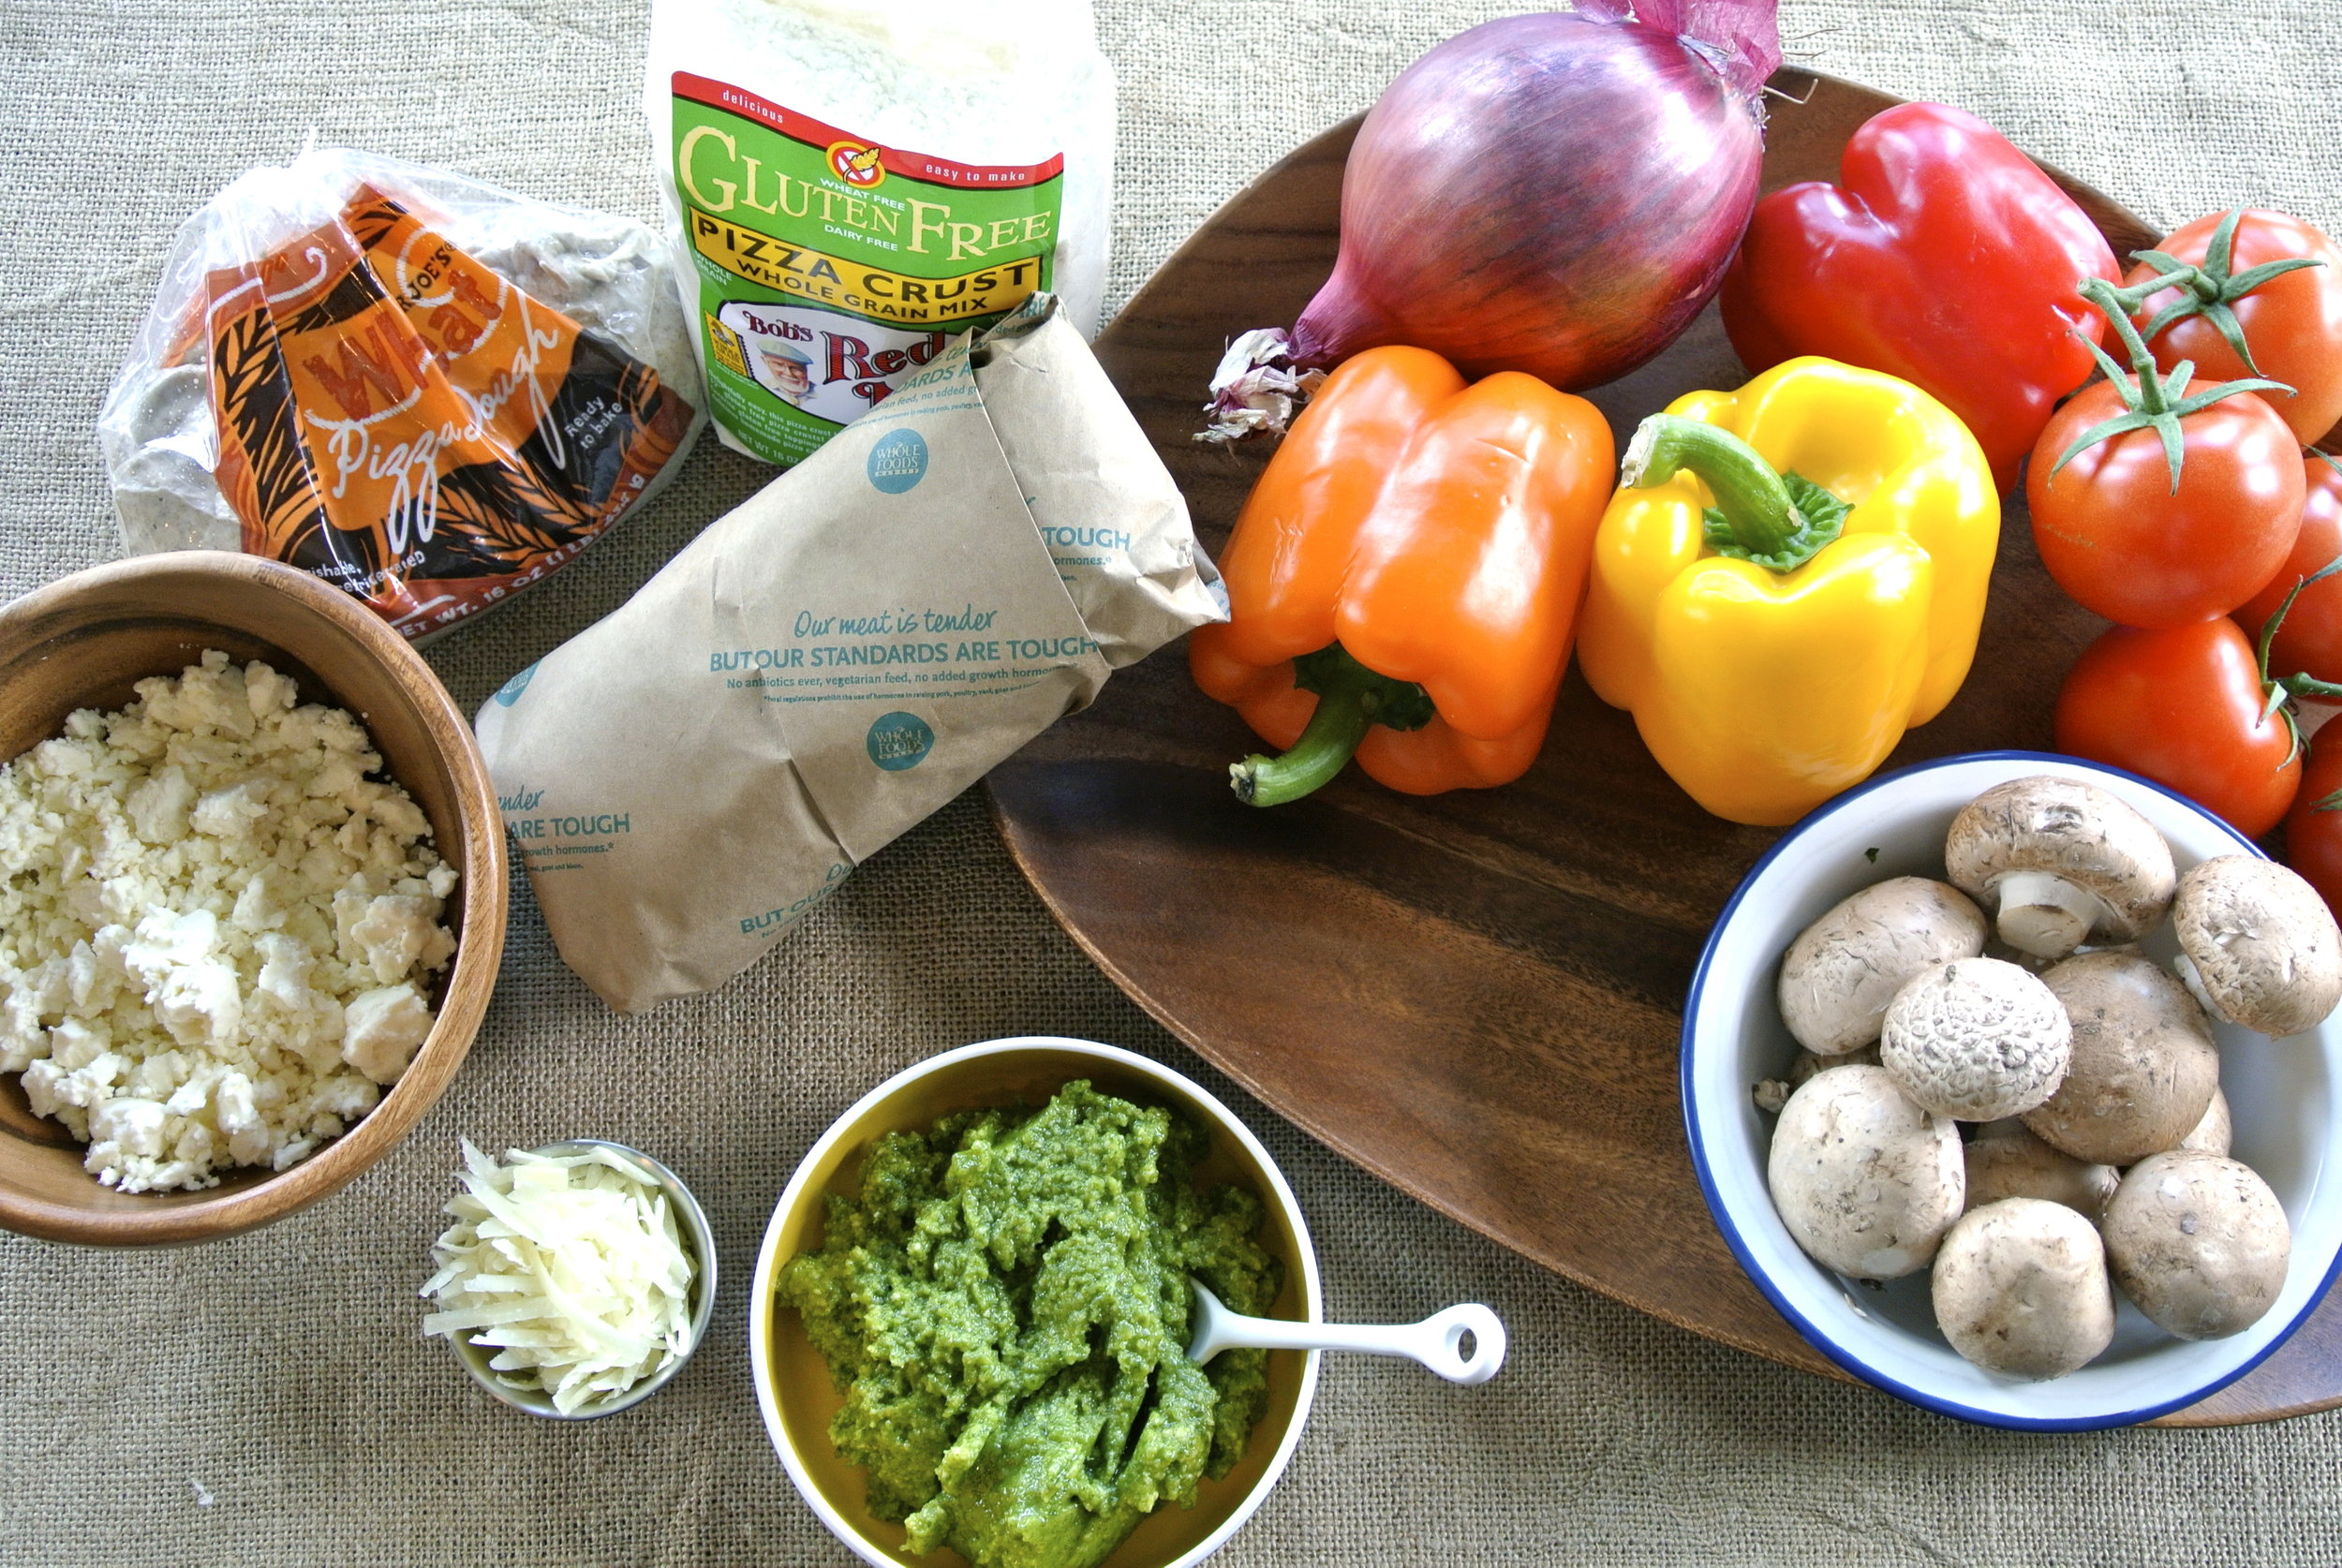
  • If you need to go gluten free: we use the Bob’s Red Mill Gluten Free Pizza Crust and it can be found at most grocery stores for about $3.50, including Winco. Follow the instructions on the package to make.
  • If not: Trader Joes’s also carries fresh, whole-wheat dough in the refrigerated section for about $2… or you can make your own!

TOPPINGS: as much as you want of the following:

  • Thinly sliced bell peppers
  • Thinly sliced tomatoes
  • Onions
  • Mushrooms
  • A dash of salt and pepper

OPTIONAL TOPPINGS:

  • Spicy ground chicken sausage (the best is from Whole Foods or New Seasons and you only need ¼ - ½ lb to adds tons of flavor. If you don’t like spicy, they also have mild.)
  • Cheese: Feta, Mozzarella or Goat cheese all taste great. You really don’t need more then a light dusting of cheese.
  • Red pepper flakes

TO BUILD:

Spread pesto evenly over crust. Depending on the size of your crust and how thick you want the pesto, you may have a bit left over.

Layer toppings and bake at 415F for about 15 – 20 minutes

ENJOY!

MAPLE APPLE CINNAMON BAKED OATMEAL

We had apple pie for breakfast this morning… well, kind of. I’m a creature of habit when it comes to breakfast and lunch and I ALWAYS have oatmeal for breakfast. I have somehow passed this on to Duke as well and he refuses to eat anything else for breakfast. Like mother like son?

We usually keep it pretty simple but today I was in the mood to try out our new kitchen and make something new… and I am so glad I did. All the flavors combined created some sort of heavenly bowl that closely mirrors apple pie.

It was a good morning in the Mosser household.

I know that oatmeal may not get you as excited as it gets Duke and I, but may I encourage you to think outside the box a bit with oatmeal? Due to its bland flavor, you can really add ANY combination you like to create flavor and texture.  I plan to do a post in the near future with lots of ways to try oatmeal.

Until then, give this one a try!

ENJOY,

Elizabeth

MAPLE APPLE CINNAMON BAKED OATMEAL

Serves 4-5

INGREDIENTS:

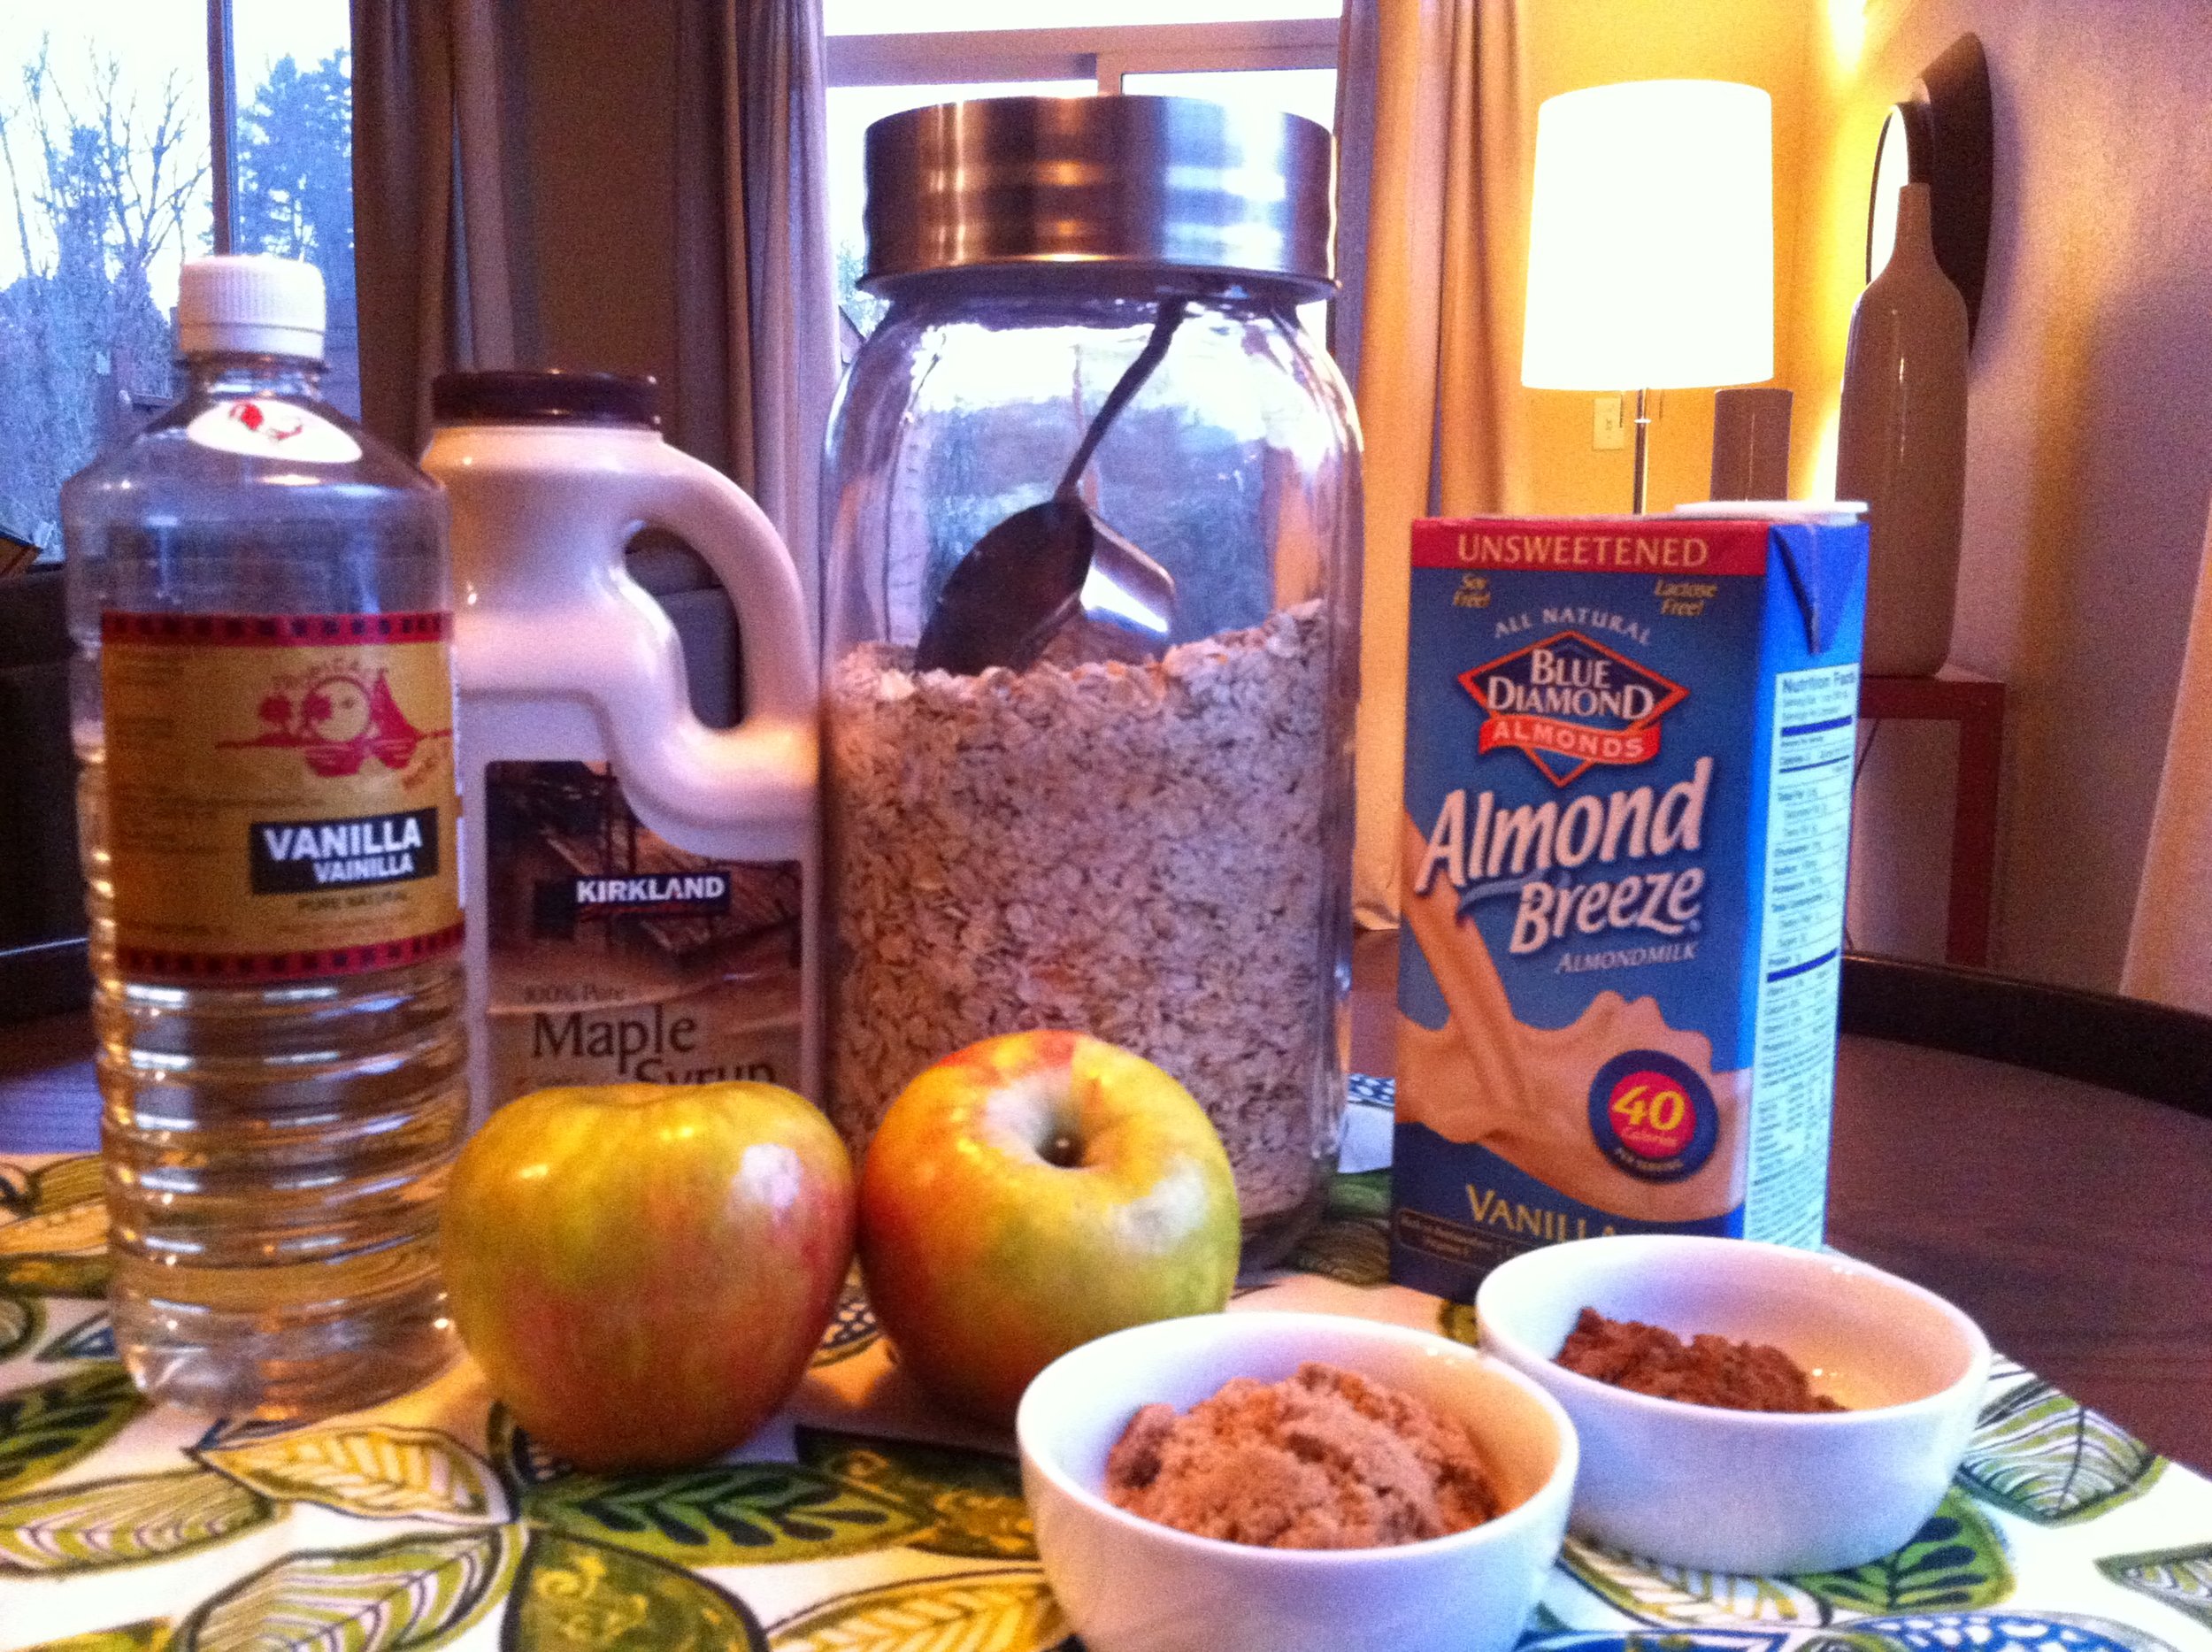
  • 2 C oats (I used old fashioned oats)
  • 1 ½ C water
  • 2 C unsweetened vanilla almond milk (Or any kind of milk you prefer. Almond milk and soy milk tend to be sweeter tasting then regular milk. If you prefer to use milk, you may want to add a bit more brown sugar.)
  • ¼ C real maple syrup
  • 1 T real vanilla
  • 1 tsp cinnamon (plus a bit more for sprinkling)
  • A dash of salt
  • 2 apples (I used Fuji apples)
  • ¼ C organic brown sugar + a few extra sprinkles just because

TO MAKE:

Preheat oven to 400F.

Combine oats, water, milk, maple syrup, vanilla, salt and cinnamon in a pot and bring to a boil. Once it boils, reduce to a simmer and stir often. Allow it to cook long enough to thicken up. About 8 minutes.

While the oatmeal mixture is cooking, peal both apples. Cute them into fours, remove the core and seeds and slice both apples very thin.

Line the bottom of a baking pan (my baking pan was about 12x9) with half of the sliced apples and sprinkle with cinnamon.

When the oatmeal is done, pour all of it over the apples in the pan.

Layer the remaining half of the apples on top of the oatmeal and sprinkle brown sugar evenly over the top.

Bake at 400F for 30 minutes. During the last minute or two, turn the oven to broil and watch closely. This will brown up the apples and make it look even more delicious!

Using a spatula, scoop into bowls and enjoy!

BUTTERNUT SQUASH TACOS

We are moving today. I am 8 months pregnant.

Which means… this past week has been filled with packing (and Duke “helping” me pack by emptying the boxes I fill) and some quick and easy meals.

We all need those meals that always turn out the way we’d hoped, require little time and minimal planning. My dear friend Kaitlin Frazier (who will be doing some guest blogging on these pages) introduced me to the concept of using butternut squash in tacos and I am forever indebted to her!

Squash has become one of my favorite foods (although nothing can quite beat potatoes for me) and I love using the leftovers from this meal in a salad for lunch the next day.

Here is also some interesting information about butternut squash.

ENJOY,

Elizabeth

BUTTERNUT SQUASH TACOS

Serves 4-5

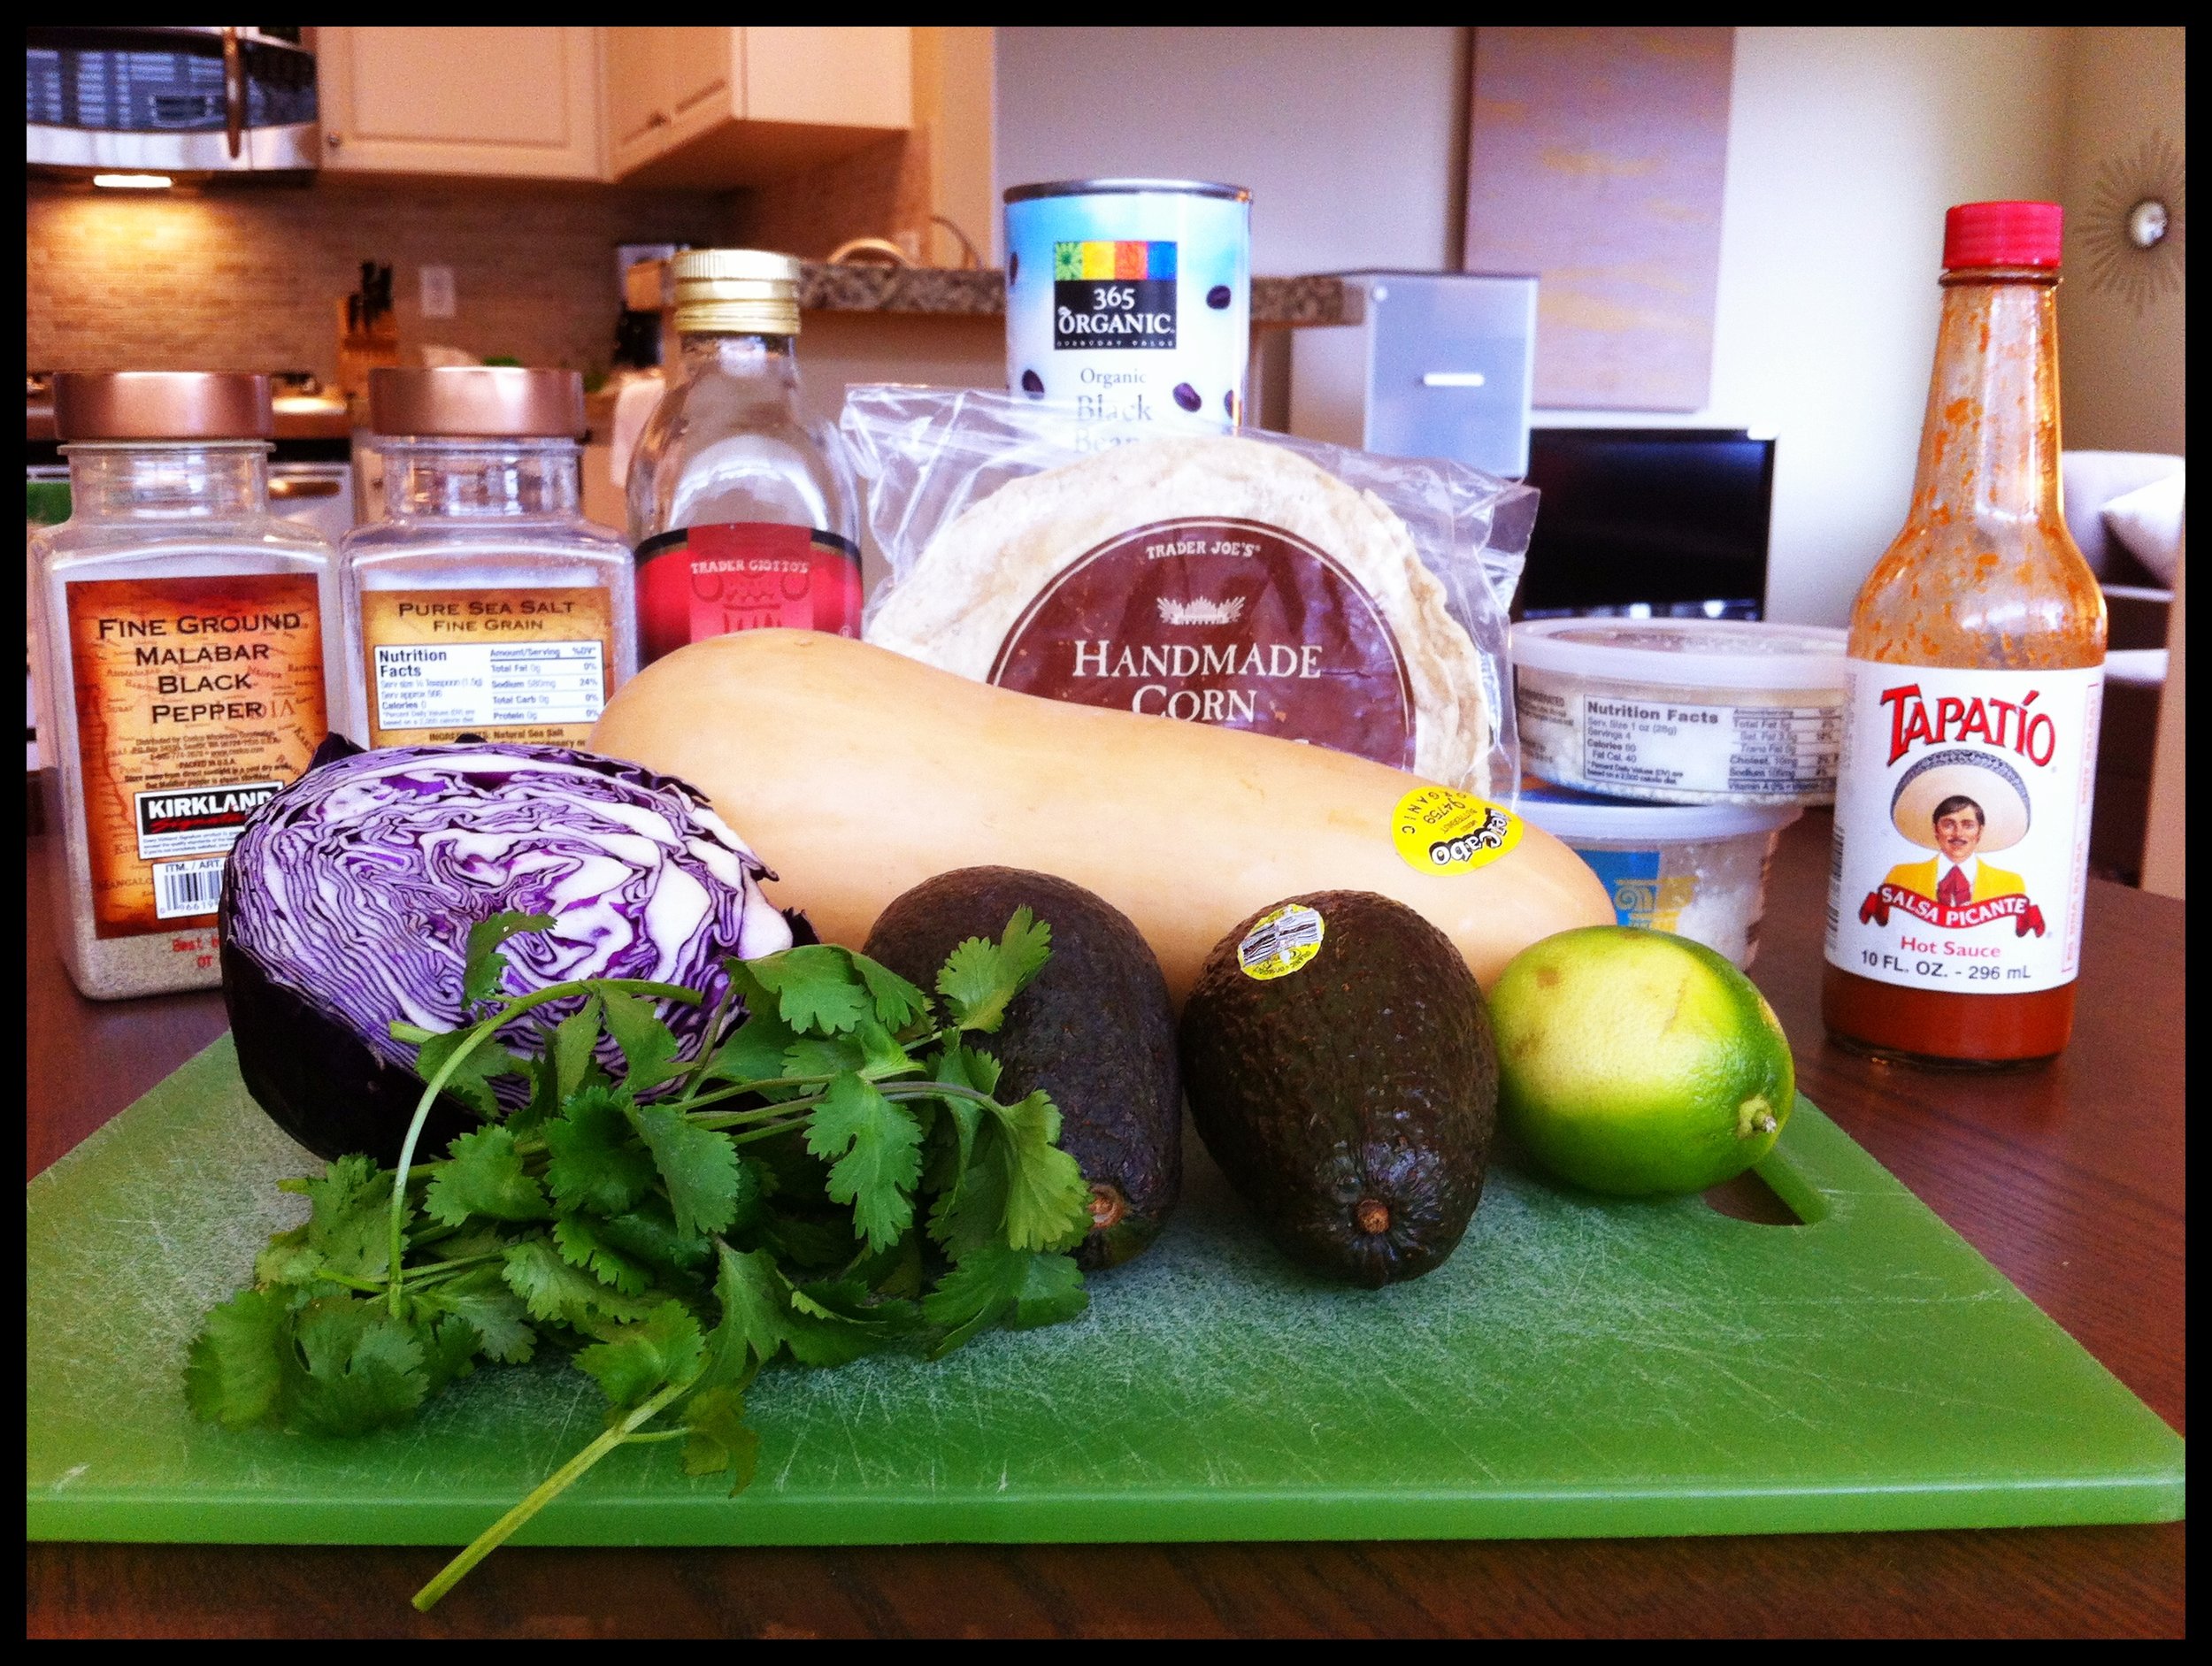
1 butternut squash – peeled and cubed

1-2 cans black beans (depending on how many people you are feeding)

Corn tortillas (I use the Trader Joe’s handmade corn tortillas. They are nice and thick.)

About 2 C shredded purple cabbage

Olive oil

Sea salt and pepper

ON TOP:

Guacamole (homemade always tastes the best!)

Tapitio hot sauce (or any kind)

Crumbled goat cheese or feta cheese

*people who are sensitive to dairy are often not sensitive to goat’s milk products

Optional: Fresh limejuice and cilantro

TO COOK:

Preheat oven to 400F.

Using a vegetable peeler, peel skin off of the butternut squash. Cut in half lengthwise and use a spoon so scoop out all the seeds. Cut the whole squash into ½ inch squares.

Place on a baking sheet and lightly drizzle with olive oil. Season with salt and pepper and toss until evenly coated.

Bake for about 40 minutes, stirring halfway through. The squash will brown evenly and be soft when it is done. If you leave it in long enough, it will even start to caramelize a bit.

While the squash is cooking, the quick guacamole from last weeks recipe or whatever kind of guacamole you like.

When the squash is nearly done, open the black beans and drain half the liquid. Place them in a saucepan and bring to a boil. Then reduce medium heat until they thicken up and the liquid has cooked out. About 8 minutes.

To cook the tortillas, I spread just a touch of coconut oil on both sides of each tortilla and brown them a bit in a pan. Or you can spray both sides with olive oil spray and brown.

TO SERVE:

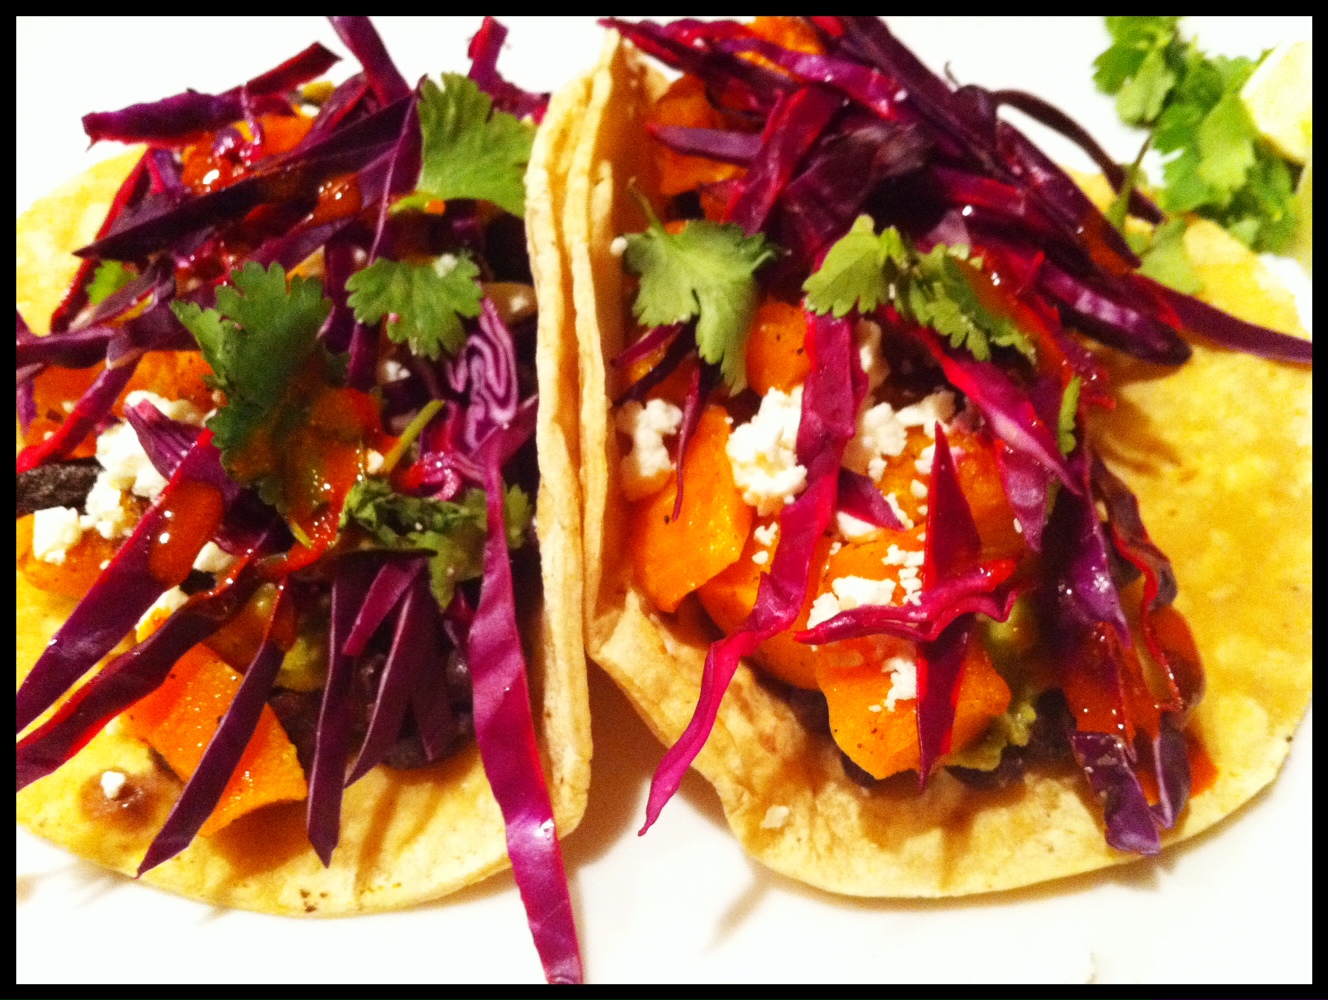
Layer black beans, squash, guacamole, goat cheese or feta, cabbage and hot sauce. You can also squeeze some fresh lime and garnish with cilantro.

ENJOY!

MEXI BOWLS

We live in a world that is all about convenience and making things easy. Eight Minute Abs, microwave dinners, drive thru everything, gas attendants to pump your gas for you… the list goes on and on.

Let’s just be honest, it is always convenient and easy to eat unhealthy. We get busy, the kids are hungry… we will start again tomorrow.

Eating fresh, real foods does take work and planning... but is not impossible!

For me, it is a passion. My heart skips a beat when I walk into the produce section at Whole Foods. Yes, I know I am weird. Yes, I know that not everyone shares the same level of excitement over vegetables and grocery stores as I do. For some of you cooking is stressful. For others, you simply don’t know where to begin.

The first step in eating well is planning. Planning is something we all know how to do. We plan our days, our weeks, our vacations…

I know that life gets busy and we can’t eat perfect all the time… but may I encourage you to think ahead a bit? Look at the week ahead and plan for the days that you know will be busy and leave little time for cooking. Keep ingredients in your pantry and fridge that you can throw together quickly.

This week’s recipe is one of those meals for us. My husband, Brook, often works several long days in a row and needs meals he can take with him and heat up later.

This meal stays tasting great for several days in the fridge and can be made in the morning and heated up for dinner.

I would love to hear your questions and the tips you have learned along the way for meals in a pinch!

ENJOY!

Elizabeth

Mexi Bowls

Serves 6 - 8

The Mix:

  • 1 large bell pepper, chopped
  • 1 medium onion, chopped
  • 2 C chopped broccoli
  • 1 C chopped mushrooms

*You can use any combination of veggies you like so feel free to add or substitute.

  • ½ C chopped cilantro
  • 1 T minced garlic
  • 1 Can each of the following:

Kidney beans

Black beans

Corn (check the ingredients to make sure there is no added sugar)

Diced tomatoes (I used no salt added diced tomatoes)

Diced green chilies

  • 1 T olive oil
  • 1 T garlic powder
  • 3 T chili powder
  • 1 T cumin
  • ¼- ½ tsp cayenne pepper (optional: we love spicy food. If you don’t want much of a kick then omit this part)
  • Sea salt and pepper to taste
  • ½ - 1 C vegetable broth (the Trader Joe’s Organic Hearty Vegetable Broth is my favorite)

*The key to this dish is making sure you use enough spices to make it burst with flavor so don’t be afraid to add more and do lots of taste tests!

The Base:

  • 2 C quinoa (rinsed)
  • 4 C vegetable broth

*Brown rice also works well if you are not a fan of quinoa

The Top:

You can really top these with anything you like but here is what we do:

  • Shredded purple cabbage - adds a nice crunch and pretty color
  • Fresh cilantro
  • Crumbled feta or goat cheese (optional)
  • Homemade Quick Guacamole:

1 – 2 ripe avocados

1 T minced onion

1 tsp garlic powder

Sea salt

Juice from a lime

4ish dashes of Tapatio hot sauce

*Mash it all together with a fork until it is the texture you prefer

To Cook:

Heat olive oil in a large pan over medium heat. I use a big pot to cook mine so it doesn’t spill over the edges.

Add onions and bell peppers and cook just until they start to soften a bit.

Add broccoli, mushrooms and minced garlic and cook for a few minutes.

To avoid the vegetables being soggy at the end, make sure you undercook them at this stage. They will have more time to cook as you add the remaining ingredients.

Add black beans, kidney beans, corn, tomatoes and green chilies. Stir all together.

Add garlic powder, chili powder, cumin, cayenne pepper, salt, pepper and vegetable broth. Stir well and bring to simmer.

Simmer for about 10 minutes and add cilantro. Give it a taste and see if you need to add more spices. You can also add more vegetable broth if you want. Remember that some of the liquid will cook out as you simmer. Let it cook for about another 8 min for all the flavors to combine.

While the mix is cooking, start the quinoa. I just throw mine in a rice cooker and it does all the work. If you don’t have one, put quinoa and vegetable broth in a saucepan and bring to a boil. Then cover and reduce to a simmer for about 15 minutes.

*If you don’t have a rice cooker, I HIGHLY recommend them! They range in price but even the $20 one from Target works perfectly.

To Serve:

Using a bowl, place quinoa on the bottom and mexi mix on top. Garnish with toppings.

ENJOY!

A WEEK OF SURPRISES

I had every intention of sharing a new recipe with you all this week... but my wonderful husband had something up his sleeve. He surprised me with a week long trip to sunny California to celebrate our 5 year anniversary and I haven't cooked once this week! Thus no photos or new recipe for you until next week.

However, I do want to share with you a dessert from one of my favorite blogs. These are a re-make of Chocolate Lava Cakes and they will seriously change your life if you give them a try. They remind me of a really gooey chocolate brownie. Need I say more? They are dairy free and can be made with oat flour if you need them to be gluten free as well. We make them way to often!

Enjoy!

Elizabeth

... back next Saturday with a new, quick and easy recipe.

FRESH SALMON BURGERS

I love burgers. There I said it. Its not the meat that does it for me, in fact I eat very little meat. There is just something about the bun, the patty (veggie and salmon are my favorite) and the toppings that just make the perfect combination! Thus, this salmon burger recipe was born.

I was perusing the isles at Costco when the package of frozen salmon burgers caught my eye. I read the ingredients, looked at the price and tried to decide if they were worth it... the good thing about being on a strict grocery budget is that you really do think through every item (more posts on budgets and meal planning to come). It suddenly occurred to me that I could in fact attempt to make my own salmon burgers using the salmon I had at home and some fresh ingredients. Decision made.

I also love potatoes. Of any kind. Especially french fries. Combine a healthy burger with healthy french fries and you have one happy mama. We eat these baked sweet potato fries quite often and they can be added to just about any meal and cut into any shape.

If you are on the fence about salmon and or sweet potatoes, here is some fascinating information about them both that just might make you want to give them a try.

Salmon

Sweet Potatoes

ENJOY!

Elizabeth

FRESH SALMON BURGERS

(serves 4)

12 - 14 oz. Fresh Salmon – bones and skin removed – cut into 1 inch cubes

1 chopped leek (about ¾ - 1 cup)

1 cup chopped fresh spinach (2 cups un-chopped)

3 T teriyaki sauce

*if you need to go gluten free, Whole Foods and New Seasons both carry g/f teriyaki sauce options

1 egg

*if you need to go dairy free, use 1 Tsp of ground flax seed mixed with 3 Tsp of water

*if you want to reduce the fat a bit, you can use two eggs whites

1 T dried or fresh basil

1 T minced garlic

¼ – ½ tsp red pepper flakes

Sea salt and pepper to taste

Splash of olive oil for cooking

Combine salmon, leeks and spinach in a large bowl.

Whisk together teriyaki sauce, egg, basil, garlic, red pepper flakes, sea salt and pepper.

Pour wet mixture over the salmon mixture. Using a pastry knife, mash the mixture until all the pieces are pretty small and combined. You may also try to use a food processor to combine the mixture… I have never tried it because I only have a mini one but I bet it would work well!
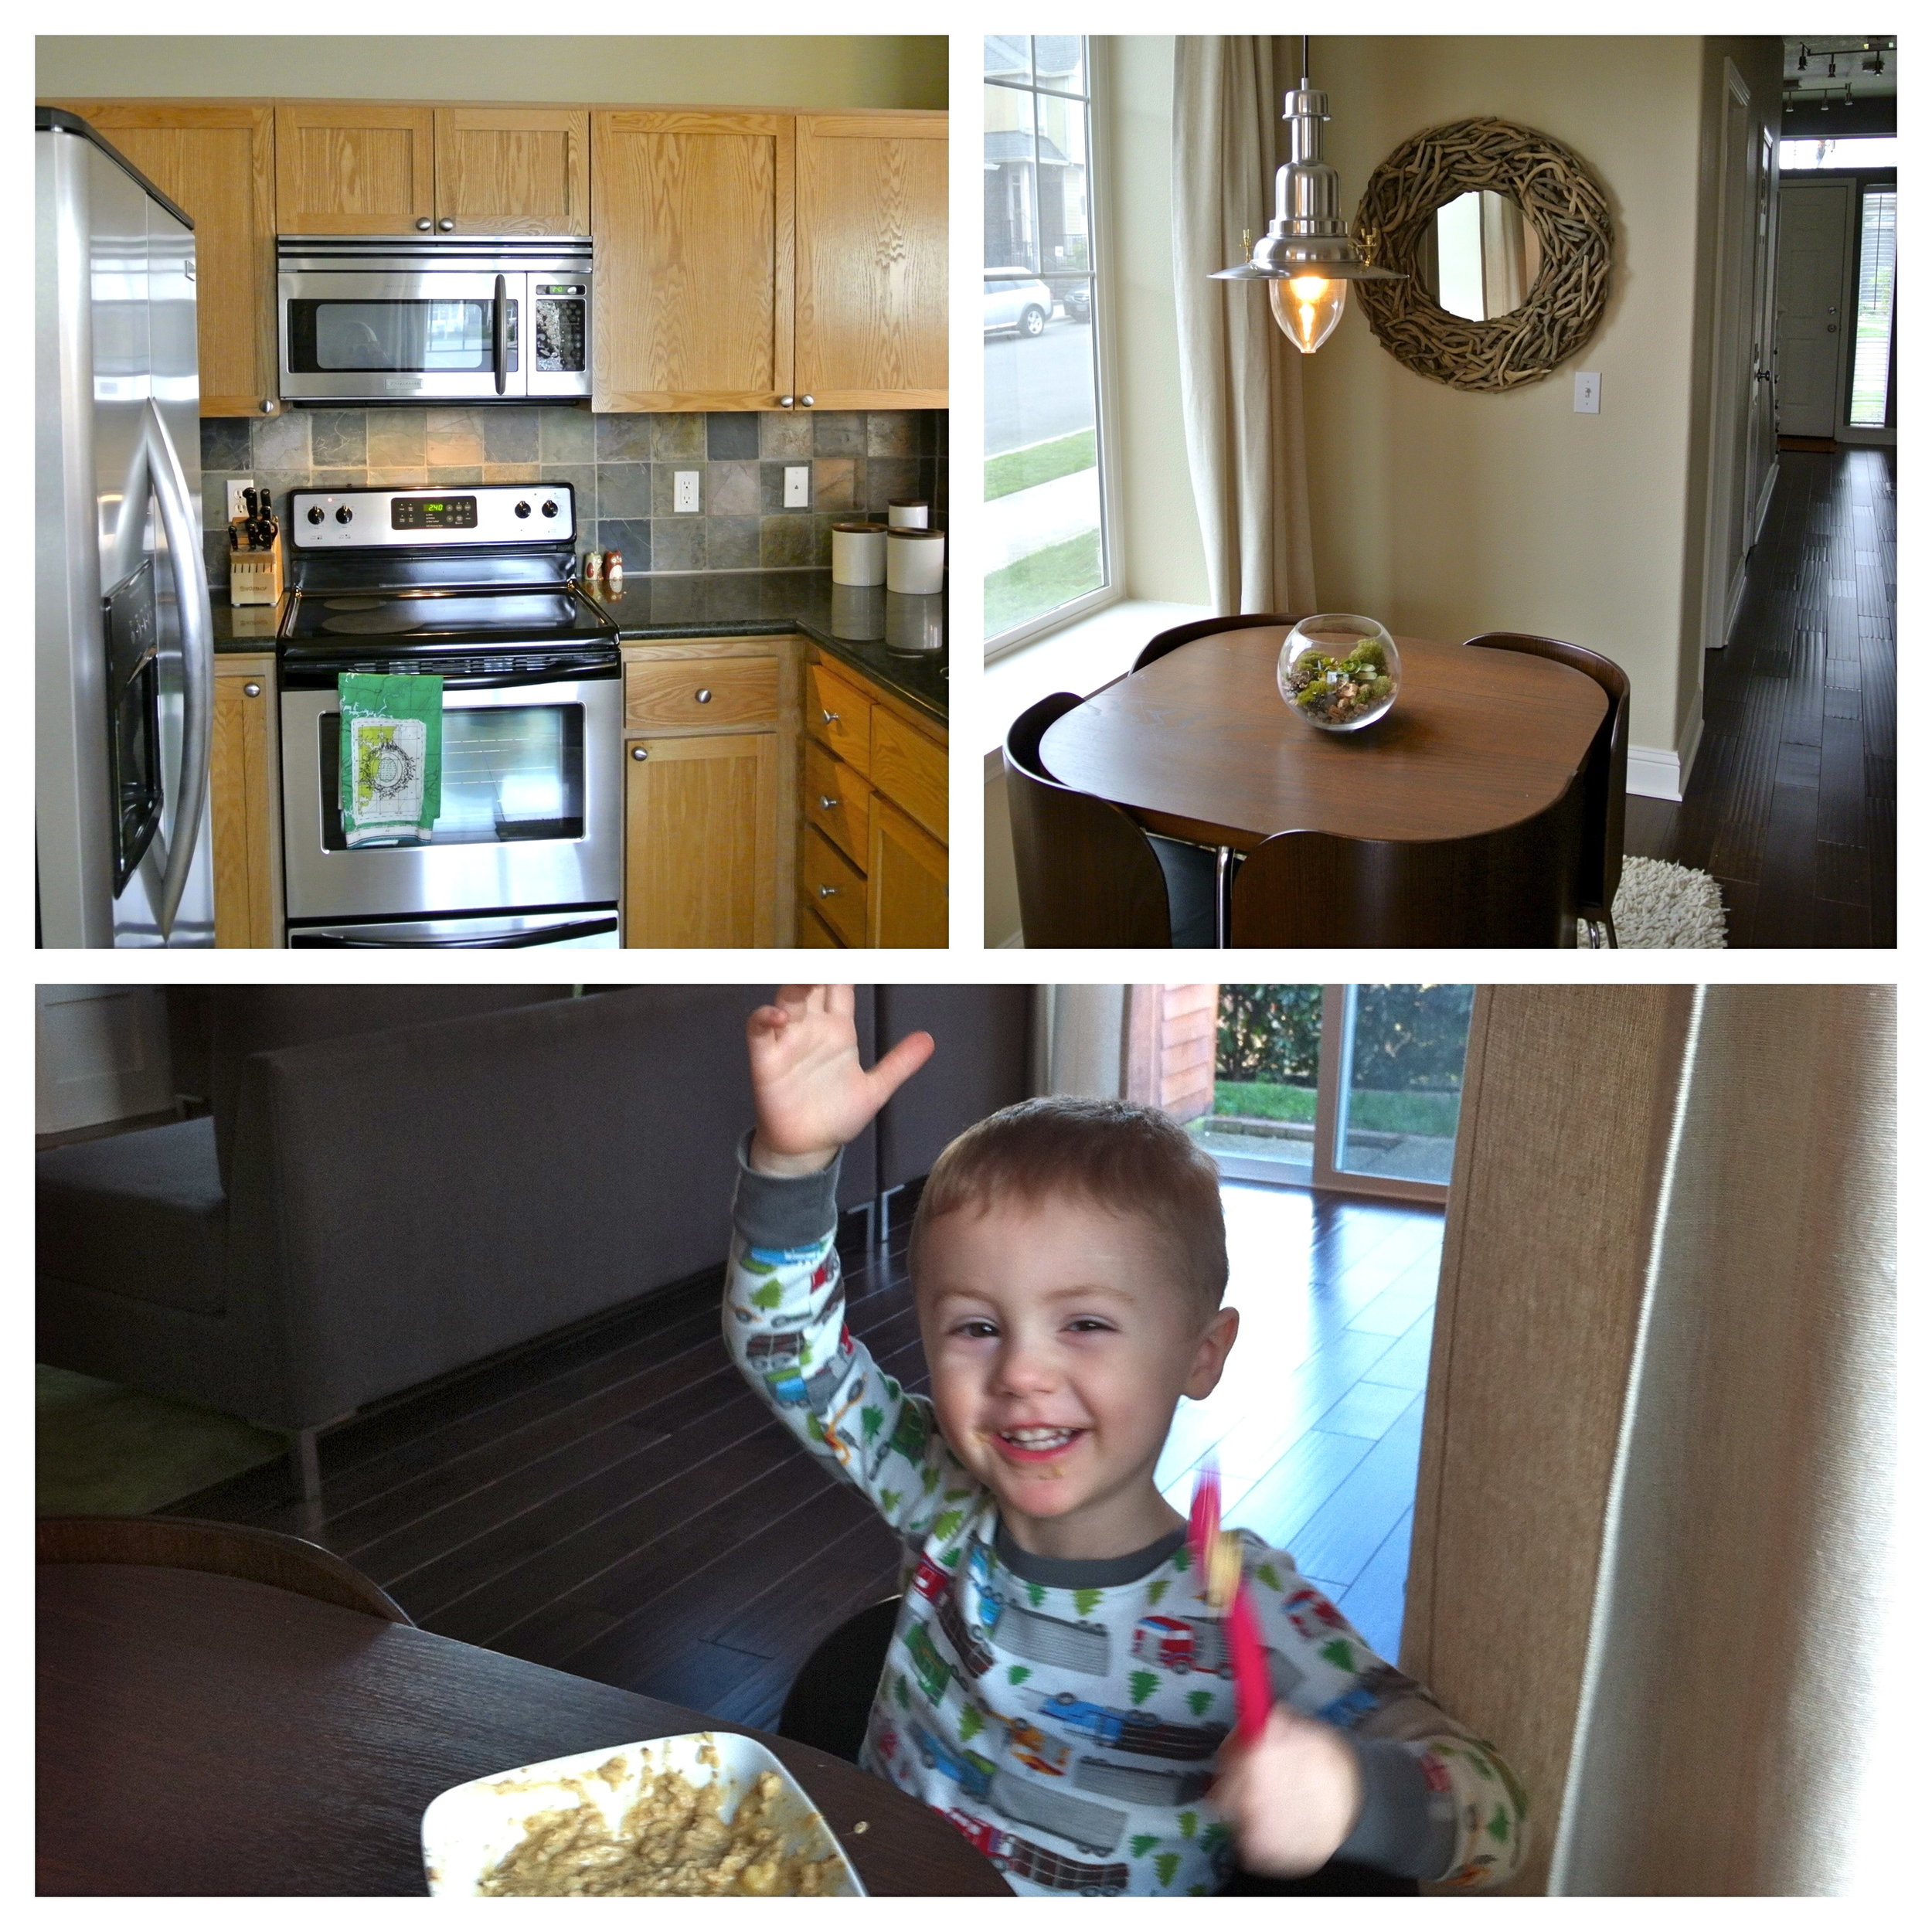
Heat a splash of olive oil in a pan over medium heat. Once the oil is hot, use your hands to form patties with the salmon mixture and place them in the pan. You will have to arrange them and form them in the pan a bit. Once they start cooking, they will stay together (if you used flax seed or egg whites, they won’t hold together as well so be careful when you flip them!).

Cook for about 8 minutes on each side or until they are brown on both sides.

I usually serve them on a whole or sprouted wheat bun (Dave’s Killer Bread Buns are the best!) and topped with sliced avocado, Trader Joe’s BBQ sauce (sounds weird but it tastes amazing!) and fresh spinach.

*If you need to go gluten free, they are great on a bed of fresh spinach too.

On the side we love steamed veggies of any kind and baked sweet potato fries (recipe below).

BAKED SWEET POTATO FRIES

(serves 4)

4 medium sweet potatoes

1 T melted coconut oil or olive oil

1 tsp garlic powder

½ tsp sea salt

¼ tsp pepper

¼ tsp cayenne pepper

Preheat oven to 400F

Wash and cut sweet potatoes into ¼ inch rounds (You can cut them in regular fry shape too. The rounds just make for easier cutting due to how fibrous they are).

Place sweet potatoes and oil in a zip lock bag and shake until the potatoes are fully coated.

Add spices and shake bag well.

If you have pans that fit, place a cooling rack inside/on top of a cookie sheet and place potatoes on top. This will make it so they will brown on both sides evenly and you won’t have to flip them. I wish I could take credit for this genius idea but I stole it from a blog. Life changing!

If your pans don’t fit, spray a cookie sheet with olive oil spray and arrange potatoes on the cookie sheet. Flip potatoes half way through.

Bake for about 45 – 55 minutes. Allow them to brown on both sides and start to crisp up. We like them pretty crispy so sometimes I turn up the heat to 425 for a few minutes at the end.

JM'S GRANOLA

Hello and welcome to The Kitchen! I am so excited to share with you and learn with you as we embark on this journey of cooking, eating, giving and whatever else comes across these pages. For those of you who don't know me, my name is Elizabeth Mosser and Diane is my amazing mom. I have been married to my incredible husband, Brook, for 5 years and we have a 2.5 year old son, Duke, and a baby girl due in April.

(Brook, Duke and I)

One of the greatest gifts my mother gave me was allowing me to be at her side in the kitchen as I grew up. My mom made a meal for our family every single night and she allowed (and sometimes required) my sister and I to help her in the kitchen everyday. I'm sure there were times when I was anything but "helpful" and yet she patiently taught me and encouraged me to love and serve people through cooking.

As soon as I got married, I realized what a gift that really was. Men love to eat! The past five years have been a journey of relearning and rethinking what I thought was a healthy way of eating and learning how to eat REAL foods, the way God created them. I plan to share bits and pieces of that story with you over the next few weeks and months and share with you what I have learned... and am still learning.

My goal on these pages is to encourage you and inspire you to feed yourself, your family and everyone who eats at your table with really good, real, whole foods.

Here are a few things you should know before we start cooking...

I am a total perfectionist and I love to follow the rules. However, for some strange reason, I hate to follow recipes. I like to think of recipes as "ideas" and then create whatever comes to mind. I also hate to measure ingridients. There is one major problem with these two things: how do you share a recipe on a blog when you don't write it down or know how much you used of anything?! So, I am turning over a new leaf and vowing to give you all actual recipes... therfore I will measure... most of the time... and record what I do in order to share with you all.

With that said, I want you to have free reign to change, substitute and adapt any of these recipes to your taste and accourding to what is in your pantry. Feel free to send in questions as well and I will do my best to answer them.

Lastly, Duke and I have some food sensitivties/allergies so you will find that most of my recipes are dairy free and often wheat/gluten free. I will try to always give you options to make every recipe with OR without dairy or gluten so you can modify them to fit who your are feeding them to.

I hope you have as much fun with these recipes as I do!

Elizabeth

JM’S GRANOLA

This recipe was born out of my brother, John Mark’s, request for some hearty granola. He wanted one with lots of nuts and real ingredients. After a few batches that were only “so, so”, I finally arrived at this recipe and we have stuck with it ever since.

Ingredients:

5 cups old fashioned rolled oats

¾ cup raw almonds

¾ cup pecans

*you can use any kind of your favorite nuts. Just make sure they don't contain any added oils or salt. If you don't want it quite as nutty, simply use less nuts.

½ cup organic brown sugar (optional)

3 t ground cinnamon

1 t sea salt

¾ cup unsweetened applesauce

¼ cup maple syrup

¼ cup honey

2 T of coconut oil

1 T real vanilla

1 cup raisins

Preheat oven to 300F.

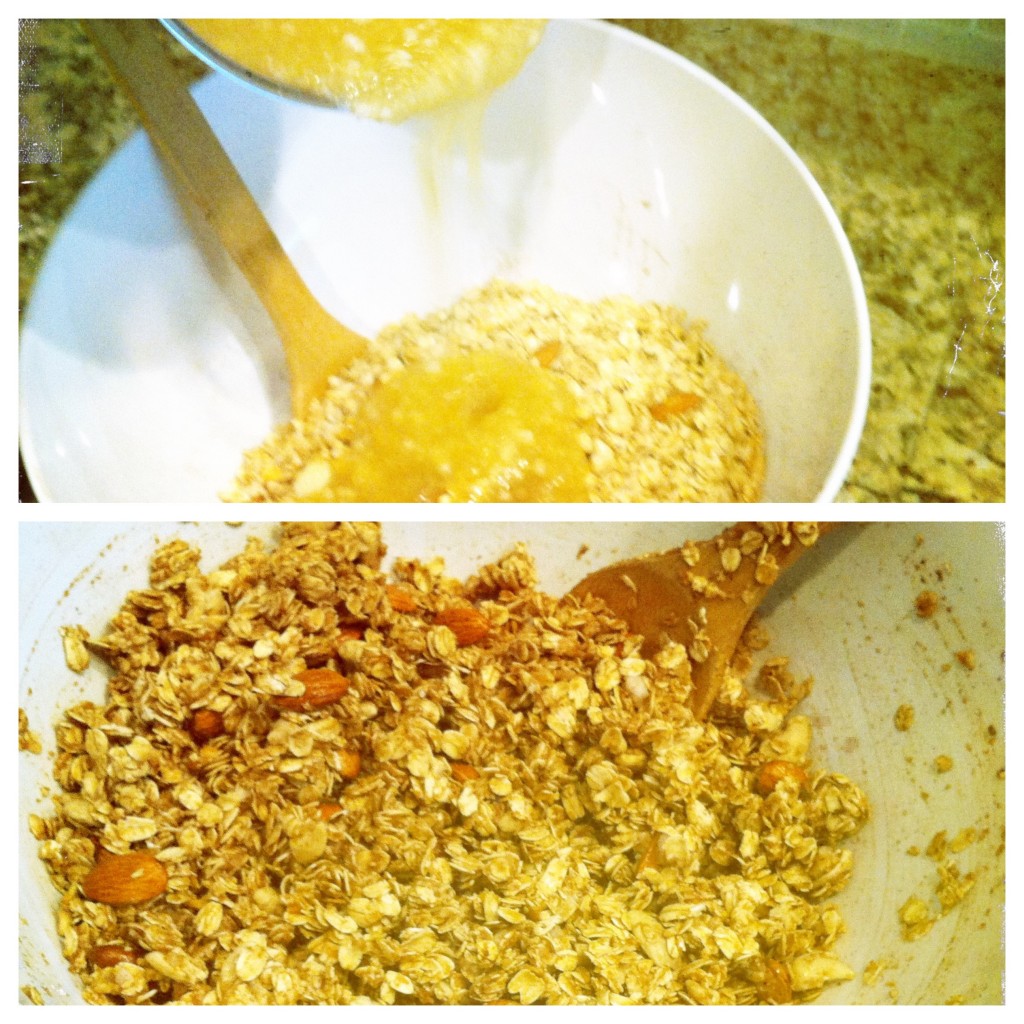
Mix together applesauce, maple syrup, honey and coconut oil in a small bowl.

Combine oats, almonds, pecans, brown sugar, cinnamon and salt in a large bowl.

Pour wet ingredients over dry ingredients and stir until completely combined.

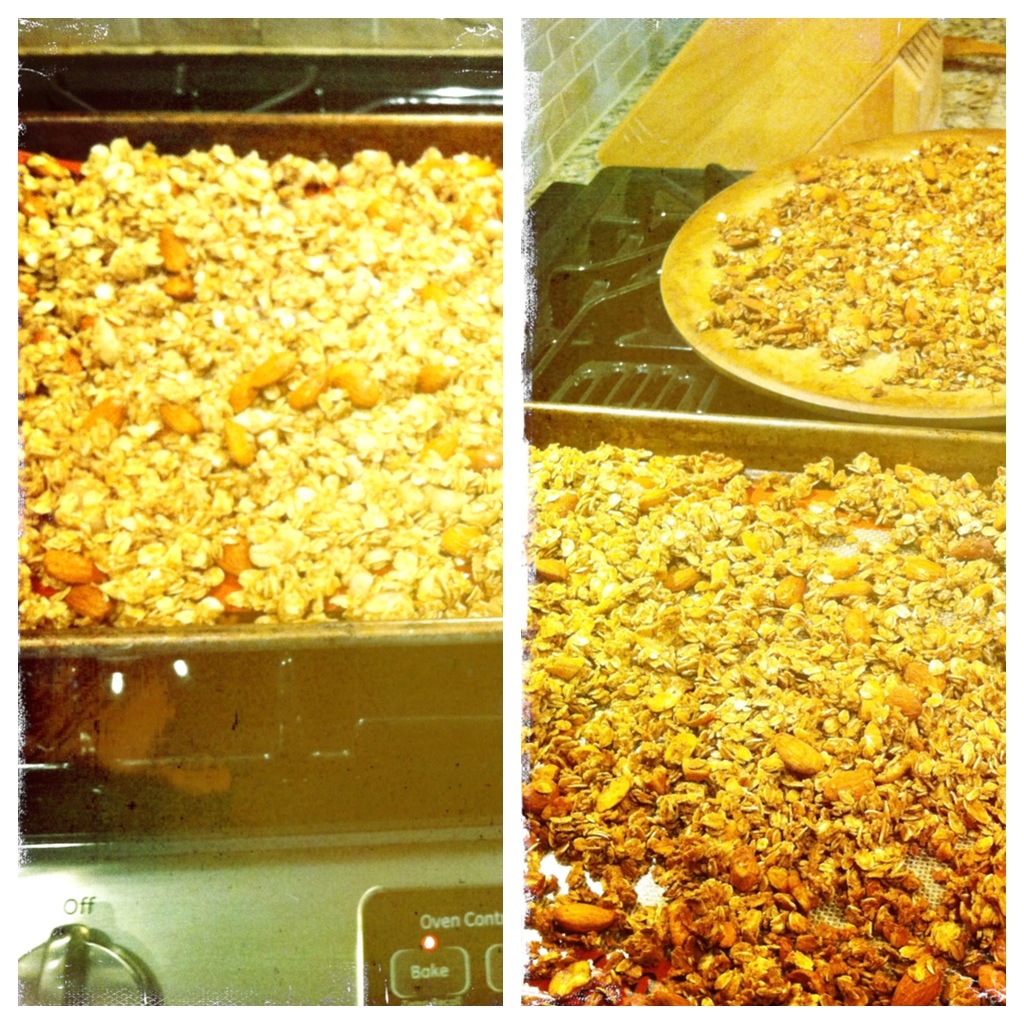
Spread over two cookie sheets in a thin layer and bake for 25 min, then flip over with a spatula and put back in the oven.

Bake for another 25 min. Then turn up the oven to 315F for about another 10 – 15 minutes (this allows it to brown up a bit more and get crispier). Keep a close eye on it and take it out when it is evenly brown on top and feels dry.

IMPORTANT: let it cool completely on the trays before you move it! This allows the clusters to stay together.

Once it has completely cooled, move to a large bowl and stir in the raisins.

Store in an airtight container.

We eat ours with unsweetened vanilla almond milk and fresh fruit or sprinkle some on greek yogurt… or eat it by the handful!

ENJOY!
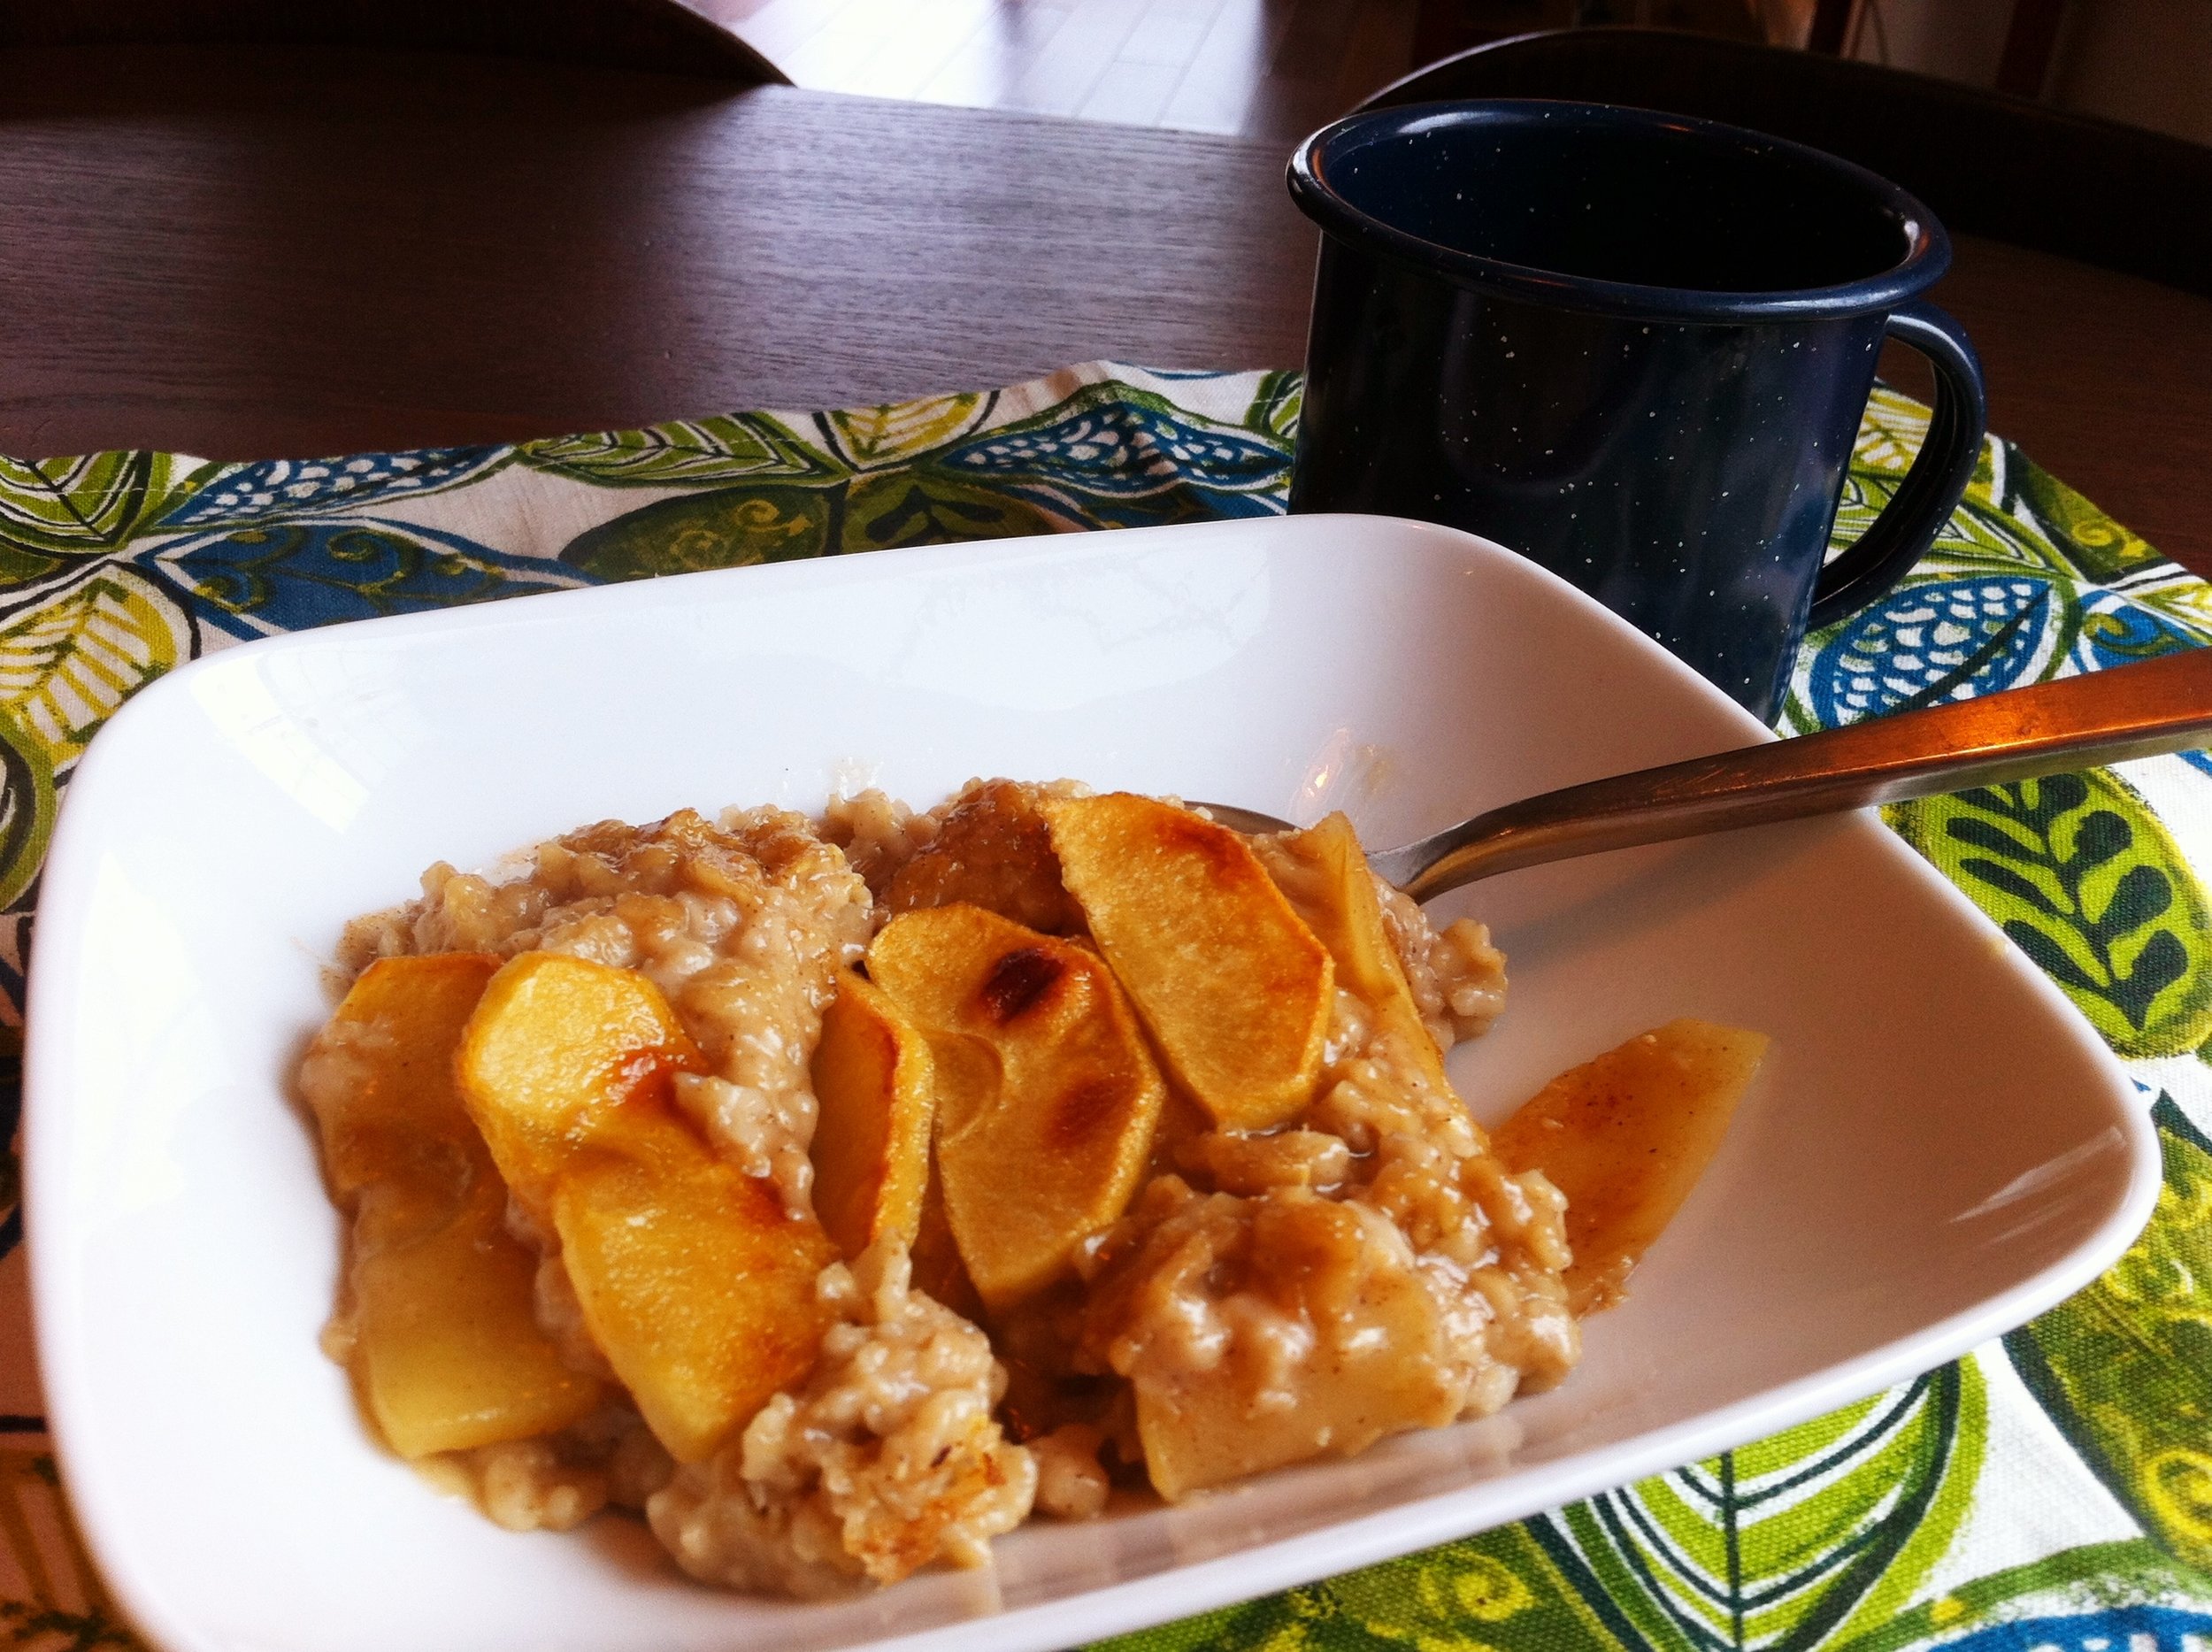
THE KITCHEN

(source)

Once upon a time I taught my daughters to cook.

I taught them that cooking is a way of loving well…

that feeding friends and family delicious food nourishes their bodies and delights their souls…

that creating all those inviting scents in the kitchen lures those you love the most right into the heart of your home.

Only I left out a few essential ingredients in all my teaching and cooking and showing…

Things like cooking foods that are healthy and made by God to be good for you and not wreck havoc on your body.

Those kinds of things.

And so now my daughters are teaching me!

And since this place has become a sort of home for me, with lots of friends and women whose hearts are so like mine, I’d like to invite you into my learning.

Once a week my daughter, Elizabeth, is going to share with us her love for feeding her family good, nutritious, wholesome, delicious meals.

She’ll show us how she does it and why.

She’ll help us with our grocery lists and food budgets and how-to-make-meals-in-a-hurry and how to plan ahead… but mostly she’s going to give us her recipes for the really good stuff.

And sometimes we’re going to have guests on this page— and take a peek at food blogs Elizabeth loves, and maybe even set up a contest or two… because I still believe that cooking is a beautiful way of loving well.

So come along with me starting next Saturday as we listen and learn from Elizabeth.

From my heart,

Diane